Some dogs are motivated by food. Some are more interested in love and adoring praise. Others want nothing more than some playtime with their favorite humans. Identifying your dog’s primary motivation is a good first step to bonding with them and is also very useful when it comes to training time. If you know what your dog desires, you can use this as a positive reinforcement to encourage your dog to repeat certain behaviors.
If you’re looking for a dog that enjoys playing and will be as happy grabbing a tennis ball or a tug toy as it is grabbing food from the kitchen counter, the 16 breeds below are considered amongst the most playful of breeds.

The 16 Most Playful Dog Breeds
1. Labrador Retriever
| Origin: | UK |
| Lifespan: | 10–12 Years |
| Size: | 50–80 Pounds |
The Labrador Retriever is considered one of the best breeds for first-time owners. It is friendly, loving, and intelligent enough to be easily trained. It has been used as a guide dog, search and rescue dog, therapy dog, and in a host of other service positions. As well as being very playful, the breed is loving and forms a close bond with its owners.
Your Lab will likely enjoy spending as much time in the water as on dry land, so if you get the opportunity, take them down to the local river, lake, or even the ocean.
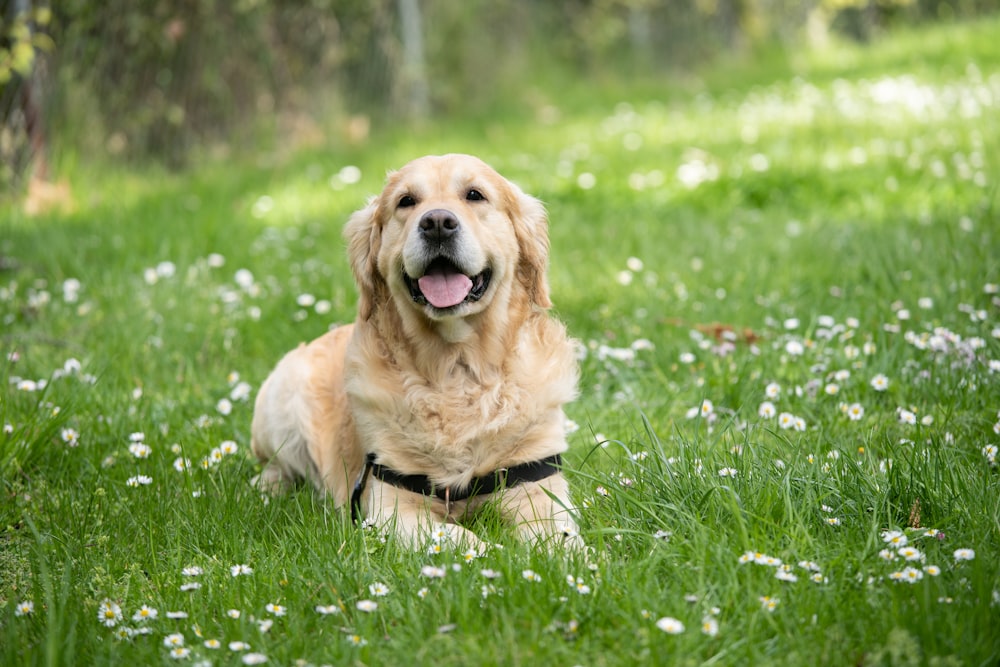
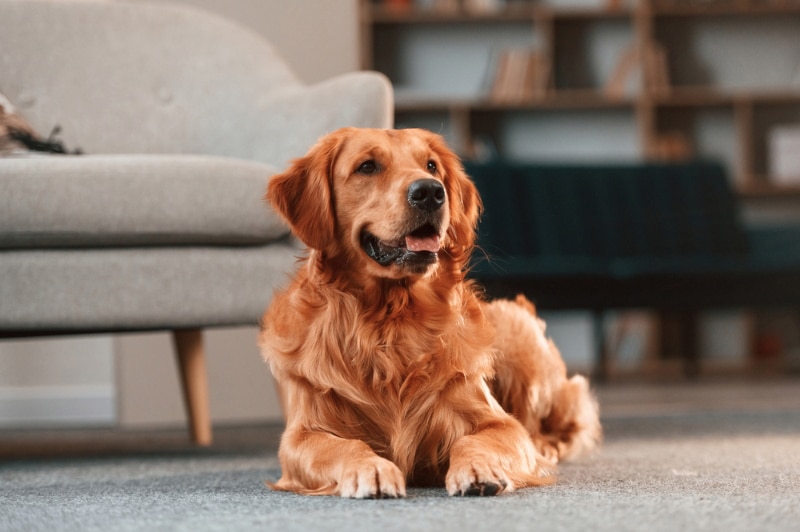
2. Golden Retriever
| Origin: | UK |
| Lifespan: | 10–12 Years |
| Size: | 50–75 Pounds |
The Golden Retriever is similar, in a lot of respects, to the Labrador Retriever. It is a similar size and color. It has also been used in many of the same roles as the Lab. They have proven especially useful as a therapy dog thanks to their stunning coat and equally appealing temperament.
Like the Labrador Retriever, the Golden also enjoys frolicking in water, but it will take a lot more cleanup because of that long coat. The Golden is known to be a heavy shedder and you will need to spend some time grooming your pup regularly to avoid matted hair.
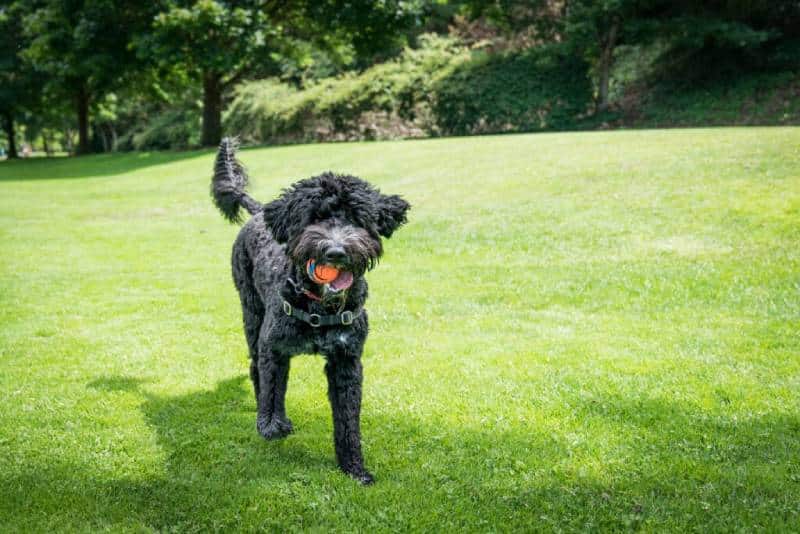
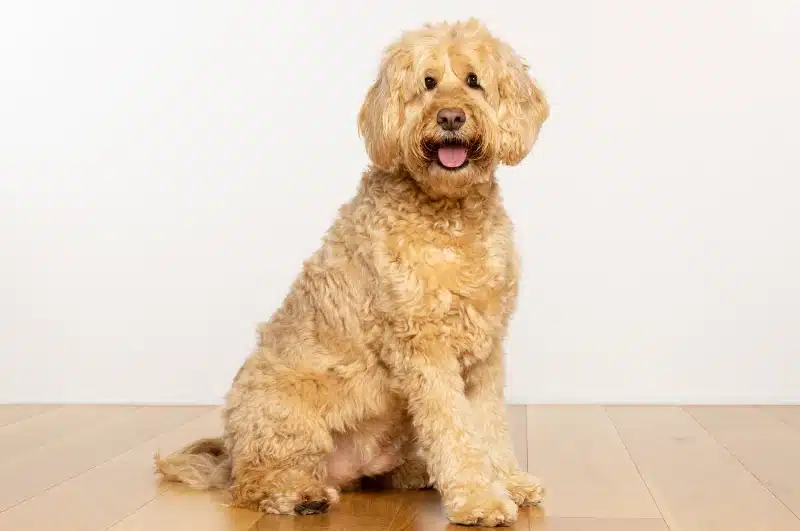
3. Goldendoodle
| Origin: | Australia |
| Lifespan: | 10–15 Years |
| Size: | 15–90 Pounds |
The Goldendoodle is a hybrid breed that combines the Golden Retriever and the Poodle breeds. It is an intelligent breed, and it loves to play. However, there is some anecdotal evidence to suggest that the breed can have behavioral issues. In particular, they are known to suffer separation anxiety when left alone for too long so this may not be the best breed if you go out to work all day.
Depending on whether your Goldendoodle inherits the coat of the Retriever or the Poodle, you could have a dog that sheds rarely or one that sheds frequently.
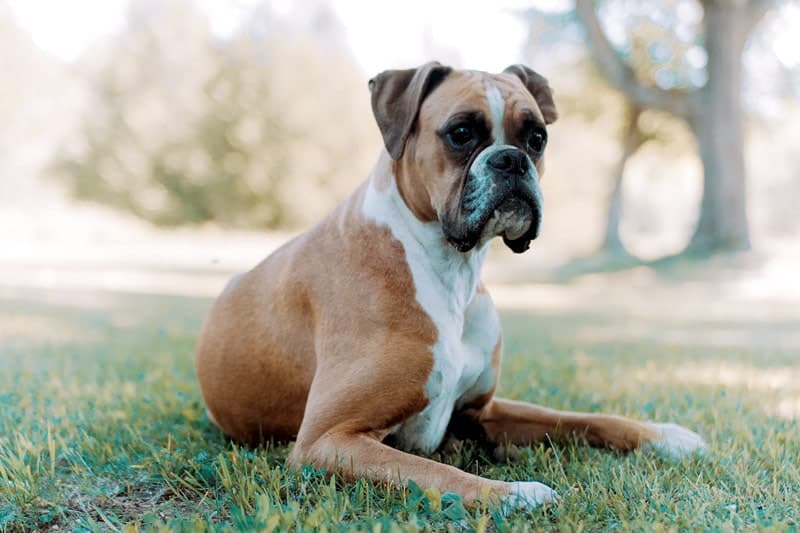
4. Boxer
| Origin: | Germany |
| Lifespan: | 10–12 Years |
| Size: | 50–70 Pounds |
Boxers were once used as fighting dogs. They either get their names from the German word boxl, which was attributed to the dog for its working status in the slaughterhouse, or it refers to the way the dog stands on its hind legs and uses its front legs to fight similarly to a boxer. In any case, the breed is known for being a joker, and it loves to play.
However, the breed can easily get overexcited and charge around, which means that the Boxer might not be a suitable choice for homes with toddlers and young children.
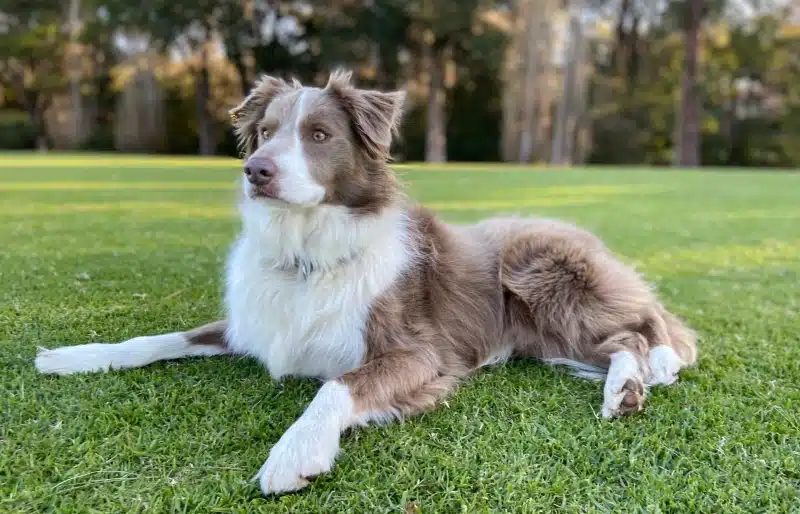
5. Australian Shepherd

| Origin: | US |
| Lifespan: | 12–15 Years |
| Size: | 40–65 Pounds |
Despite its name, the Australian Shepherd was actually first bred in the US and is called the Australian Shepherd because it was bred from Australian cattle dogs. The Aussie is a highly skilled herding dog and has seemingly endless energy and incredible levels of stamina. It can work the fields all day long and still have more than enough energy to play fetch with its humans in the evening.
Potential owners should be prepared to give this dog a lot of physical exercise and mental stimulation to ensure that it stays healthy and doesn’t exhibit bad behavior.
6. Border Collie
| Origin: | UK |
| Lifespan: | 12–15 Years |
| Size: | 30–55 Pounds |
The Border Collie is similar in a lot of respects to the Australian Shepherd. It was bred in the border regions between England and Scotland and was used for herding livestock. They are still widely used for this purpose today. The Collie is widely considered the most intelligent of all dog breeds and can be trained to perform complex tasks. They are herding dogs, though, and you can expect a pet Collie to try and herd other animals and even children.
You will need to provide a lot of entertainment, ensure the Collie is well trained, and try to find avenues for them to expend their physical energy and exercise their brains.
7. Shetland Sheepdog

| Origin: | UK |
| Lifespan: | 12–14 Years |
| Size: | 12–24 Pounds |
The Shetland Sheepdog is yet another sheepdog to make the list. Also known as the Sheltie, the Shetland is a long-haired breed that is sometimes confused with the Rough Collie. They do require a lot of exercise, although typically not as much as the Border Collie. The beautiful coat does take a lot of care, so expect to brush daily and be prepared for a lot of hair to be left on furniture and floors.
The Sheltie is very intelligent and can usually be well-trained to perform a good variety of tasks.
8. Dalmatian

| Origin: | Croatia |
| Lifespan: | 10–13 Years |
| Size: | 45–70 Pounds |
The Dalmatian is a very lively and active dog. They are loyal, loving, and playful with family, but like a lot of these breeds, their intense energy levels mean that they might not be suitable to live with small and young children. The breed can be reserved around strangers and will need plenty of socialization.
And they are very sensitive: said to remember any mistreatment for the rest of their lives, which means that you will need to avoid scolding or reprimanding your dog even for bad behavior.
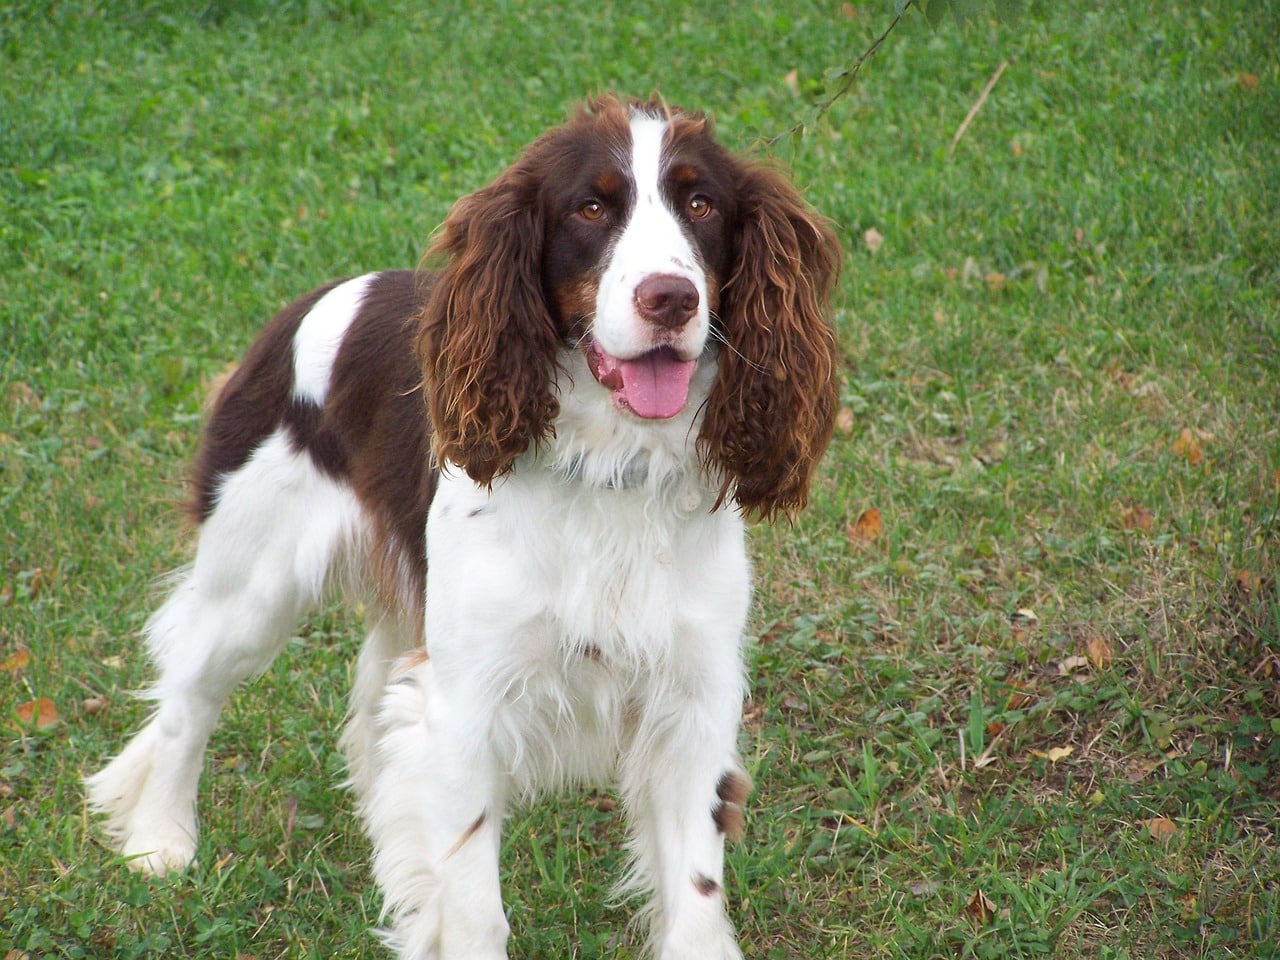
9. Springer Spaniel
| Origin: | UK |
| Lifespan: | 12–14 Years |
| Size: | 40–50 Pounds |
The Springer Spaniel, or English Springer Spaniel as it is officially known, was bred as a hunting dog. It would spring birds out from long grass so that hunters could shoot them. As such, the Springer loves to be in water, and it can spring into action at a moment’s notice. The breed is good with children, tends to get along with other pets, and is affectionate and loving.
But they do have a lot of energy so keeping one takes a lot of work and effort. Their smaller size means they are well suited to families with younger children, despite their high energy levels.
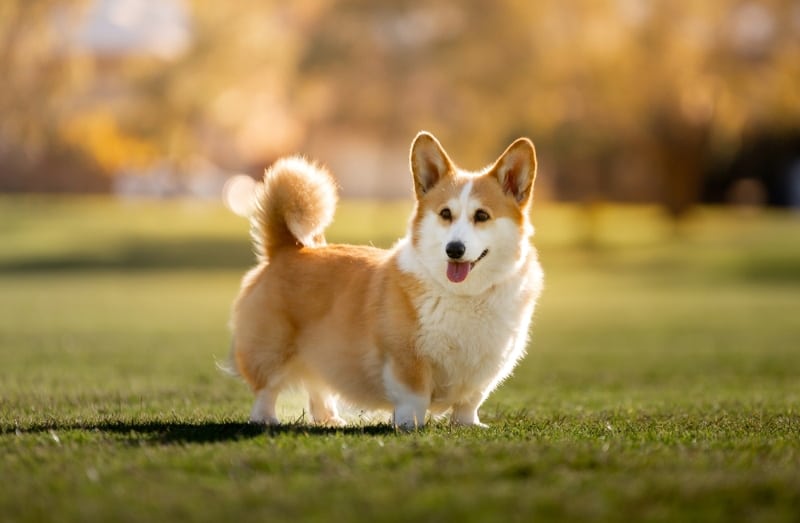
10. Corgi
| Origin: | UK |
| Lifespan: | 12–13 Years |
| Size: | 20–30 Pounds |
There are, in fact, two breeds of Corgi: the Pembroke Welsh Corgi and the Cardigan Corgi. Both breeds are playful, but the Pembroke Welsh is especially lively. The breed is recognized for its disproportionate shape. It has a long body and short legs, but don’t let the looks fool you. The Corgi is energetic, lively, and playful.
Owners need to ensure the Corgi gets good exercise and isn’t overfed, or they can put on extra weight and ultimately suffer back and joint problems.
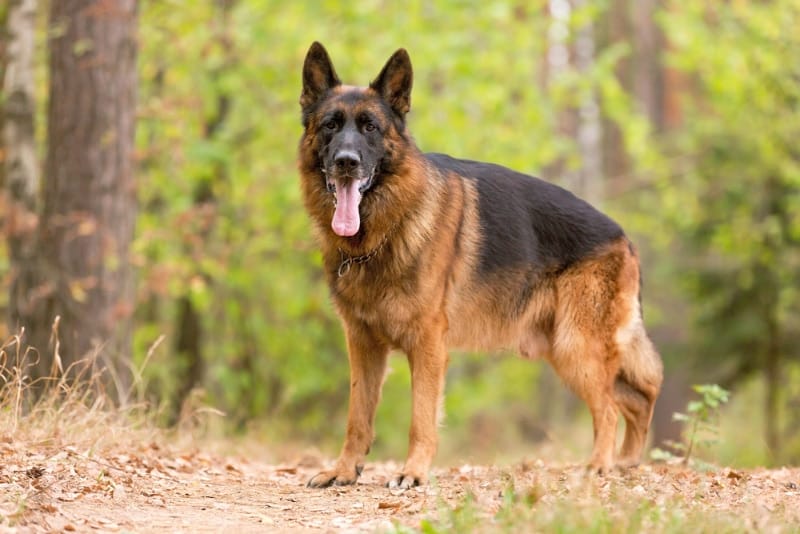
11. German Shepherd
| Origin: | Germany |
| Lifespan: | 9–13 Years |
| Size: | 55–90 Pounds |
The German Shepherd is a hard-working and businesslike dog, but it can also be very energetic, lively, and incredibly playful. Often used as police and military dogs, German Shepherds can be protective and make very good guard dogs. Owners need to find a lot of ways to entertain a German Shepherd, including through regular exercise and ideally with rigorous training and games.
The German Shepherd can be quite a vocal dog and may be prone to barking at anyone passing by or any noise they don’t recognize.
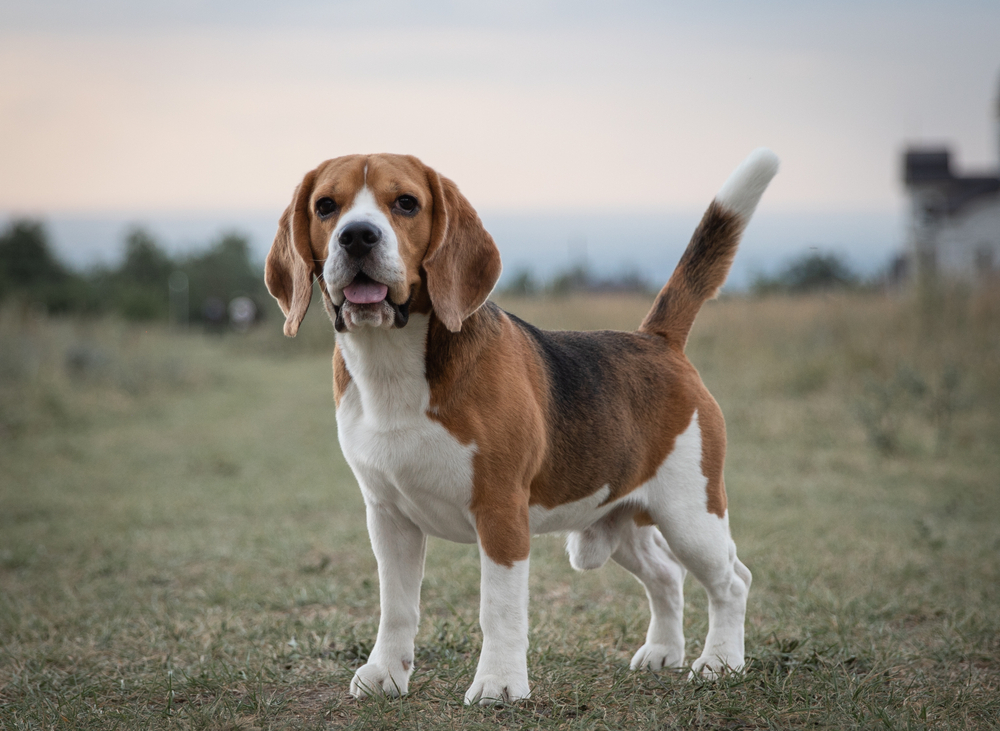
12. Beagle
| Origin: | UK |
| Lifespan: | 12–15 Years |
| Size: | 16–30 Pounds |
The Beagle is another vocal breed, but is more widely recognized for its beautiful floppy ears and incredibly sociable attitude. It will get along with other dogs because it is a pack animal that was bred to work with other dogs. They are clever and curious, energetic and lively, and this combination means they are a lot of fun to play with in the yard or down at the dog park.
As long as you do a good job of wearing the Beagle out they will also enjoy coming home to spend some quality time with you in front of the TV.
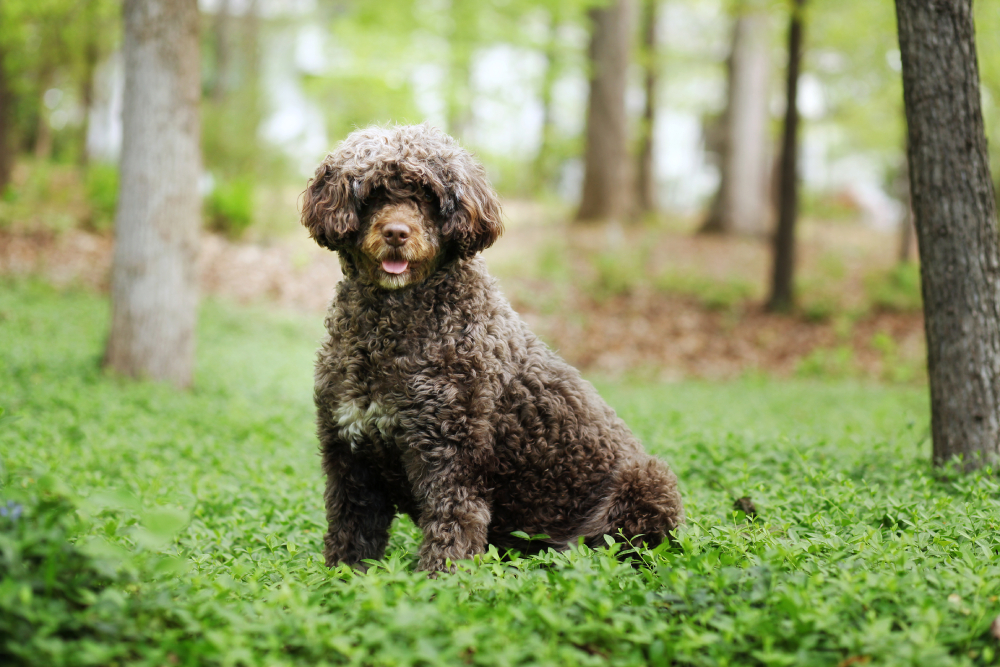
13. Portuguese Water Dog
| Origin: | Portugal |
| Lifespan: | 10–13 Years |
| Size: | 35–60 Pounds |
Portuguese Water Dogs, as the name implies, love to play in water and yours will be at home running in the sea or swimming in a doggy pool. The medium-sized breed is considered hypoallergenic because it sheds less than a lot of other dogs, but you will also need to brush that water-resistant coat frequently to ensure that it stays knot-free and matt-free.
This intelligent breed is another that will get along with humans of all ages.
14. Pomeranian
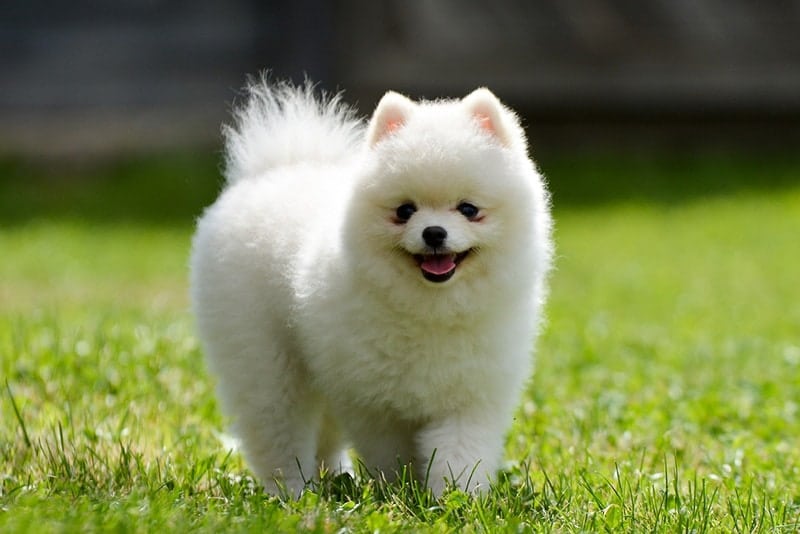
| Origin: | Poland |
| Lifespan: | 12–16 Years |
| Size: | 3–7 Pounds |
If you’re looking for a playful dog on the smaller side, the Pomeranian is the ideal choice. It is lively and fun and enjoys playing games with its humans. They are descended from spitz sled-pulling dogs, and the Pom is surprisingly energetic for one so small. But it is also a loving and loyal little pup that will gel with its human owners.
You can expect a small dog with a big attitude, however, as the Pomeranian is known for having a stubborn streak that can make it a challenge.
15. Jack Russell Terrier

| Origin: | UK |
| Lifespan: | 13–18 Years |
| Size: | 13–18 Pounds |
The Jack Russell Terrier is a terrier by name and by nature. It was originally bred to hunt foxes, chasing them into holes in the ground, and it has the characteristics and the physical attributes to achieve this. Terriers are very good at their jobs, but they can also be difficult, and Jack Russells are known for being vocal dogs.
It is an intelligent breed but it has a very high prey drive that is difficult to circumvent, so it isn’t necessarily a good choice for homes with small animals.
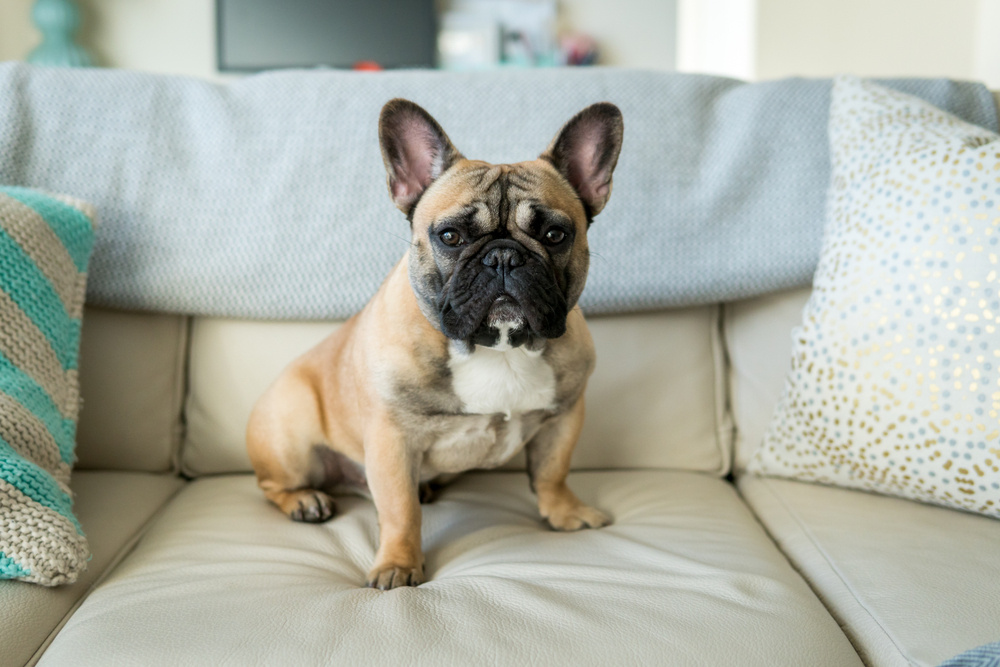
16. French Bulldog
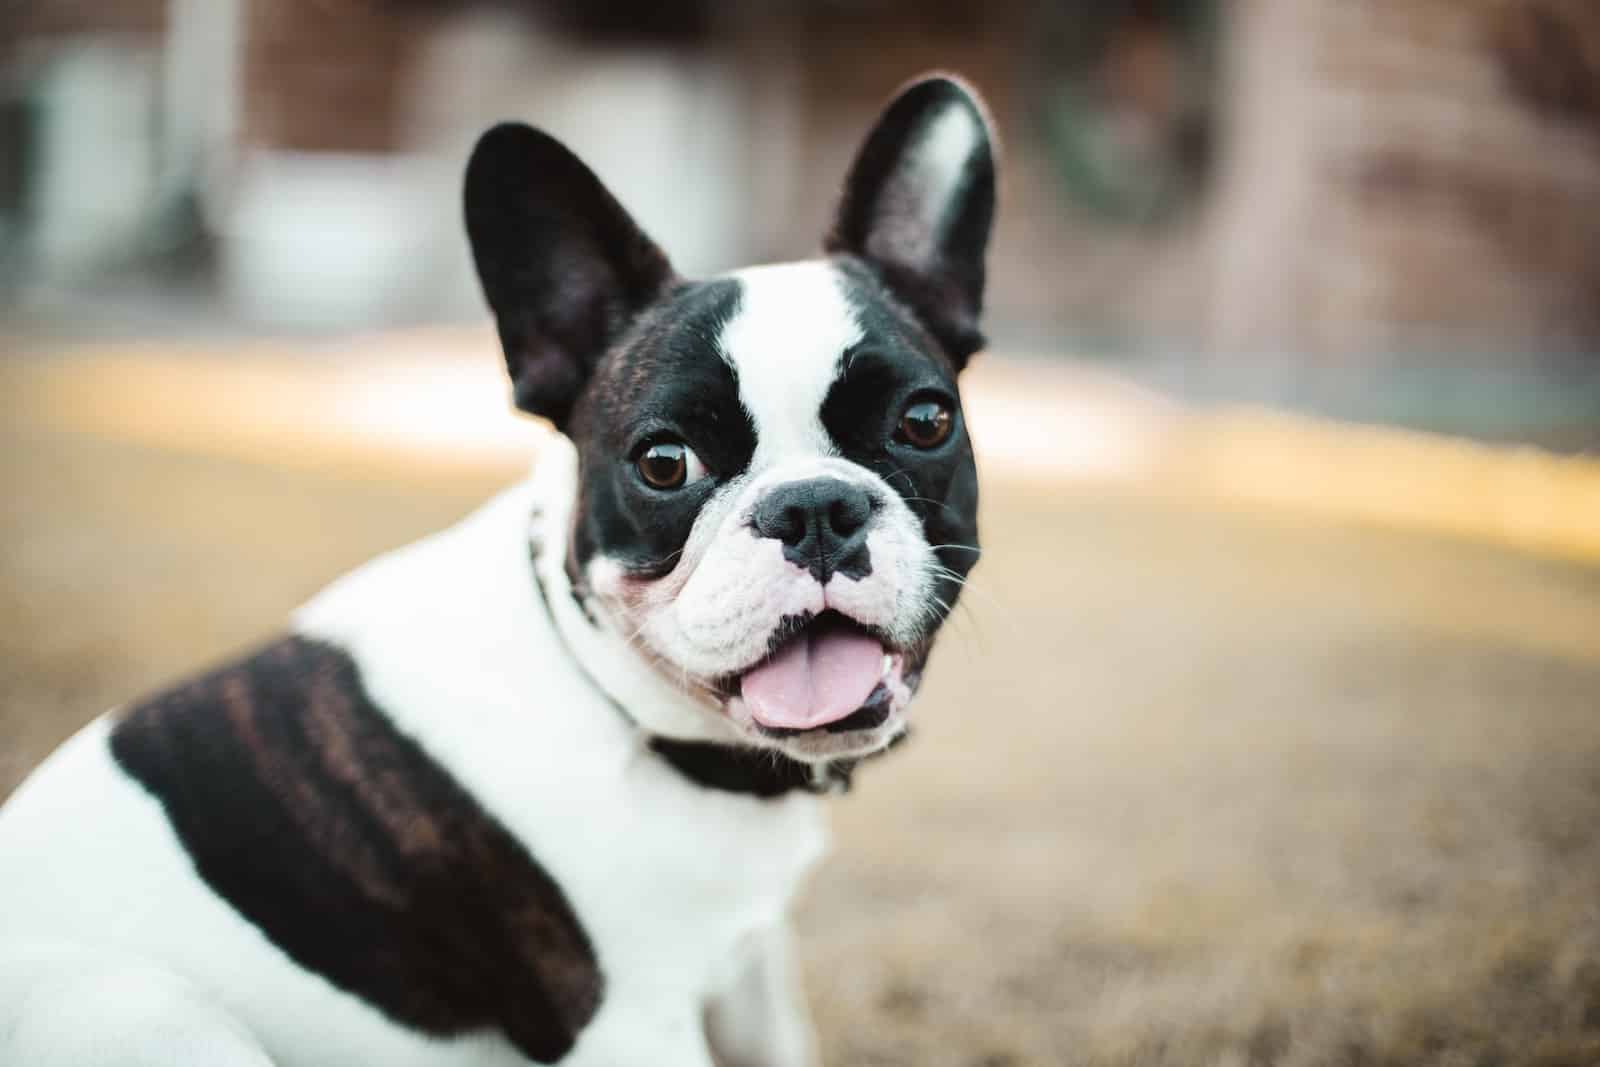
| Origin: | France |
| Lifespan: | 10–12 Years |
| Size: | 18–30 Pounds |
The French Bulldog is one of the most popular dog breeds in the world. They are fun, comical, and endearing dogs that have a face to match their personality. The brachycephalic facial features can cause the dog to suffer from respiratory issues, as well as issues with the eyes.
This is especially problematic if you are playing outdoors in hot weather, so you will need to choose your playtime and your games carefully.
Conclusion
Some dogs are motivated by fun and games rather than food or affection. The breeds above are considered some of the most playful dog breeds, which can make them a great choice for a lively household.
However, playful can also mean highly energetic, which means they will need plenty of exercise, and if they get over-excited, this can cause accidents and even injuries to smaller children, so ensure you choose the right breed and take your time opting for the one that best fits your familial situation.
See also:
- Can an Unvaccinated Puppy Be Around Vaccinated Dogs? Vet-Approved Facts
- How to Get My Dog to Stop Licking Me: 7 Vet-Approved Steps
Featured Image Credit: blrz, Shutterstock