Cleaning a dog’s ears is an extremely vital part of their grooming routine. Since Golden Retrievers have long, floppy ears, they’re more susceptible to infections.1 Cleaning their ears every other week will help keep them dry, prevent irritating and painful infections, and save you from making trips to the vet clinic. Here’s how to incorporate this important practice into your Golden Retriever’s grooming schedule.

Before You Begin
There are a few essential supplies you’ll need before you begin cleaning your Golden Retriever’s ears:
- Vet-approved ear cleanser
- Towel
- Cotton ball
- Your Golden’s favorite treats
Ear cleaning can feel uncomfortable and foreign to dogs, and it can startle them the first few times you do it. So, it’s best to start this practice in increments and with your Golden Retriever’s favorite treats.
Start by letting your dog get used to you touching their ears. You can massage the base of their ears and give them treats every time you do it. Then, apply the motion of using the ear cleaner without having the cap open. Place the tip of the ear cleaner against your dog’s inner ear, and give them treats every time you do this. This will help your dog get used to being around the ear cleaner.
Lastly, many dogs will shake their heads after you apply ear cleaner to their ears. So, make sure you’re situated in a place where you can easily wipe up any cleaner that drips on the floor.

How to Clean a Golden Retriever’s Ears in 5 Steps
1. Examine the Ear for Redness or Inflammation
Before you pour cleaner into your Golden Retriever’s ear, check for any redness or inflammation. Pouring an ear-cleaning solution on an infected ear can be painful and worsen the irritation.
Other signs of an infection include brown, yellow, or bloody discharge. You might see scabs and swelling and smell odor in the ear. Your dog may also keep shaking their head, rubbing their ear against furniture or carpet, and scratching at the infected area.
If your dog has an ear infection, don’t proceed with cleaning out their ear. Consult with your veterinarian first, as your dog may need a medicated ear cleaner or antibiotics instead. Before using any ear cleaner on your dog, even if it’s a non-medicated one, it is important to ensure the tympanic membrane is intact. Ear cleaning solutions should not be used in perforated eardrums. A quick visit to the vet can help you ensure everything will be okay.
If you need to speak with a vet but can't get to one, head over to PangoVet. It's our online service where you can talk to a vet online and get the advice you need for your dog — all at an affordable price!
2. Position Your Dog and Hold Up the Ear Flap

If your dog’s ears are ready to be cleaned, position your dog in a comfortable position, and hold up one ear flap. Some dogs will prefer you to sit in front. Others may require you to stand behind them and position them between your legs to prevent them from escaping, especially if they are new to ear cleaning. If your dog is particularly squirmy, ask a friend or family member to help you keep your dog still or distract them with treats.
3. Fill the Ear Canal With Ear Cleaner
Once your dog is in position, shake the ear cleaner solution, and pour a generous amount into the ear. The entire ear canal should be filled with the cleaner, and some liquid can spill out. Check to see if the cleaner drains into the ear. You can move the ear flap around a bit to encourage the fluid to funnel into the ear.
4. Massage the Base of the Ear
Massage the base of the ear for 30 seconds to 1 minute. This will help the cleaner to reach deeper parts of the ear to dislodge debris. When massaging your dog’s ear, make sure you have a firm yet gentle grip on their ear flap. This will help your dog resist shaking their head.
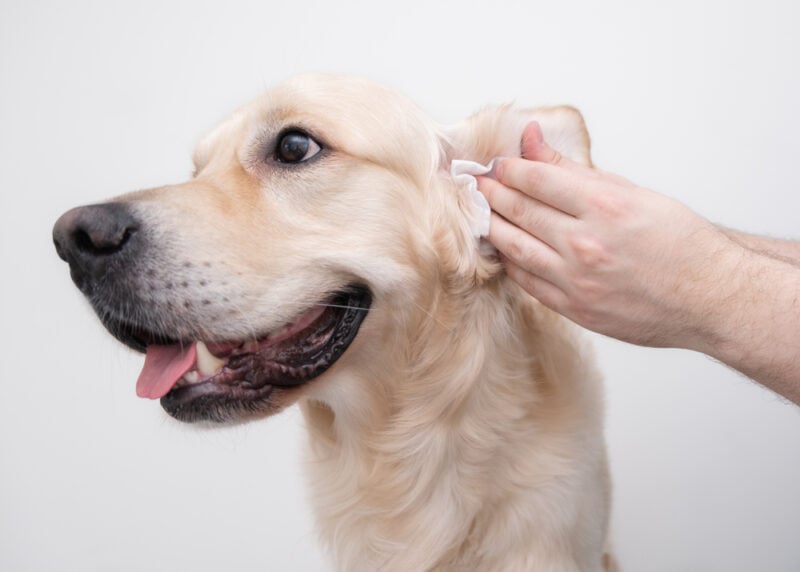
5. Wipe Debris From the Surface of the Ear
You may notice debris near the surface of the ear. You can wipe it down using a large cotton ball or a soft, microfiber towel that won’t scratch. The skin on the ear is delicate, so be extra careful when wiping it.
Never use a thin cotton swab to clean your dog’s ears or reach deeper into the ear canal. A dog’s ears are extremely sensitive, so touching certain spots may cause them to jerk their head involuntarily. The last thing you want is a cotton swab lodged inside your dog’s ear. Likewise, due to the anatomy of the ear canal, introducing a cotton swab is more likely to cause the wax to plug deeper into the angle of your pup’s ear canal.
Some dogs accumulate more debris in their ears than others, so they might need a second round of cleaning. Make sure not to over-clean your dog’s ears, though, as this can cause irritation and lead to infection. If you notice debris lodged deep inside your Golden Retriever’s ear, have your vet clean it out instead of trying to do it yourself.
Once your dog’s ear is cleaned, you can repeat the same process on the other ear.
If you are looking for the perfect product to clean your dog's sensitive areas, Hepper's Wash Wipes are our recommendation, plus it's a great on-the-go option. These premium wipes are thick and durable enough for the toughest of paw messes, while still being soft enough to use on your dog's ears or eyes. Formulated with pet-friendly, hypoallergenic ingredients they are the ideal product for all dogs of all ages, skin conditions, or sensitivities.
At Dogster, we’ve admired Hepper for many years and decided to take a controlling ownership interest so that we could benefit from the outstanding designs of this cool pet company! 
Conclusion
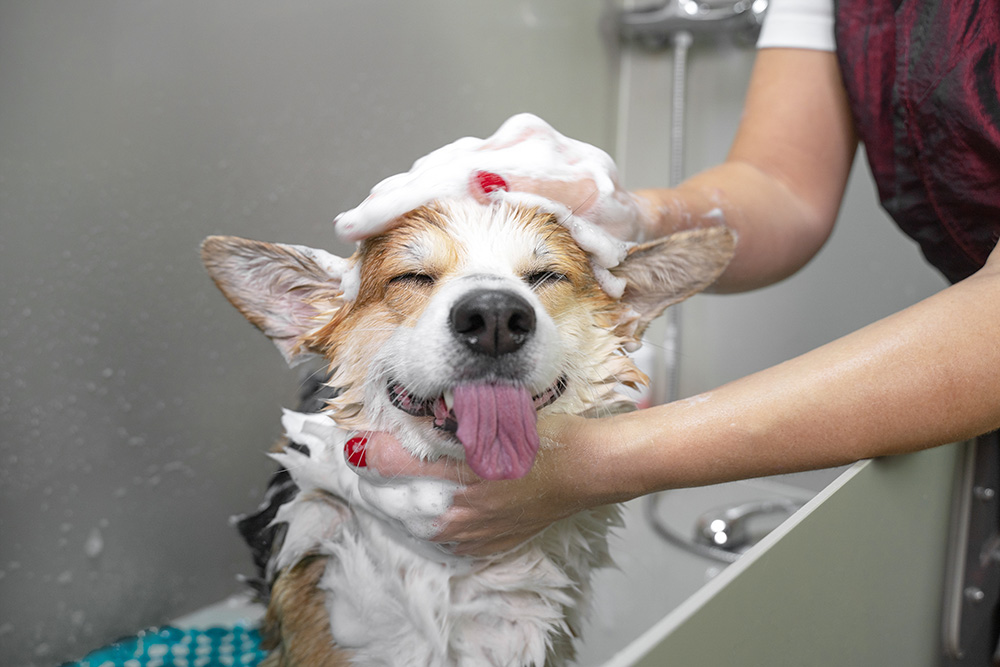
Cleaning your Golden Retriever’s ears may be challenging at first, as your dog tries to resist it. However, it’s an important practice that will help prevent ear infections. It’s best to clean out your dog’s ears every other week and after any time they swim or take a bath.
Fortunately, most Golden Retrievers are food-motivated and eager to please, so after a few practice sessions, they’ll get used to the sensation and become less resistant to ear cleanings.
See also:
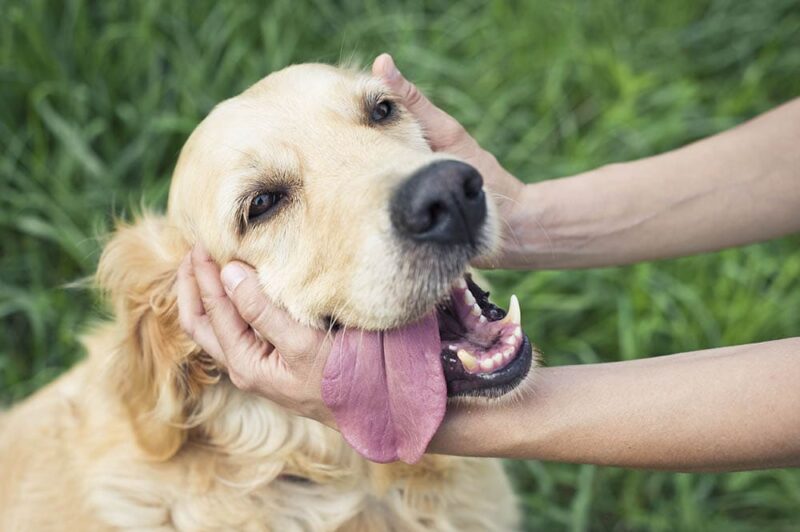
Featured Image Credit: Kashaeva Irina, Shutterstock