In this article
Although it’s a serious condition, losing a leg may not impact a dog’s life as much as you might think. Most dogs adapt quite smoothly to living with three legs. However, even those that seem well-adjusted may eventually suffer physical issues due to their missing limb(s).
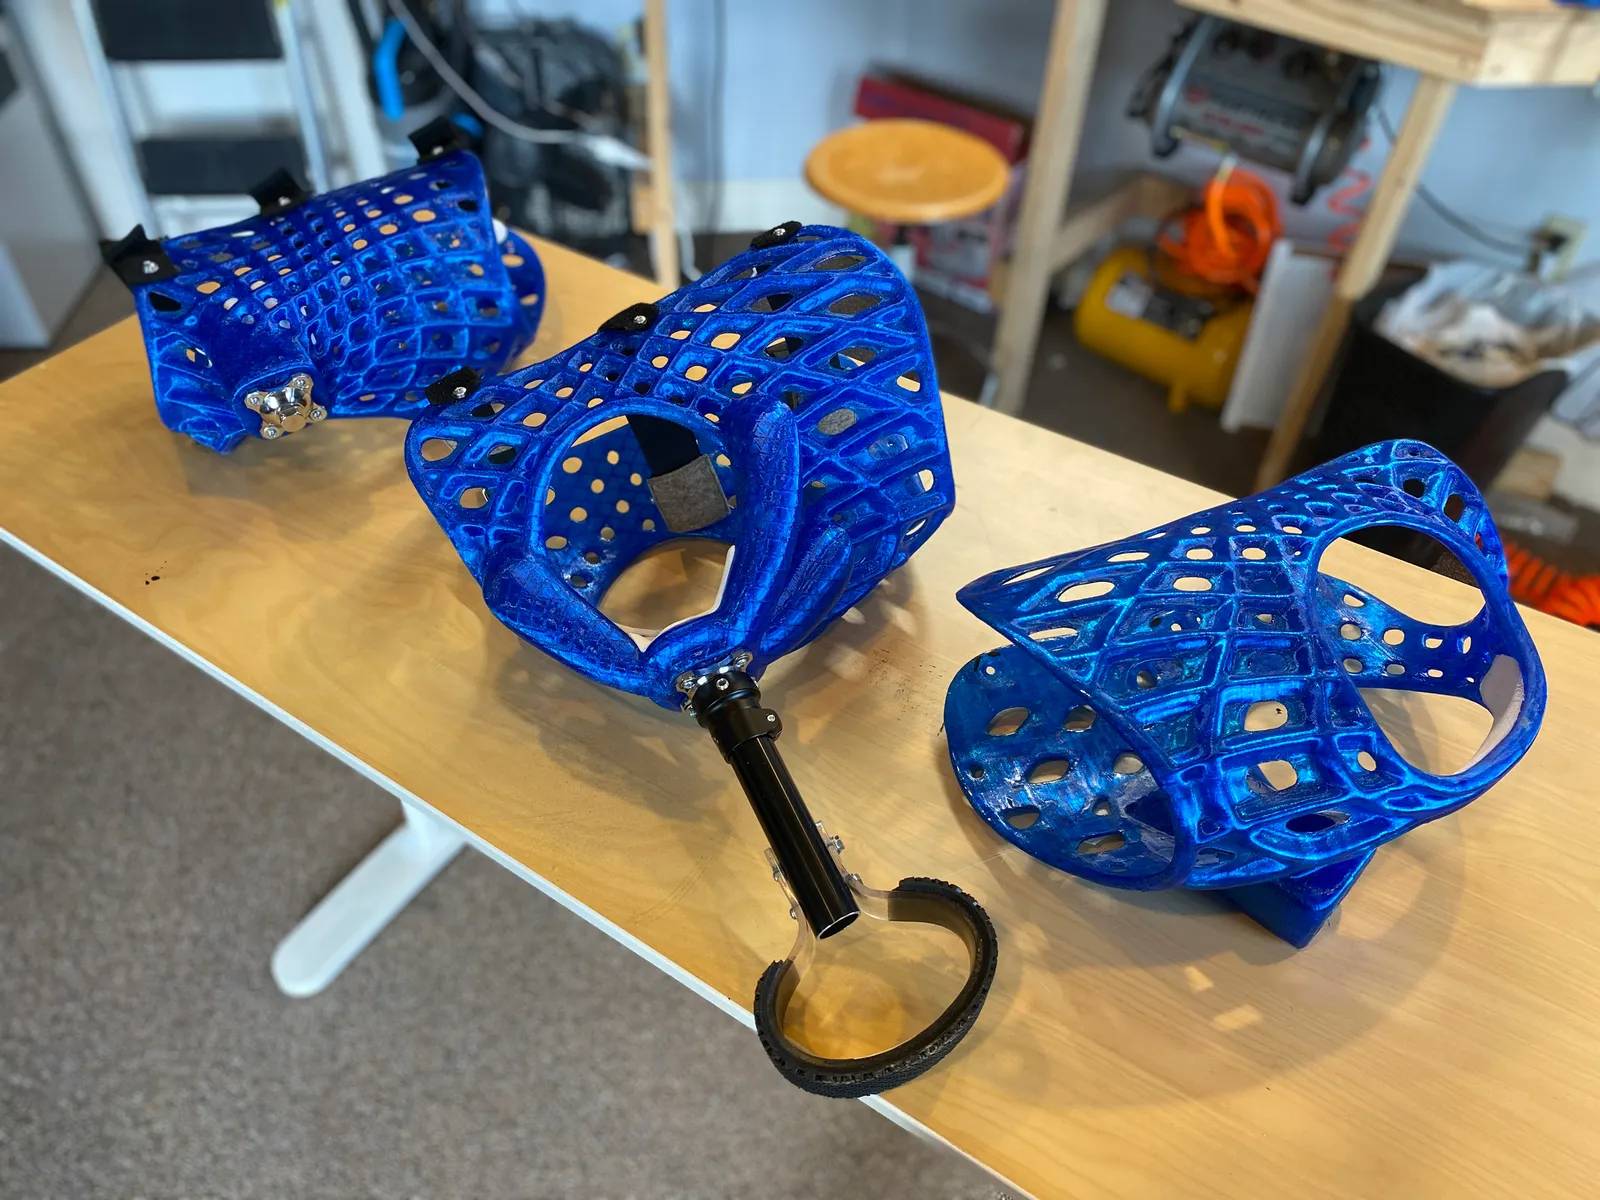
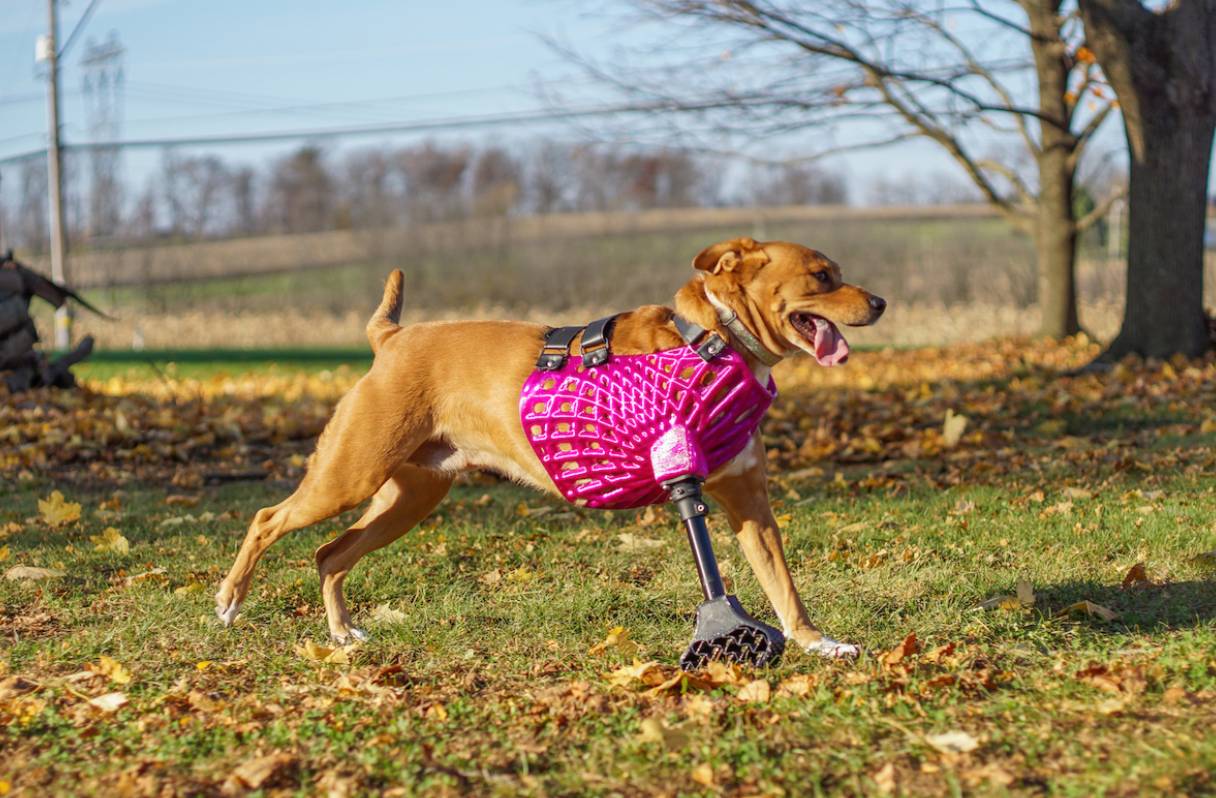
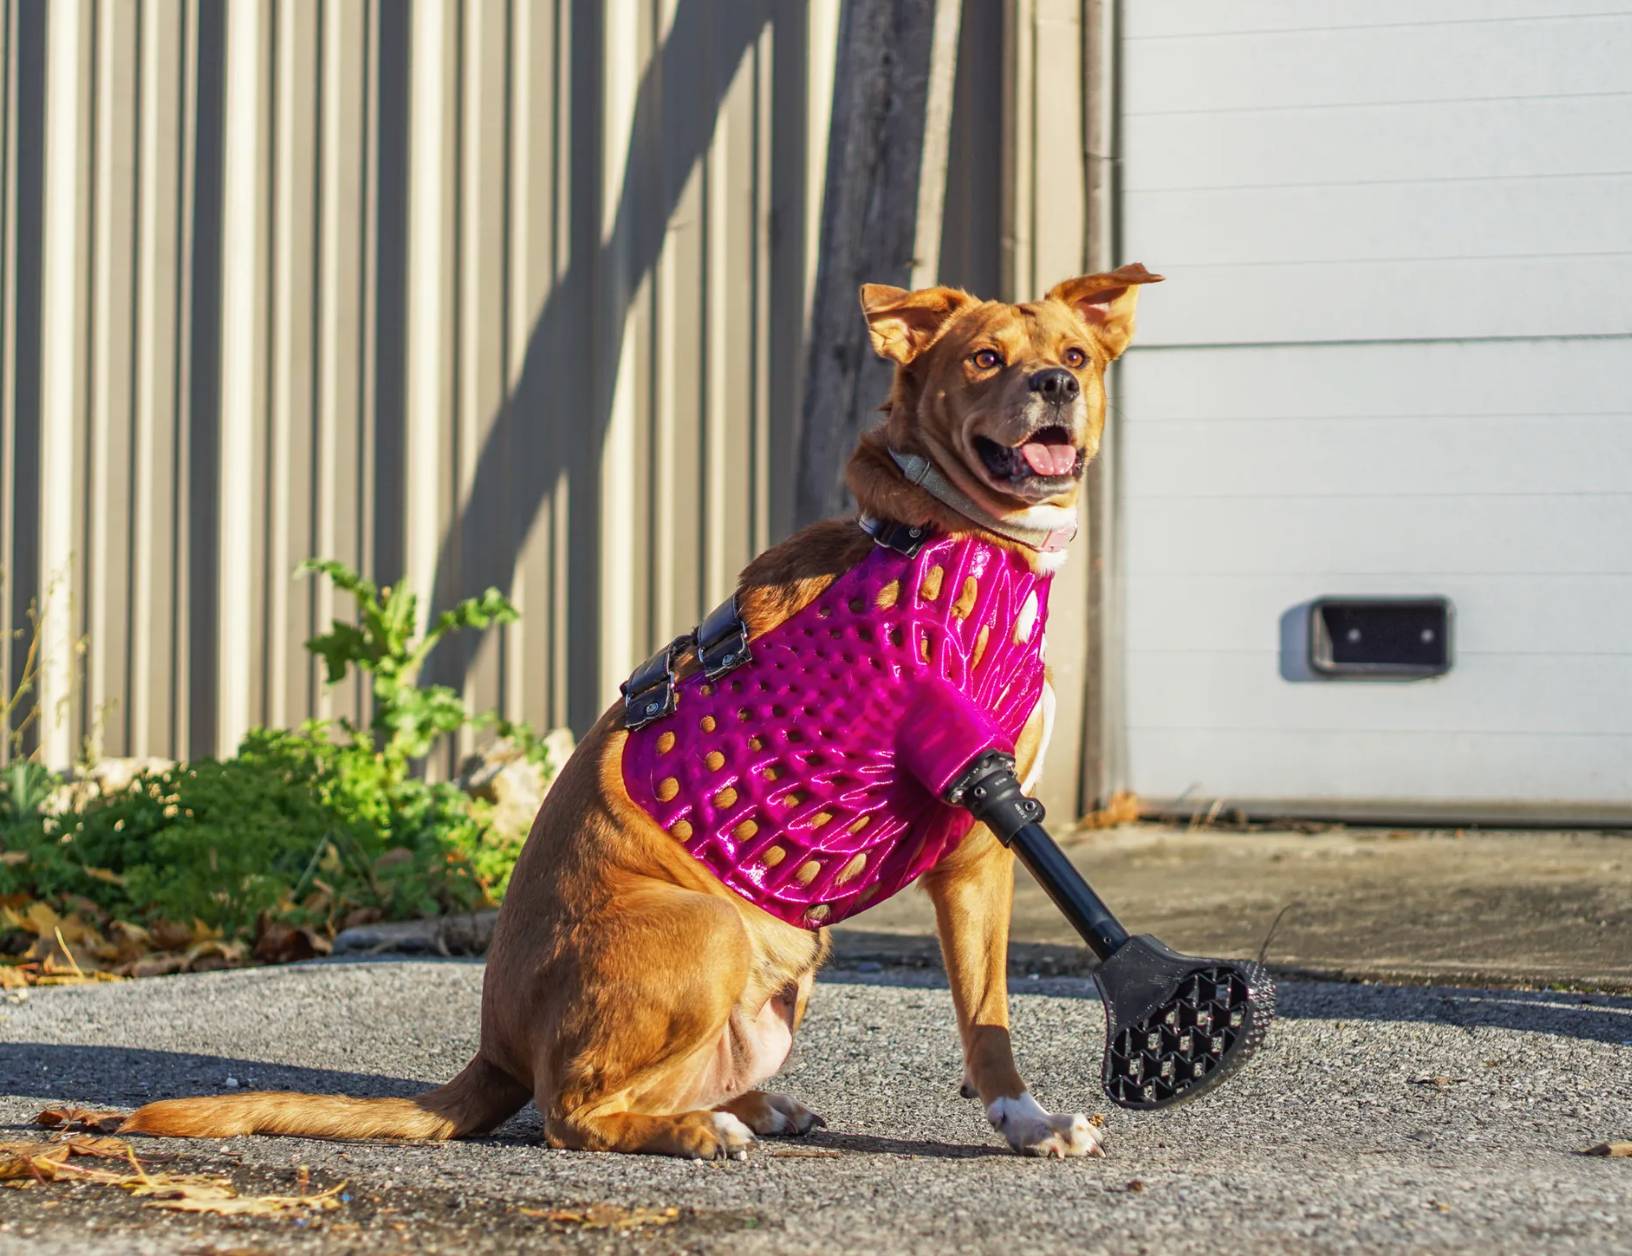
To prevent such problems, dog owners can purchase prosthetic legs. While dog prosthetics have been around for decades, new technologies, specifically 3D printing, have changed the game in recent years.
In this article, we show you the step-by-step instructions for making a 3D-printed dog prosthetic leg. We also go over the factors that determine whether a dog is a good candidate for a prosthetic leg.

Before You Begin
Although 3D printers are relatively affordable, you shouldn’t try to DIY your own prosthetic. If improperly constructed, a prosthetic leg can do your dog more harm than good, and not all dogs will accept them either. Instead, you’ll need to enlist the help of experts.
You can talk to a veterinarian to determine if a prosthetic leg is a good option for your pet. If so, they can help you contact one or more companies that produce 3D-printed prosthetics for dogs, as it can be a very involved process.
Did you know you can speak to a veterinarian without having to travel? Just head over to PangoVet. It's our online service where you can talk to a vet online and get the advice you need for your pet — all at an affordable price!


How to Make a Prosthetic Leg for a Dog in 5 Steps
1. Measure the Dog
Prosthetic legs must be custom-made for each dog, just like they are for people. The first step in producing a prosthesis is to get accurate measurements of the dog. 3D modeling and physical measurements can be used, depending on where the leg will need to attach.

2. Study the Dog’s Gait
Size isn’t the only factor that matters when creating a prosthetic leg for a dog. It also needs to have the right biomechanics to match the dog’s normal gait and posture.
Without these specifics, the dog can suffer painful side effects when they try to walk on the replacement leg. For example, the prosthetic leg could throw off the dog’s spinal alignment, leading to back problems.
Experts must map your dog’s gait and possibly perform computer modeling to ensure that they print a prosthetic that mimics their remaining legs.
3. Create a Plaster Cast
Whether your dog is receiving a 3D-printed prosthetic leg or a traditional version, the next step is to create a plaster cast of the leg. This provides those building the prosthetic with a working model to test before they make the real thing. They can tweak details like measurements and movement and get an idea of how the dog will adapt to wearing the device.

4. Create the Prosthetic
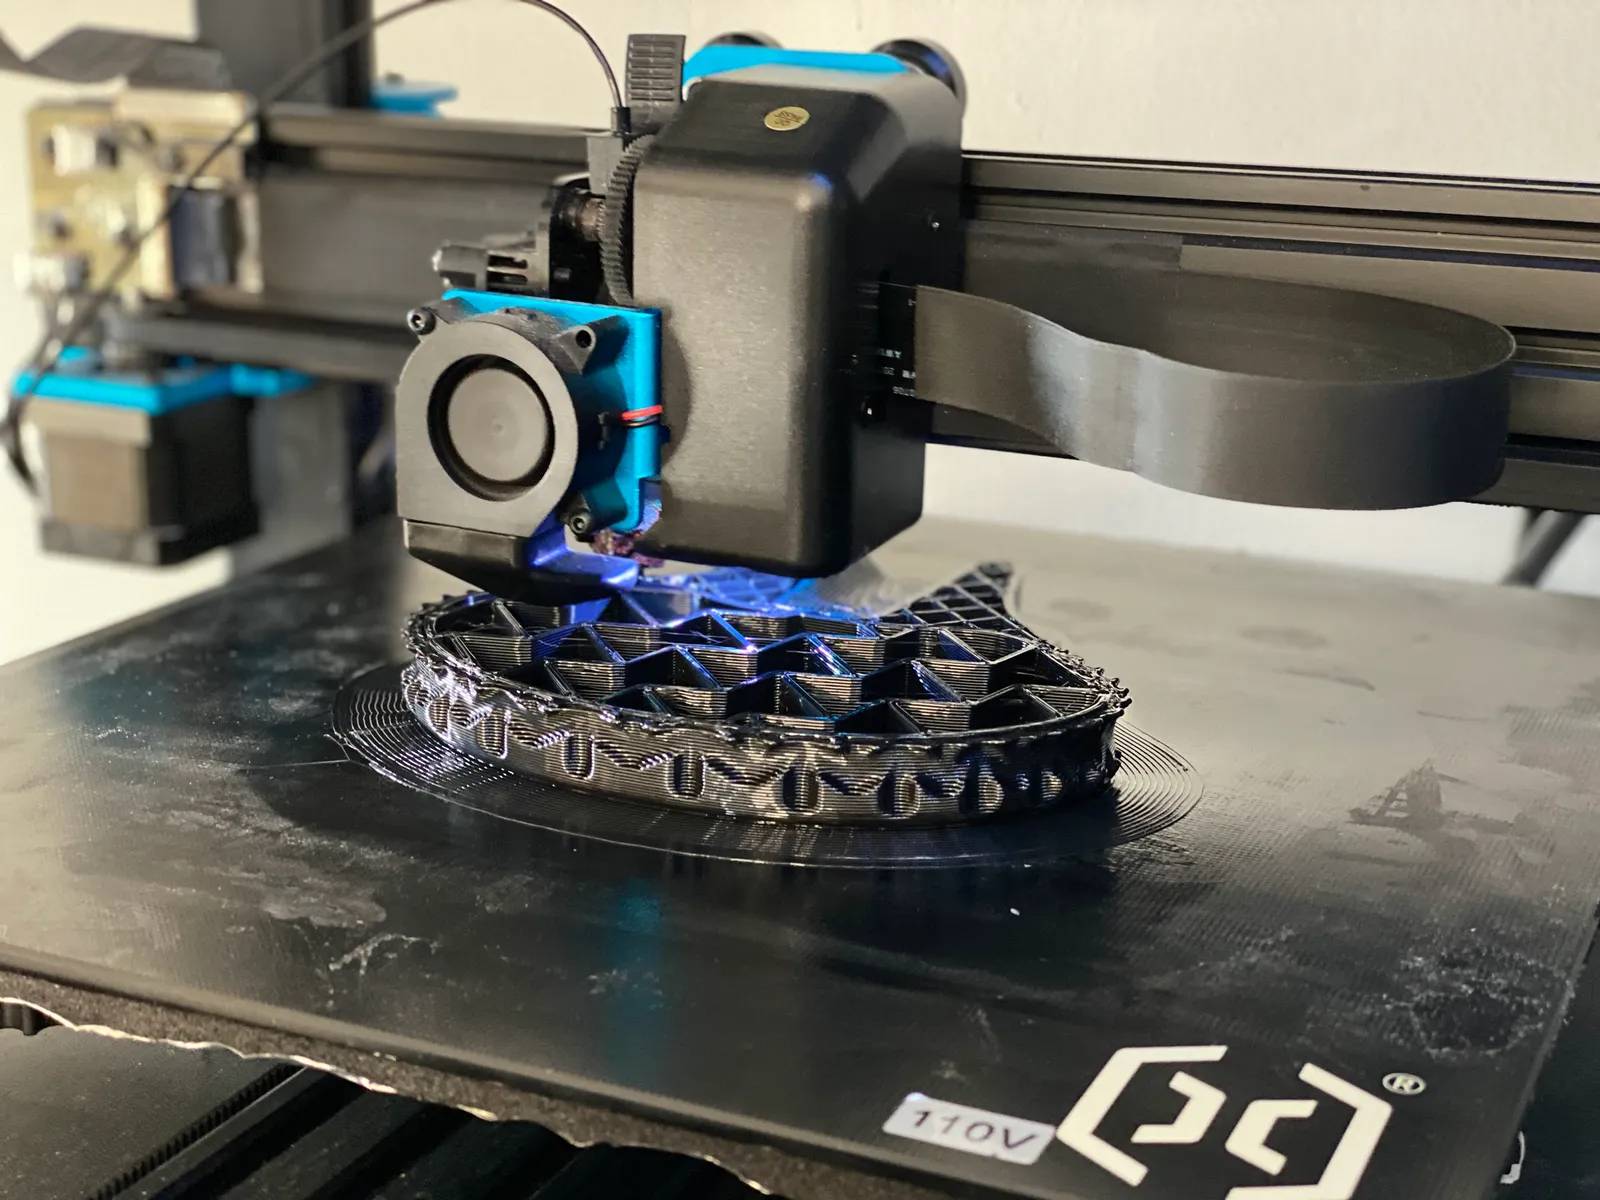
Once the creators are confident in their measurements and biomechanics, the next step is to make the prosthetic. Traditional prosthetics are generally made of molded plastic, while 3D-printed ones are made of various materials. For 3D printing, the dog’s specifications are saved in an electronic file and then printed.
5. Customize the Design
Once the prosthetic is made, the final step is to have the dog try on the leg and make any necessary adjustments. This is where 3D printing has the advantage over traditional prosthetic legs.
If you need to modify a 3D leg, you can just resize and adjust the file before printing a new prosthetic. Making changes to traditional prosthetic legs is much more time-consuming.


Is Your Dog a Good Candidate for a Prosthetic Leg?
While they can be helpful in many cases, not every dog is a good candidate for a prosthetic leg. Several factors must be considered before deciding to proceed with this option, including the dog’s size and age.
Very small or very large dogs are the hardest to make prosthetics for. Older dogs may have other joint problems that could impact their ability to adapt to a prosthetic.
The location of the lost leg and how much of it remains also factor into the decision. Prosthetics usually work best on dogs that still have part of their leg left. Replacing fully amputated legs is still a work in progress, mainly because of issues with how to attach them to the dog’s body.
Small details matter, such as the health of the skin and soft tissue on the missing leg. Another factor is whether the dog still has a knee or elbow joint. Those that do tend to adapt better to a prosthetic. The length of time the dog has been missing the limb is also important. Dogs that have been three-legged for a long time may be so adapted to their reality that they may struggle with a prosthetic.
Finally, you’ll need to consider the dog’s personality. Dogs usually need weeks or months of training and physical therapy to learn how to use their prosthetic leg. Those that are friendly and easy to handle are generally the best candidates.
Dog owners must be prepared to devote a lot of time and money to getting the prosthetic made, teaching the dog how to use it, and making necessary adjustments. They must also be aware of potential complications, such as chafing, skin sores, and spinal misalignment if the prosthetic doesn’t fit correctly.

Conclusion
A prosthetic leg is an amazing tool that can help improve the mobility and quality of life of a dog with a missing limb. Thanks to 3D printing, the process of making a prosthetic leg is becoming more streamlined and cost-effective, making it accessible to more dog owners.
However, not every dog is a good candidate for a prosthetic leg, and not every owner is prepared for the time commitment. Many dogs adapt just fine to losing a limb, so take the time to determine whether a prosthetic leg is the best choice for your pet before you begin.
Featured Photo Credit: Property of WIRED. All rights reserved to the copyright owners.


