You’ve just adopted a new puppy, and while that means there’s plenty of fun ahead, it also means it’s time to get to work. Puppyhood is when you need to begin training your dog so you don’t run into issues once they reach adulthood. But what should you be teaching them? The first place to start is by teaching them classic cues or the basics of all further training. There are six main cues for dogs that you should train your pup to obey, but if you’re new to training a dog, you may not know how to do this. That’s why we’ve put together this step-by-step guide on how to train six classic cues for dogs! In this, you’ll learn how to teach your dog everything from “sit” to “stay” and more.
The 6 Classic Cues for Dogs
Because we’re looking at six classic cues here, we’ll go through each one step by step. You won’t need much for training, just some small treats, a quiet spot, and about 5–10 minutes of your time. One other thing to remember while training your dog is that you should never punish them; use positive reinforcement only!
1. Sit
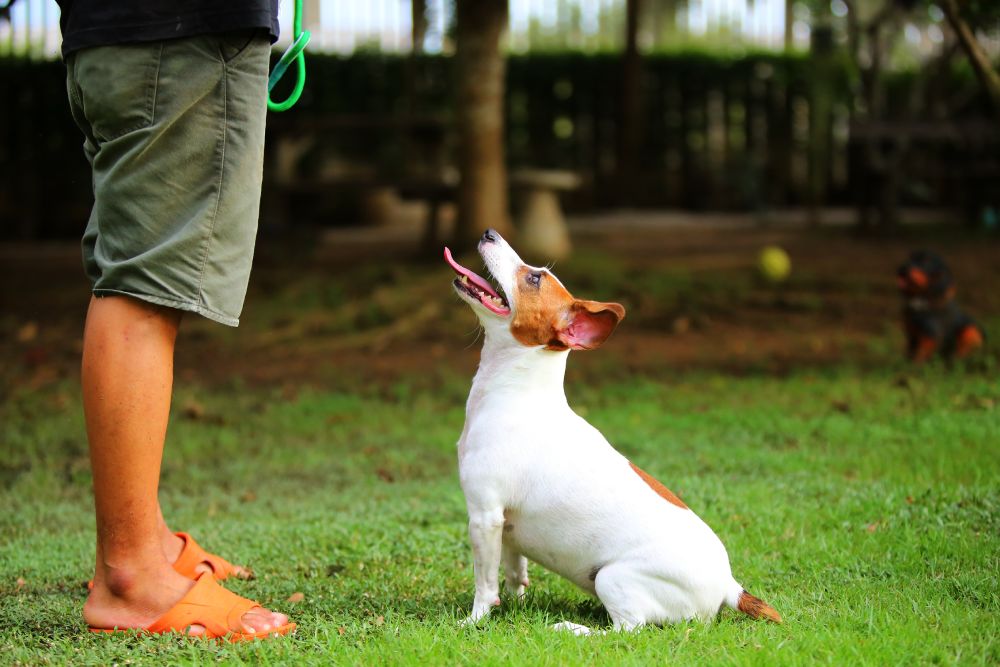
The first cue you should teach your pup is how to sit when told. Here’s how.
- Start by having a treat in your hand. Then, place your hand in front of your pup until it grabs their attention. You can let them sniff at the treat and even give them a bit of a nibble.
- Move your hand holding the treat roughly 3 inches above your dog’s head and just a little bit behind them while you say, “Sit!” Moving the treat only 3 inches allows it to still be within reach, while moving it up and a bit back causes your dog’s head to rise. As their head rises, it should lead them to automatically sit.
- If your pup doesn’t automatically sit, try raising the treat higher. This should help them reach a sitting position.
- As soon as your dog is sitting, praise them with a clear “good,” and give them the treat!
- Repeat this same process between five and 10 times, each time followed by cuddles, to allow your dog to associate the word “Sit!” with the action.
- Don’t overdo it in one day; give your dog a few days to learn this behavior before you attempt to train a new one.
- Teach them “Sit!” for the first time in a quiet, calm spot. Once they’ve accomplished the cue with confidence, you can move them to an area with a few more distractions and try it there. After they’ve mastered that, you can go somewhere with even more distractions. The goal is for your pup to sit on command no matter what’s around them.
- Once your dog has truly mastered this cue, begin phasing the treat out when you say it. Your dog should still obey the cue (though they might be a bit disappointed in the lack of treats at first). Offer them something else, like cuddles or their favorite toy.
- To keep the value of this or any other behavior high and your dog willing to respond to it, randomly offer them a treat after their positive response to it.
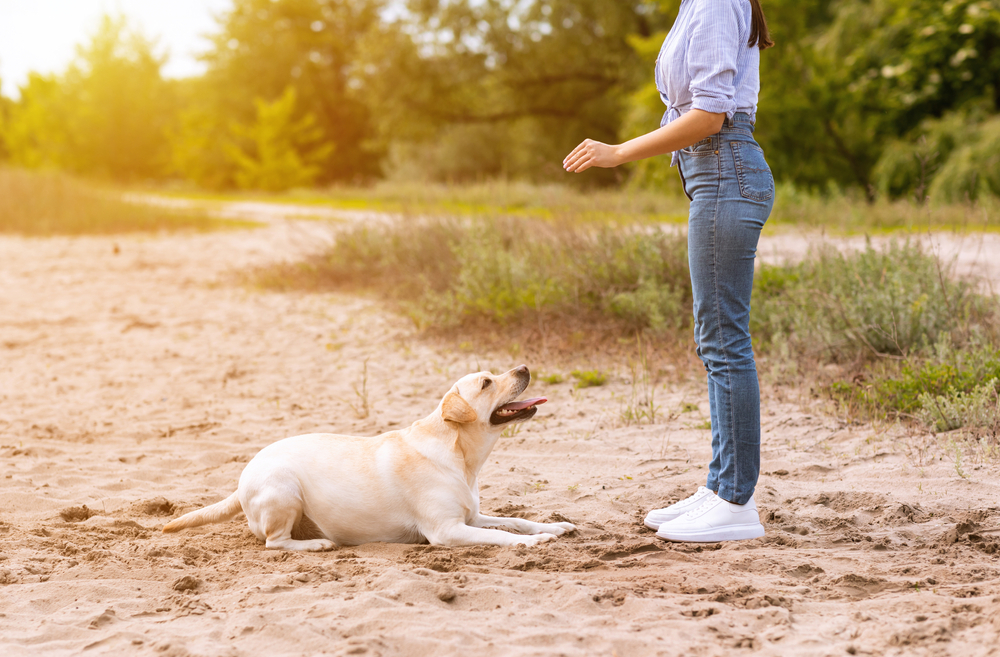
2. Down/Lie Down
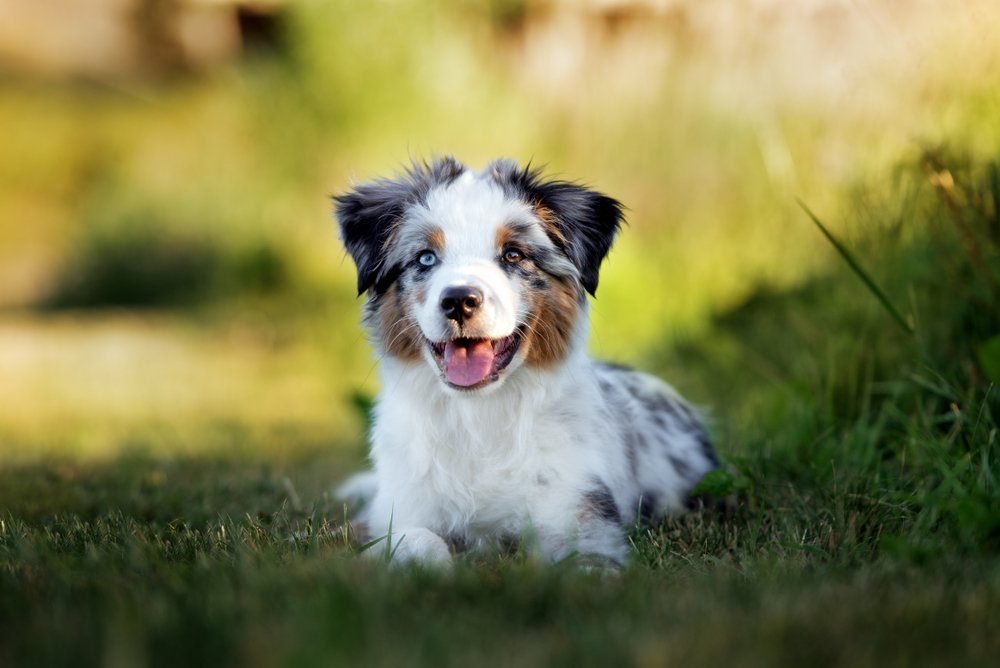
This cue is vital because it teaches your dog when it’s time to settle so you can do what you need without worrying your pet will bolt.
- Again, you’ll want a quiet spot, and you’ll begin with a treat in your hand that you place in front of your pet so you get their attention.
- Once your dog has sniffed out the treat in your hand, move your hand from right in front of them to the floor while saying “Down!” or “Lie down!”
- After your hand reaches the floor, drag it toward you and away from your pup’s nose just a bit.
- Much like with the “Sit!” cue, moving your hand in this motion should force your dog into lying down. Their head and shoulders should follow the treat to the floor, then their elbows should hit the floor, followed by their rear.
- Once they are lying down, give your dog praise with a clear “good,” and immediately deliver the treat.
- Repeat this process several times in a row so they start to associate the command and action. (Also, repeat this with your dog starting from both standing and sitting positions.)
- After your dog has mastered this cue in a quiet location, move to an area with a few more distractions, and then, after that, try a different area with even more distractions.
- Eventually, phase out the treat, while remembering to offer a different kind of reinforcer and the occasional treat reward to keep the behavior’s response valuable for your dog.
3. Stay
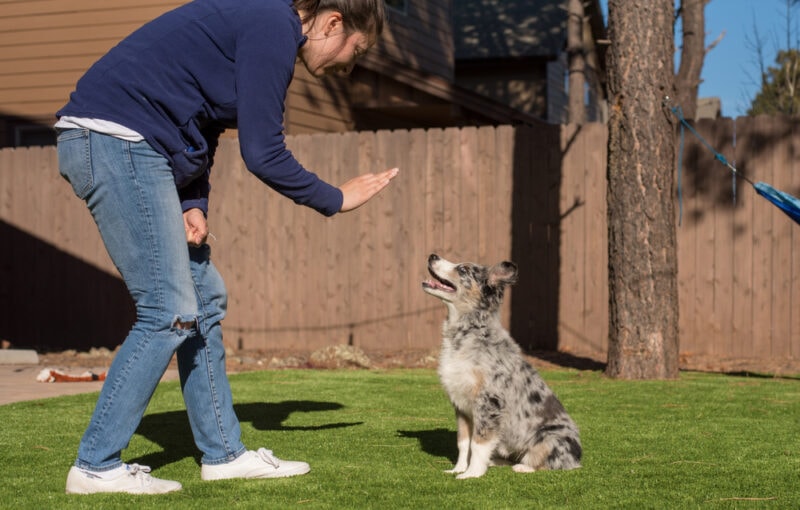
This command is one of the most important for keeping your dog safe. A canine that knows to stay when this cue is used is less at risk for doing something such as running into the middle of the road.
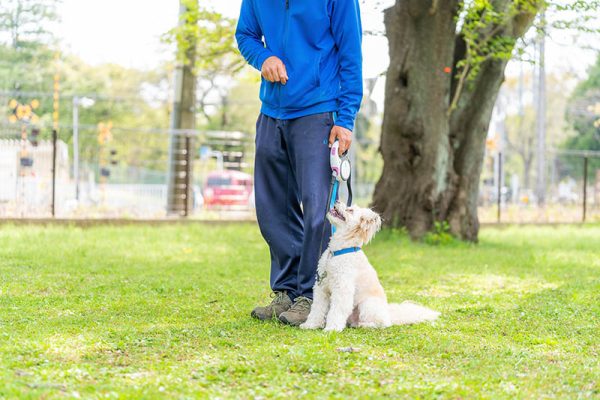
- Begin by having your pup sit or lie down.
- Next, it’s time to add a hand gesture and the cue, “Stay!” You can hold your hand out with the palm forward or hold up a finger, whatever works best for you.
- Mark the staying behavior with the word “good,” and give your dog a treat immediately before they try to move. If the treat excites them enough to stand up before you say the word, don’t give them the treat; have them sit or lie down again.
- Repeat this process a few times so your dog learns they get a treat when they stay in the sit or down position until they hear the word “good.”
- Once they’ve made this connection, you need to start waiting before you say the word “good,” followed by the treat. Just wait a second or two at first, then continue to draw out the length of time.
- Once your pup is able to stay in position consistently for several seconds, start increasing the distance between the two of you. Take a step away, then step back to give them feedback—“good”—and the treat when they don’t move. Then, take two steps and so on. Your goal is to have your dog stay in position while you go out of the room and then come back.
- Repeat the previous step in a different area with even more distractions.
4. Come
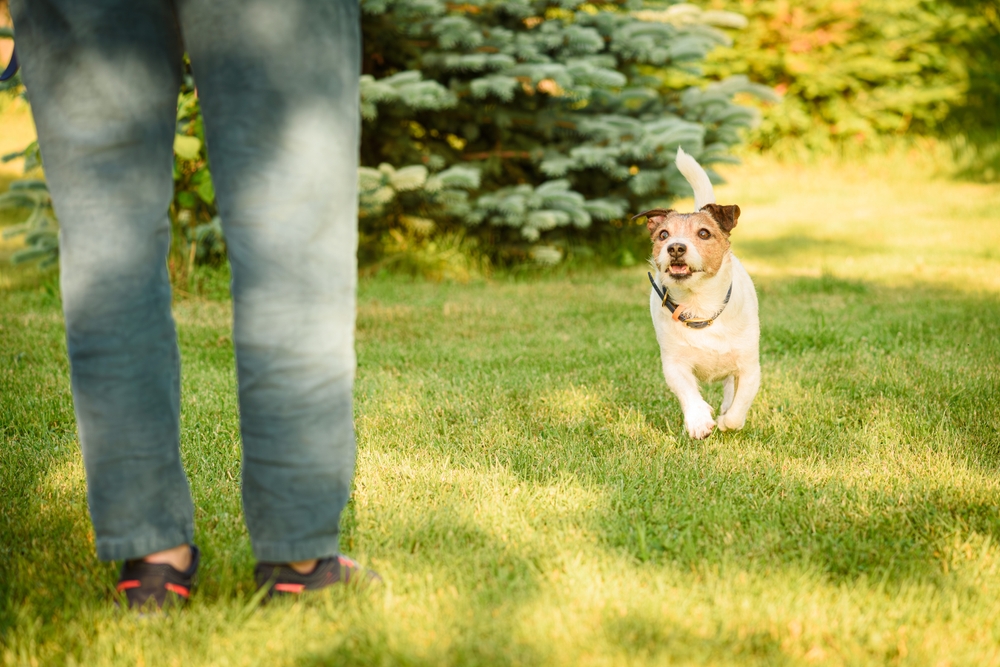
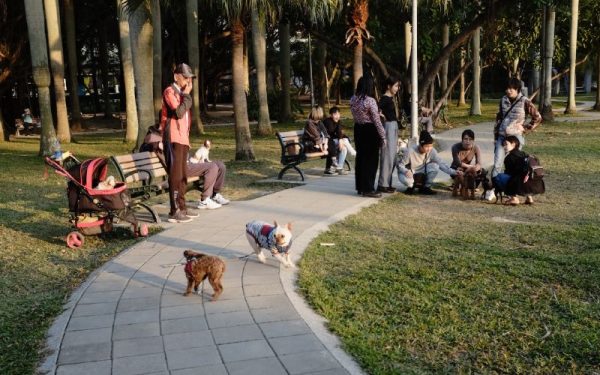
Do you want to eventually take your dog somewhere like the dog park where they’ll be off-leash? Then, you need to teach them this cue. It lets your pup know they should return to you when recalled rather than stay where they are.
- Show your pup that you have a delicious treat.
- Tell them to “Stay!”, then move a few steps away.
- Crouch down so you’re on their level, then tell them to “Come!” in an upbeat voice.
- You may want to pat your knees or beckon them somehow until they figure out what “Come!” means.
- Once they come to you, give them lots of praise and a treat.
- Repeat this process using the same distance. Then, repeat the process while extending the distance between you and your dog. You want to eventually get to the point where you can call your pet to you from anywhere in the house or yard.
- Once your dog has mastered this cue in your home and yard, move them to a safe space somewhere outside the home, such as someone else’s yard or a dog park, and practice this cue there. In certain scenarios, you might want to practice the behavior while keeping them on a long leash rather than have them be off-leash.
- After they’ve become a pro, phase out the treat, though remembering to offer one to them periodically. The recall behavior is vital enough that you should offer your dog an exceptional treat for the appropriate response. This cue’s value should always remain high and relevant.
5. Off
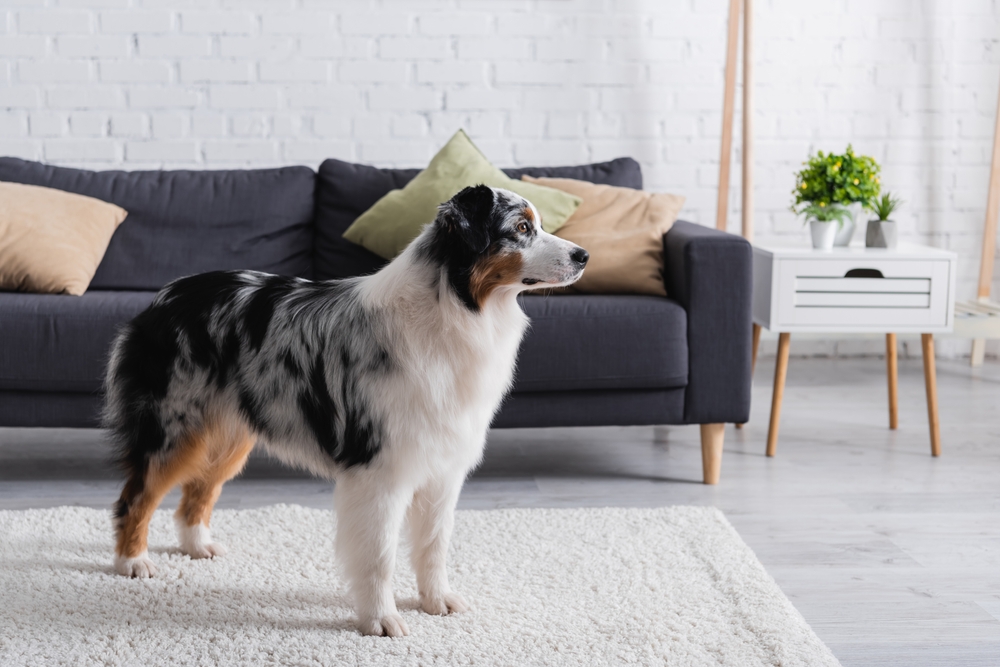
This command is important in helping your canine pal keep all four feet on the ground. It not only applies to dogs that jump on people but also to those that enjoy jumping on furniture or other places they shouldn’t be. It’s often a bit more challenging to teach than other commands, but with time and patience, your dog will get it! Teaching this command is different from the others because to practice it, you need to first teach your dog to jump onto something higher than ground level. However, learning this behavior will also be useful. It can help your dog understand what you are asking when you see them somewhere they shouldn’t be, such as on the sofa or with their front paws on the table. That said, when and how this behavior is reinforced needs to be carefully analyzed. Training:
- Start with your dog on a porch or similar elevated surface, and ask them to “stay.”
- Move down, and sternly tell them, “Off!” while pointing your finger downward.
- Once your dog has all four paws back on the ground, give them the treat.
- If you find your dog on the sofa, bed, or somewhere else they are not supposed to be, calmly ask them to jump off using your cue, “Off.”
- Once the dog jumps off, don’t give them the treat immediately. You may end up teaching them that jumping on things leads to getting a treat rather than the opposite. Ask them to “sit,” “lie down,” and/or “stay” first. Offer them the treat once they do so. This will help break any connections that they may make between jumping up and getting treats.
- Keep using this cue every time your dog jumps on something that they shouldn’t. However, you must be consistent in reinforcing it only when the dog goes where they are allowed to be.
6. Leave It
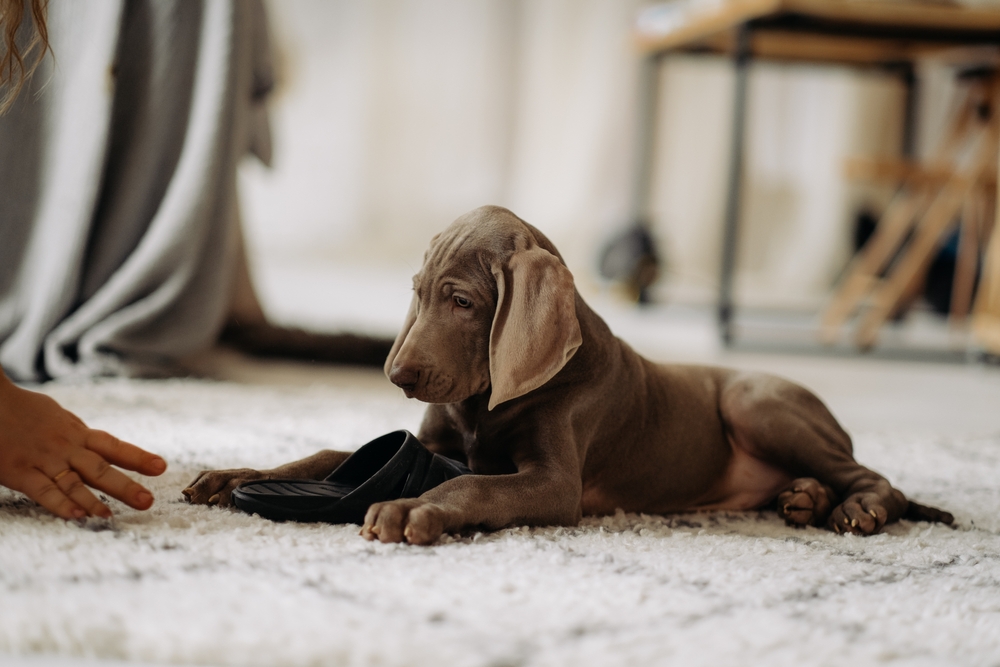
Your dog is eventually going to come across something you don’t want them to investigate, like your food, something dangerous, or even a dead animal. That’s what makes this command so vital. Using it tells your pup to avoid whatever the item is and teaches them self-control.
- While this cue is a bit spontaneous (as your dog needs to find something you want them to avoid), you can start teaching them to leave things beforehand. To do this, begin with a treat inside your fist.
- Let your pup sniff at, lick, and try to get to the treat in your fist, but don’t give it to them. Eventually, they’ll give up.
- Once they show the slightest sign of quitting, such as moving their head slightly back, praise them! Then, immediately reward them with a treat using your other hand.
- Repeat this process a few times.
- Then, show the treat without giving it to them, and when the dog backs up to look elsewhere, open your same hand, tell them, “Take it!” and give them the treat. The point here is that your pup learns that ignoring the treat is what gets them the treat.
- Repeat this process until your dog begins ignoring the treat more quickly. At this point, open your hand, but wait a moment or two before you tell your dog to take it.
- Once your dog has mastered ignoring a treat in an open hand, you can move on to “Leave it!”
- Now, place a treat on the floor, but cover it with your hand. Let your pup explore and try to get the treat, but once they stop, it’s time to reward them. However, you can’t reward them with the treat on the floor. Instead, pull out a different treat (this will work better if the new treat is higher value than the one on the floor or you offer multiples of the same treats), and give it to them. This should teach your dog that ignoring one thing could lead to something better.
- Eventually, your dog should quickly start ignoring the treat on the floor. When that happens, you want to leave the treat on the floor uncovered. (Be fully prepared to cover it up again if you need to! Don’t let your pup get it.) Tell them to “Leave it!” while you do this.
- When your pup leaves the uncovered treat, give them the higher-value treat.
- Repeat as necessary. This is another cue that could take a bit of time, so be patient!

Conclusion
You’ll end up teaching your dog many cues over their life, but these six classic cues are ones all dogs should be taught at the beginning of training. These cues will help keep your pet safer and work as essential building blocks for further training. It will take time and patience to teach these cues to your pup, but they’ll get there in the end!
See Also:
- How to Teach a Dog to Wait for Food: 5 Vet-Approved Steps
- How to Train a Dog to Go Down Stairs: 5 Vet Approved Tips & Tricks
Featured Image Credit: Denis Babenko, Shutterstock

