In this article
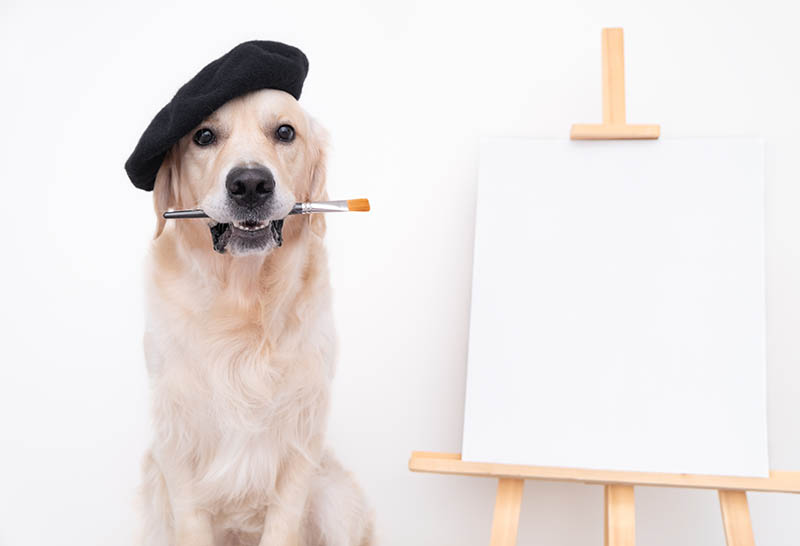
View 3 More +Dogs astound us with the incredible skills they can learn, but who ever thought a canine could paint? Art is challenging enough for many owners. A dog developing the knack for it may sound impossible, and yet, like so many tasks, all it takes is savvy training to turn them into true virtuosos.
Does your pup have what it takes to be the next Doggy da Vinci? We’ll walk you through how to teach your dog to paint so you can impress your friends and family with your pet’s artistic skills.

How to Teach Your Dog to Paint
Painting with your dog is a fun way to bond and provide enrichment while creating a lasting keepsake and reminder of your four-legged friend. There are a few ways to get your dog painting, including one that requires little training and another that requires shaping and positive reinforcement to get your dog to hold the brush.
Lick Painting: How to Teach Your Dog to Paint With Their Tongue
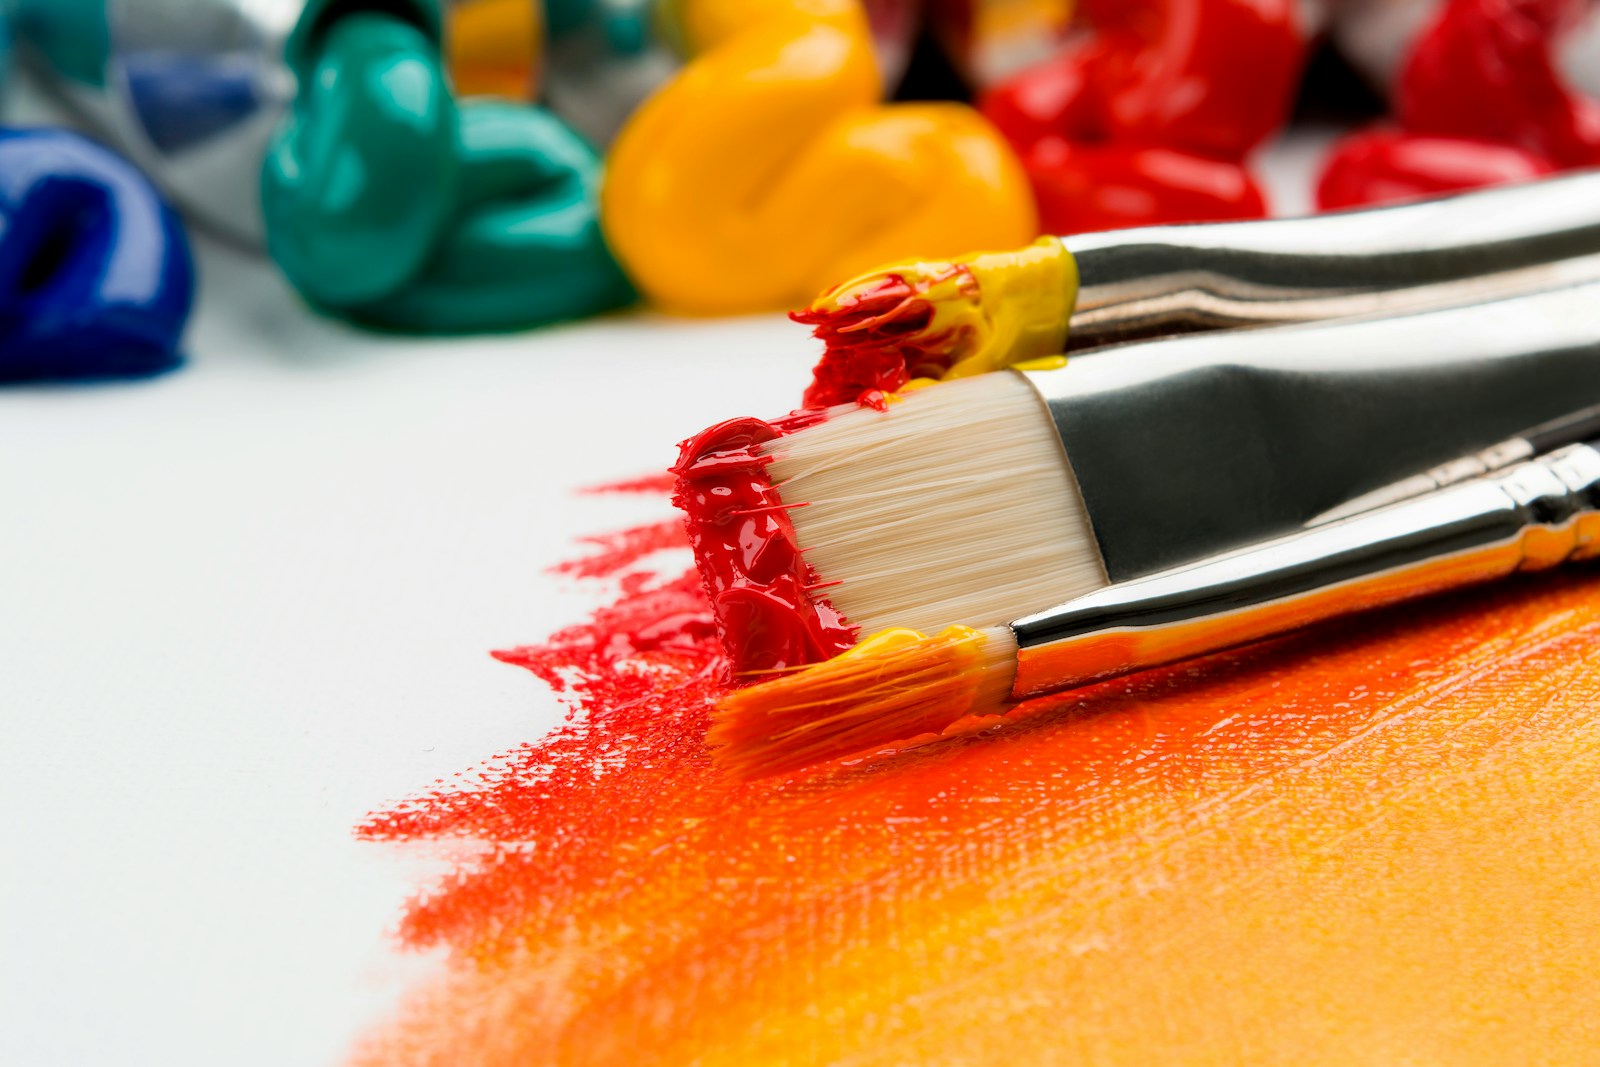
To start painting with your dog, you’ll only need a small canvas, some paint, a large plastic bag, and peanut butter. Although your dog won’t touch the paint, use non-toxic water-based paint to keep your pet from getting sick if they accidentally ingest any.
A washable formula like kid-friendly paint is ideal since you can quickly rinse it off your dog’s coat or any soft materials that may stain.
1. Drizzle Paint on the Canvas
Pick a few of your favorite colors. Place dollops and drizzles of paint onto the canvas in different designs, ensuring you don’t spread them around. You want thick gobs for your dog to work with.

2. Apply Peanut Butter to One Side of Your Plastic Bag
Grab a large plastic bag (e.g., a gallon-sized Ziploc), and cover the exterior of one side in peanut butter. Make sure the peanut butter is dog-safe and free of toxic ingredients like xylitol.
3. Insert the Canvas Into the Bag
Carefully slide the canvas into the plastic bag and seal it. The painted side should be under the peanut butter side of the bag. Your dog will lick the peanut butter off the bag, applying pressure and adding strokes to the paint underneath.
If your canvas is too large to fit into the bag, don’t worry. You can also use plastic wrap, ensuring that it covers the entire canvas surface. Use enough to wrap over the edges and meet on the underside so it is secured in place as your dog pushes the paint around.
4. Let Your Dog Paint!
With the canvas under the plastic, it’s time to unleash your dog! Let your dog enjoy the peanut butter and lick the plastic bag clean. As they lick, the paint on the canvas will spread into unique and intriguing patterns.
When your dog has finished the peanut butter and their masterpiece, carefully remove it from the plastic bag and set it aside to dry.

How to Teach Your Dog to Paint With a Brush
Is your painting pup ready for the next challenge? After mastering the peanut butter licking technique, you can try the advanced course that lets your dog wield a brush! With this style, you’ll use your marker or clicker to shape the desired behavior until your dog eagerly puts their brush on the canvas. Remember to use only non-toxic and water-based paint to keep the fun safe for all!
1. Create a Secure Handle for the Paint Brush
Lacking opposable thumbs and flexible fingers like humans, dogs must rely on their mouths to carry their paint brushes. Handling the small handle can be awkward for many dogs, so you’ll have to fashion a paintbrush holder they can mouth comfortably.
You can create a paintbrush holder with a toilet paper tube. Poke a hole in the center with a pencil, and fit the end of the paintbrush to form a T shape. Popping a hole in a tennis ball or chew toy can also work to hold the brush.
Alternatively, you can wrap sturdy fabric like a small towel around the brush to give it girth and make it easier to carry.
2. Teach Your Dog to Hold the Brush
Present the brush and begin shaping the behavior to get your dog to hold the brush. When your dog looks at the brush, click your clicker and give them a treat.
As your dog shows more interest in the brush handle, build the criteria for a treat. Click and treat when they sniff or touch their nose to it, then when they lick or mouth it, until they finally grip it in their teeth. Continue raising the stakes until your dog knows to put the handle in their mouth.
3. Add the “Take” Cue
You can add a cue once your dog reliably takes the brush in their mouth. Say “take,” “brush,” or any relevant word as your dog moves toward the brush. Mark and treat when they take the brush in their mouth.
Repeat this several times to build the association between the word and action.
4. Add Duration
Have your dog take the brush with your cue, but don’t treat them immediately. Like teaching “stay,” you’ll increase the duration so the dog knows not only to take the brush but also to continue holding it. Wait several seconds, and click and give a treat if they grip the brush the entire time.
5. Teach Your Dog to Touch the Canvas
Now that your dog can dependably hold the brush on cue, you can bring the canvas into the equation. Train your dog to touch their nose to the canvas or paper through shaping. If your dog knows how to hand target, you can use that to guide them toward the canvas and speed things along.
Show your dog the canvas, and click and reward when they give it attention. Raise the criteria, giving your dog rewards when they sniff the paper. Add longer durations after several repetitions. You can then add a cue, such as “paint,” or point to the canvas to direct your dog to touch it.

6. Put It All Together
With your two cues dialed in, you can bring it together and get your dog to take the brush and touch it to the canvas. When they brush the canvas, praise them profusely and give them treats.
The two-step process can confuse your dog, so don’t be afraid to revisit more basic moves like holding the brush for extended periods or rewarding any minor movement toward the canvas. Once you feel confident, add different paints to a palette, and watch your dog’s creativity emerge.
Where to Paint With Your Dog
Painting with your dog is a messy affair, so plan accordingly. You may discover that outside is the best place to set up and stay clean. If you stay inside, try to work on hard flooring that’s easy to clean. Use a drop cloth, old sheet, or shower curtain to contain the splatter and minimize the clean-up.
When you set up your painting arrangement, don’t be afraid to practice the basics, like holding the brush and touching the canvas. Since dogs don’t generalize well, the new setting may confuse them and make them forget how to paint. Be patient, and take steps back to lock in the behaviors before moving on.


Final Thoughts
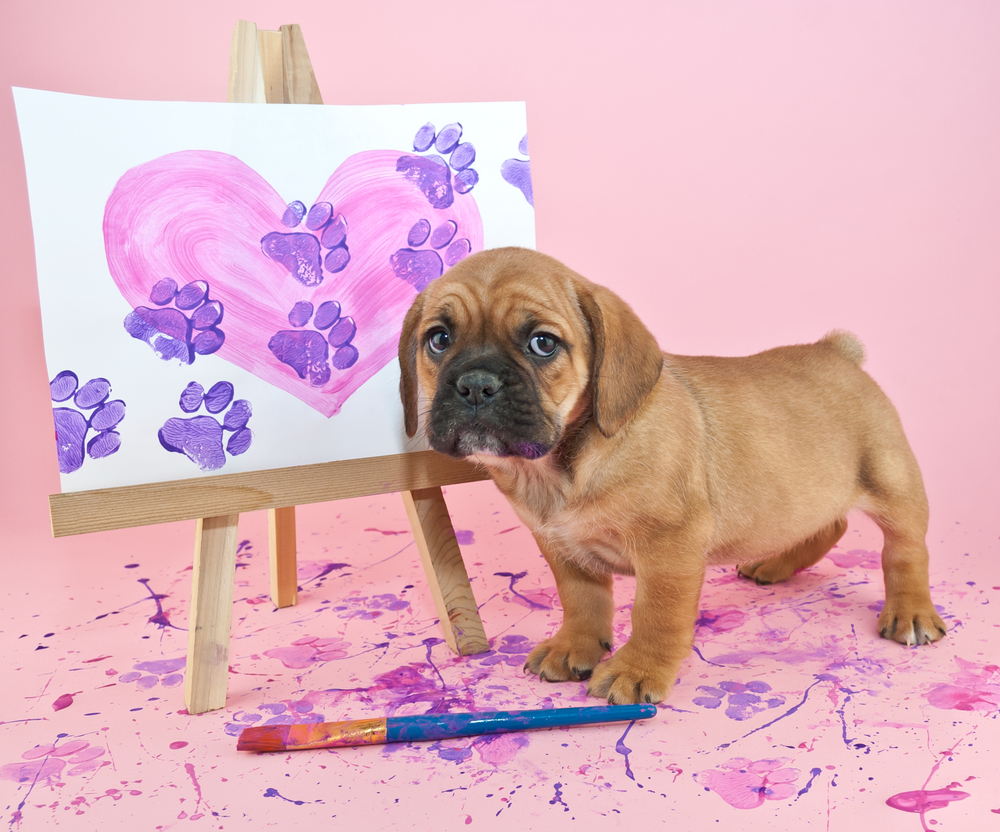
You may not realize it, but a regular Picasso could be hiding in your dog. Painting is hardly the first activity most people think to do with their pets, and yet it is one more example of our pets’ remarkable potential. Grab your brushes and your easel, and follow these surprisingly simple steps to teach your dog to paint their first puppy paw-trait today!
See Also:
Featured Image Credit: JStaley401, Shutterstock