

If you’re new to being a dog owner, you may be overwhelmed with how to train your new pup. Many people offer advice on how to train a dog properly, but sometimes, you may end up with bad advice that can lead you and your dog down a not-so-ideal path. Proper training is essential for your pet’s safety and socialization, and it also allows you to form a strong bond that will last the duration of your pup’s life. Proper training is necessary to have a well-rounded dog, and it starts with you.
In this guide, we’ll list nine dog training tips for beginners so that you have a firm grasp on how to train your dog properly using positive reinforcement.

Before You Start
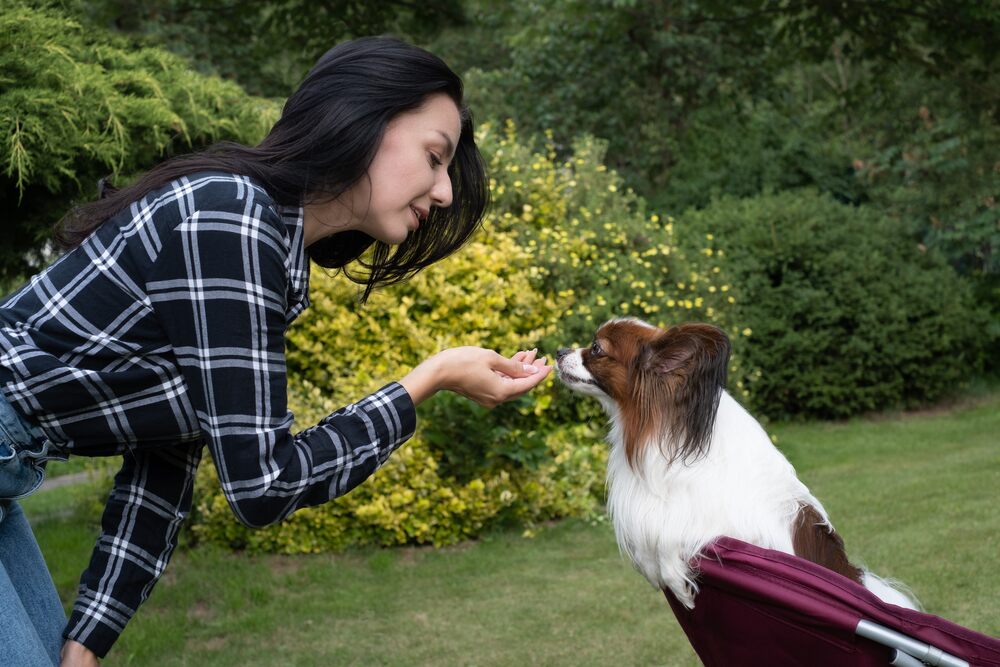
Before you begin training sessions, you must have plenty of soft dog treats on hand. It’s ideal to go with softer treats because they are easier for your pup to chew, and you’ll want to ensure they are small so as not to overfeed your dog during training sessions. Ensure the treats are healthy and contain no artificial preservatives or fillers.
It’s extremely important not to use harsh vocalization, shouting, or, even worse, hitting when training your dog. You should never hit your dog, and shouting or using harsh tones will only make your dog afraid of you—not to mention, hitting a dog is 100% unacceptable and inhumane.
Dogs do well with positive reinforcement training using praise and food rewards as motivation, and with time and patience, you can train your dog to be the best-trained pup around.
The 9 Dog Training Tips for Beginners
1. Keep Training Sessions Short
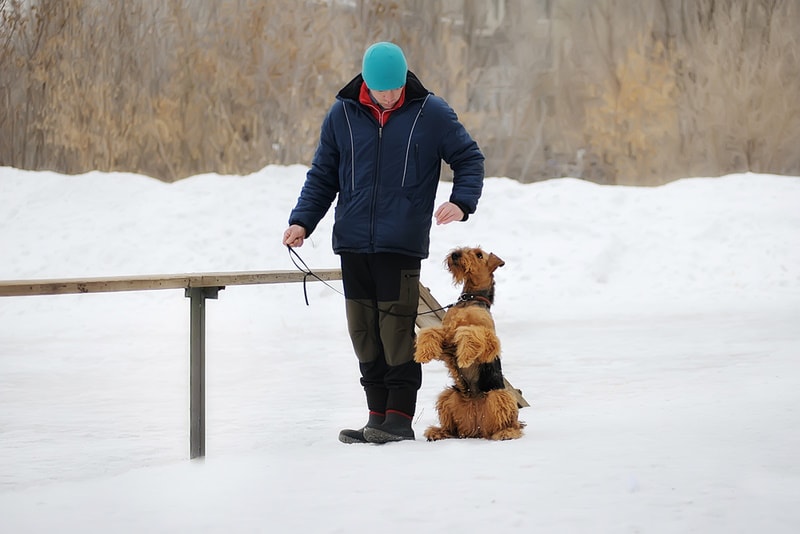
It’s more effective to keep training sessions short so you can keep your dog’s attention (this is especially true for puppies). An ideal timeframe for each training session is 5 to 10 minutes, and it’s best to start by teaching simple commands like “sit,” “stay,” “come,” and “down.” Always reward them with a treat, and don’t forget to use soothing tones when you say things like, “Good boy!”
2. Say Cue Words Only Once
You must devise a cue word or phrase for each task during training sessions. For example, if you want your dog to sit, you’ll use that exact word. The same goes for other tasks, such as “come” or “down.” Do not deviate from cue words you’re using because you’ll only confuse your dog, and they won’t know what you’re asking of them.
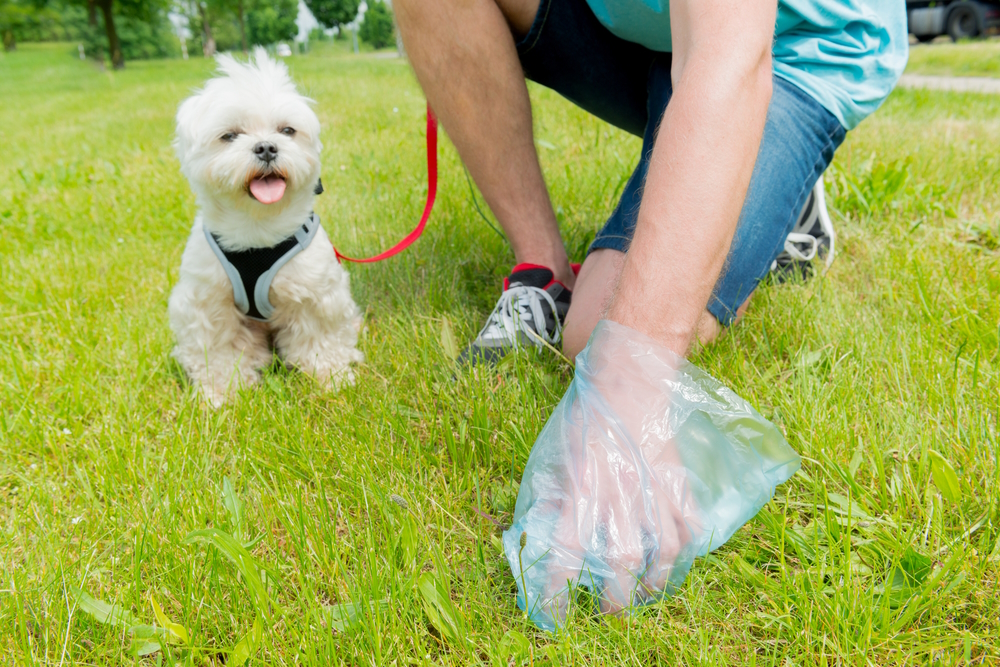
For example, when potty training, choose a cue word or phrase and stick to it, like “go potty” or “do your business.” If you change it up, your dog will not catch on.
That said, use the cue or phrase only once. If you repeat the cue word over and over, your dog may decide to tune you out. Dogs are intelligent and can learn cues quickly. Repeating the cues will not sharpen their listening skills, and it is unnecessary.
How to Train Your Dog to Sit
The “sit” command should be the first one your dog should master, as it will hold the basis for other commands to follow.
Hold the treat just above your dog’s nose and slowly move the treat back toward your dog’s tail. Your dog will follow the treat, and by moving it back toward the tail, your dog will naturally sit. Ensure you say the cue word “sit” while moving the treat back toward the tail. When your dog sits, reward them with a treat and praise.
How to Train Your Dog to Stay
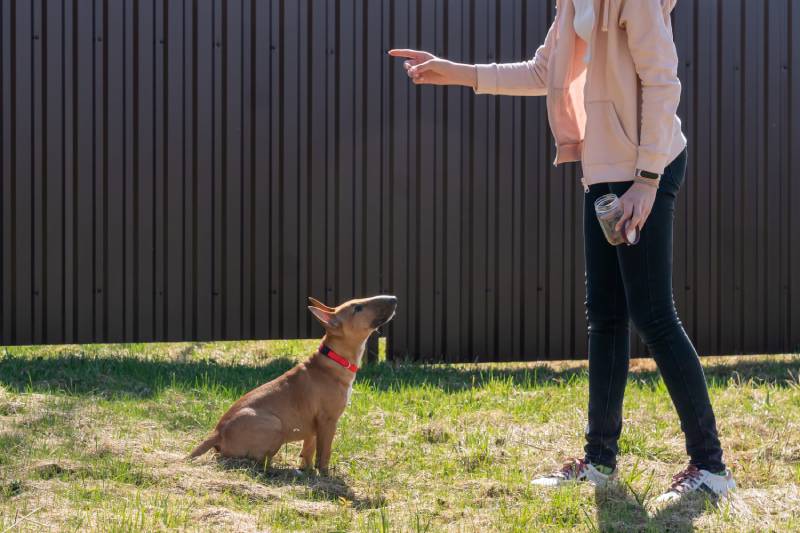
Before moving to this task, ensure your pup has the “sit” command down. For this training session, you’ll use both the cue word “sit” and a hand signal.
Have your dog sit, then slowly step back and say “stay,” along with a hand signal to stop. Keep the distance short and reward with a treat and praise when your dog stays put. Gradually increase the distance while holding eye contact and repeat until your dog has a grasp on the command.
How to Train Your Dog to Lie Down
Have your dog sit. Hold the treat in your hand close to their nose and slowly lower it to the ground while saying “down.” Your dog will naturally follow the treat and lie down. Reward with a treat and praise once your dog is lying down. Repeat this step until your dog nails it.
How to Train Your Dog to Come When Called
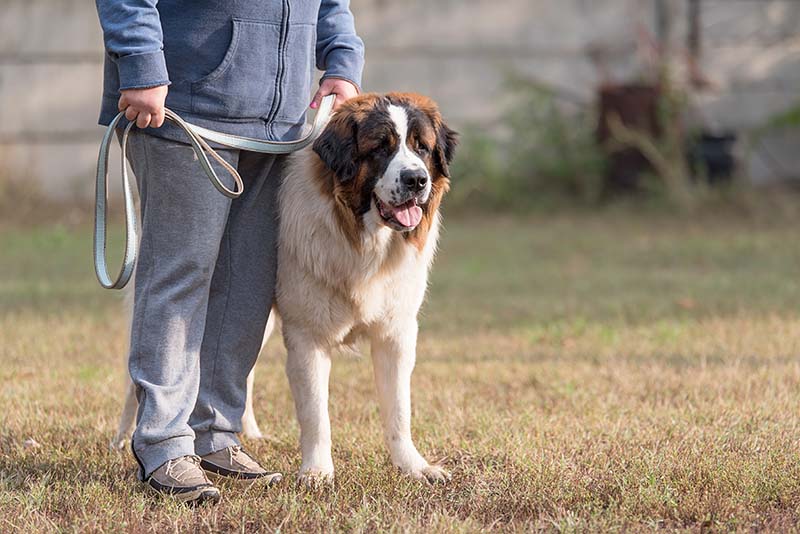
This task is crucial because it could save your dog’s life and is vital for your dog’s safety. To start, you’ll need a long leash. Let your dog explore a bit, then say the “come” command. Reward with a treat and praise when your dog comes to you. Gradually increase the distance and time you allow them to explore and repeat. You can also gradually add more distractions to strengthen the behavior.
3. Schedule Training Sessions Before Meals
As we’ve mentioned, dogs do well with a food-based reward system, and scheduling training sessions before a meal will keep your dog engaged. By consistently training your dog before a meal, they will begin to associate completing the task with the reward. Remember that all you need is a quick 5 -to 10-minute training session, so if you feed your dog at 4:00 p.m. each day, weave in a quick training session at 3:50.
4. Always Use Positivity
Training sessions should never be scary and stressful for your dog. If you use harsh tones, your dog will become frightened and confused. Using negative methods can also lead to dog aggression.
Despite popular belief, dogs are not born aggressive (think Pit Bulls); rather, dog aggression is a learned behavior and typically stems from bad or improper training out of fear and poor socialization. Always use positivity and calming tones while training to avoid aggressive behavior down the road.
5. Conduct Training Sessions With No Distractions
So, we mentioned gradually adding distractions while training your pup to come when called; however, what we mean here is to shut your TV off, put your cell phone on silent, and alert anyone in the home that you’re about to begin a training session—you want your dog focused.
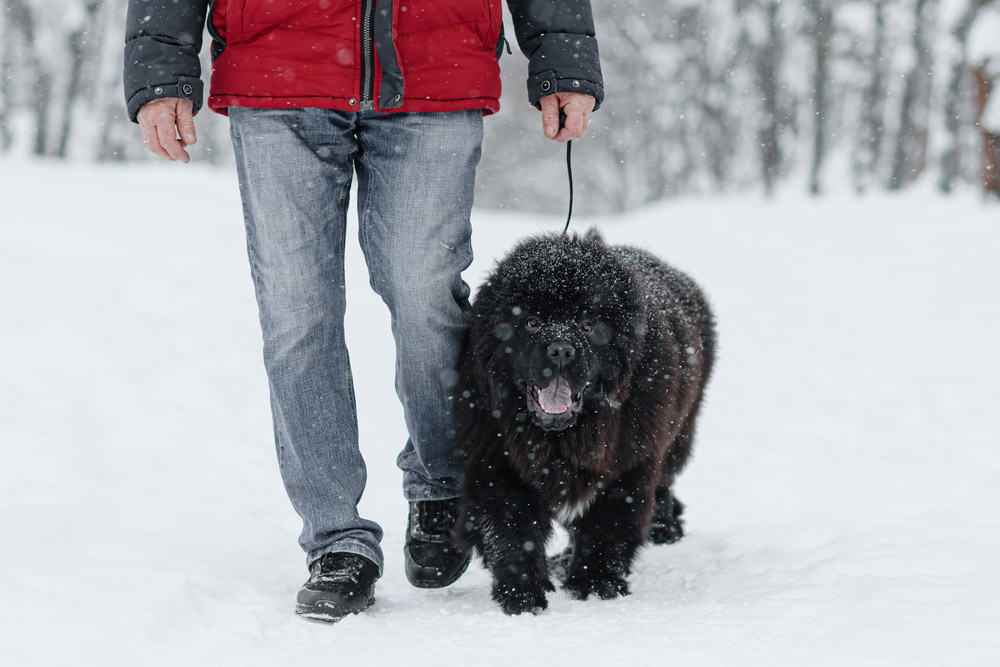
Start by choosing a room in the home that your dog is familiar with that has plenty of room to move around in. You can eventually move the training session outdoors, which will teach your dog to focus on you rather than street noise or other distractions. If you don’t have a fenced yard, keep your dog on a leash for their safety during the session.
6. Choose an Ideal Time to Train
It’s best to avoid conducting a training session when your dog is tired, hot, or in the middle of playtime. Conducting training sessions under these circumstances will keep your pet from focusing, and the session will likely be a bust. Instead, choose ideal times, like right before mealtime or after a nap, as these are prime opportunities for your dog to focus.
7. Learn What Motivates Your Dog
All dogs have their own tastes and interests, and training sessions will be much more successful when using rewards your dog loves. For example, don’t use certain treats your dog doesn’t really care for, as this is a demotivator. If you discover that your dog loves a particular treat with a particular flavor, stick to it and don’t deviate with some other treat. Some dogs are less food motivated and respond better to toys and games as rewards.
8. Learn When to End a Training Session
Rather than getting angry or frustrated with your dog, it’s best to end the session and try again later in the day if they’re not cooperating. Getting angry will only cause your pet to be confused and afraid, and by now, we know that you want to avoid this at all costs. Stay calm and relaxed, and remember to use soft tones and calm behavior so as not to upset them.
9. Enroll Your Dog in an Obedience Class
If you feel the training sessions are going nowhere, you can always enroll your dog in an obedience class. You can either opt for a private trainer to come to your home or participate in a class with other dogs and owners, whichever you feel would be best. However, enrolling your dog in an obedience class with others will help him become properly socialized around other dogs, and you and your pet may even gain new friends from the experience.

Conclusion
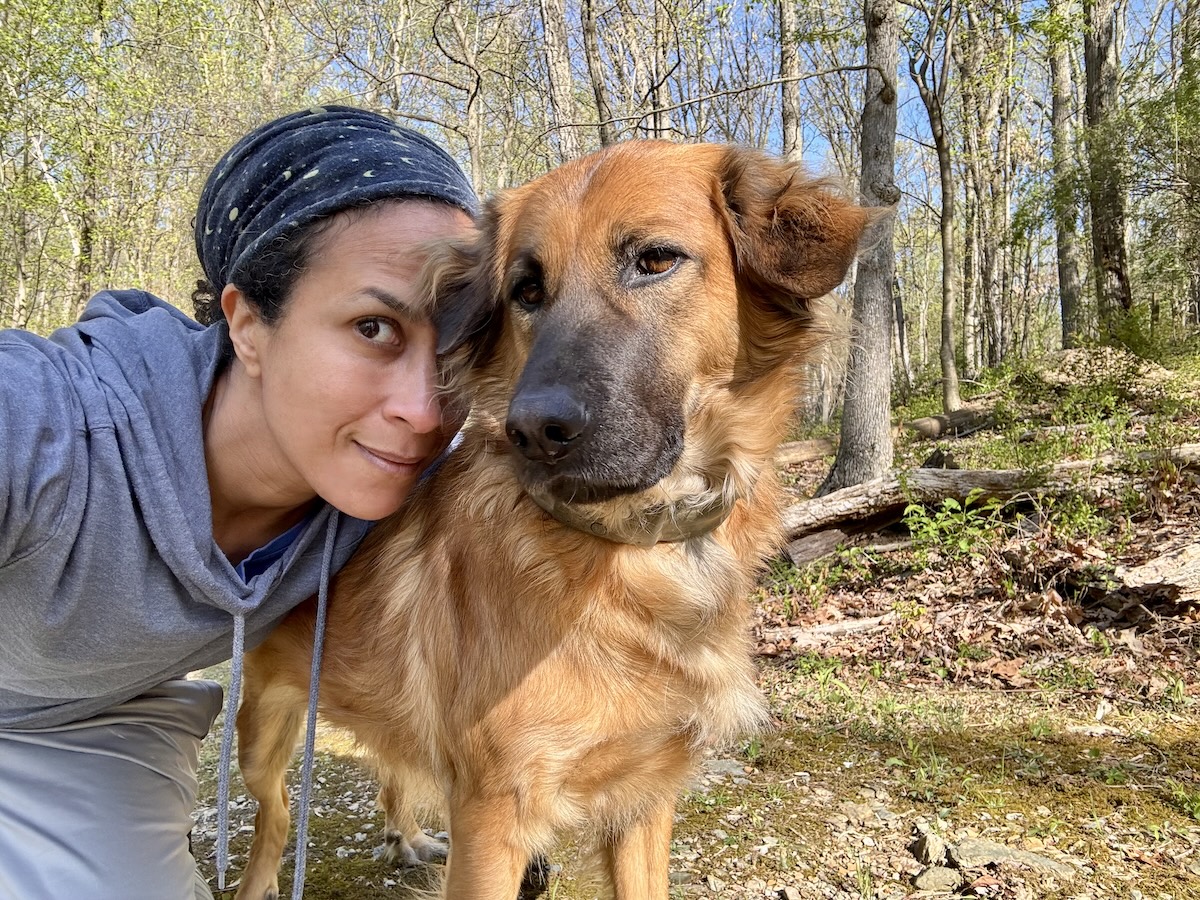
Consistency is key when it comes to dog training. Your goal is to make the experience fun and pleasurable for your pup and never stressful or scary. Proper training will allow your dog to have positive experiences with people and other pets; it will also allow your dog to become a well-behaved and well-mannered pooch. As long as you’re consistent with training, you and your pup can have fun together and form a strong bond that will last a lifetime.
See Also:
Featured Image Credit: Tatiana Katsai, Shutterstock
Contents
- Before You Start
- The 9 Dog Training Tips for Beginners
- 1. Keep Training Sessions Short
- 2. Say Cue Words Only Once
- 3. Schedule Training Sessions Before Meals
- 4. Always Use Positivity
- 5. Conduct Training Sessions With No Distractions
- 6. Choose an Ideal Time to Train
- 7. Learn What Motivates Your Dog
- 8. Learn When to End a Training Session
- 9. Enroll Your Dog in an Obedience Class
- Conclusion

