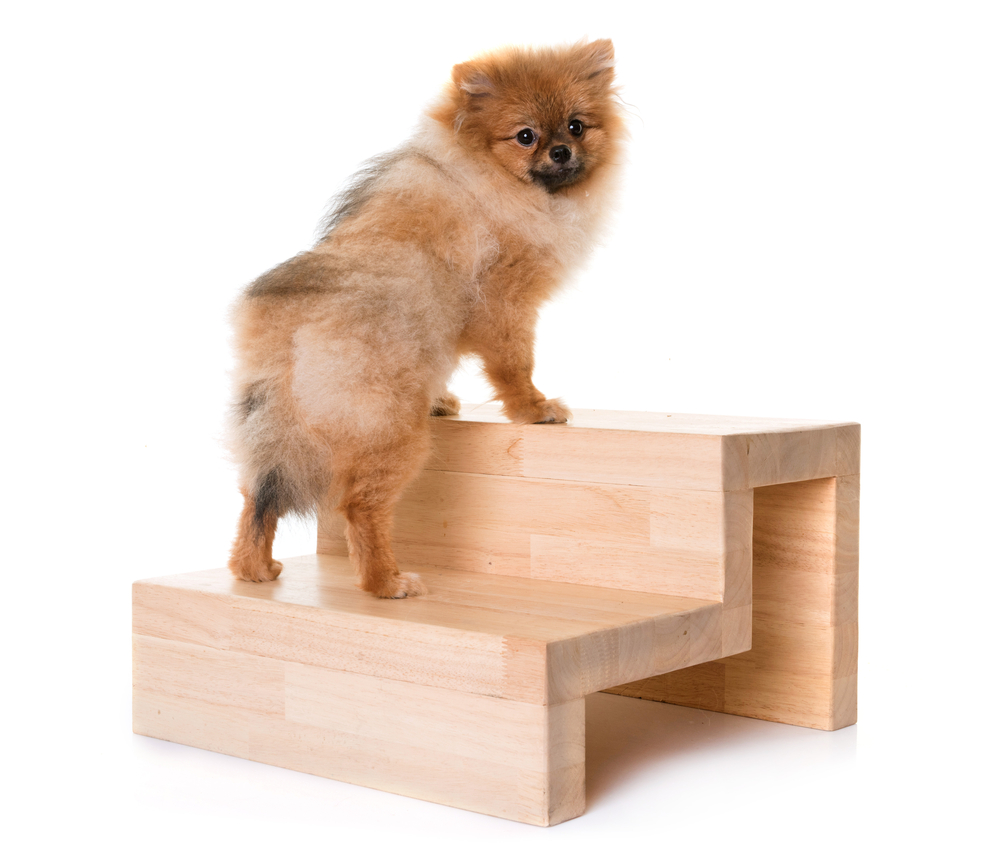
Small dogs and dogs with impaired movement due to conditions like arthritis can benefit greatly from strategically placed dog stairs around your home. Depending on your home’s layout and the type of furniture you have, dog stairs can help reach high sofas or act as full-service stools for your pet to hang out around you. If you’re bracing for how much you’ll need to shell out for some dog stairs, though, don’t!
Dog stairs are surprisingly easy to put together yourself at home with relatively few tools, and DIY masters can put their skills to the test with more sturdy creations that will last the test of time. Read on below as we link and list all the best DIY dog stair plans you can construct today.

The 6 DIY Stair Plans You Can Make Today
1. Sturdy DIY Dog Stairs
| Difficulty: | Intermediate |
| Tools: | Circular saw/hand saw, tape measure, impact driver, random orbital sander, miter saw, speed square, woodworking clamps, level, shop-vac, sandpaper |
| Materials: | Furniture-grade plywood, deck/structural screws, wood glue, wood finish |
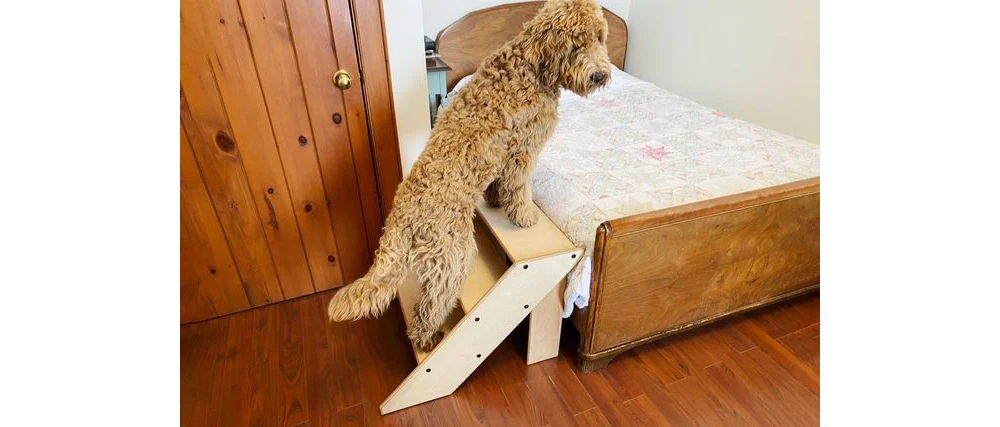
You can make a really great set of dog stairs with this plan if you have some woodworking know-how and a bit of cash to put into it. This plan goes into great detail on exactly how to perform each step to spec, meaning even apprentice DIYers can follow along. You can use whatever type of wood finish you want, but we recommend adding some carpet afterward to give your dog greater traction. The end result looks a little glossy and slippery, in our opinion.
2. Fancy DIY Pet Stairs
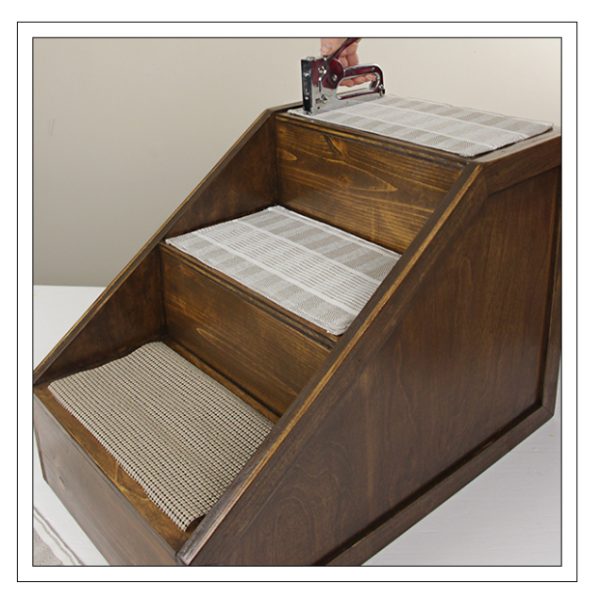
| Difficulty: | Intermediate |
| Tools: | Miter saw, circular saw, speed square, framing square, drill, nail gun, tape measure |
| Materials: | Birch plywood to spec, wood glue, finishing nails, runner fabric (optional), rubber drawer liner (optional) |
If you can source quality birch plywood, this plan can help you make stairs that can last years with good treatment. There are helpful diagrams every step of the way, and they suggest adding textured fabric or carpet as risers—we second this recommendation. To add grip, you can add some rubber drawer liners on each step. Once complete and finished, you’d swear this set of stairs came out of a high-end pet store and not your garage/workshop!
3. Farmhouse DIY Dog Stairs
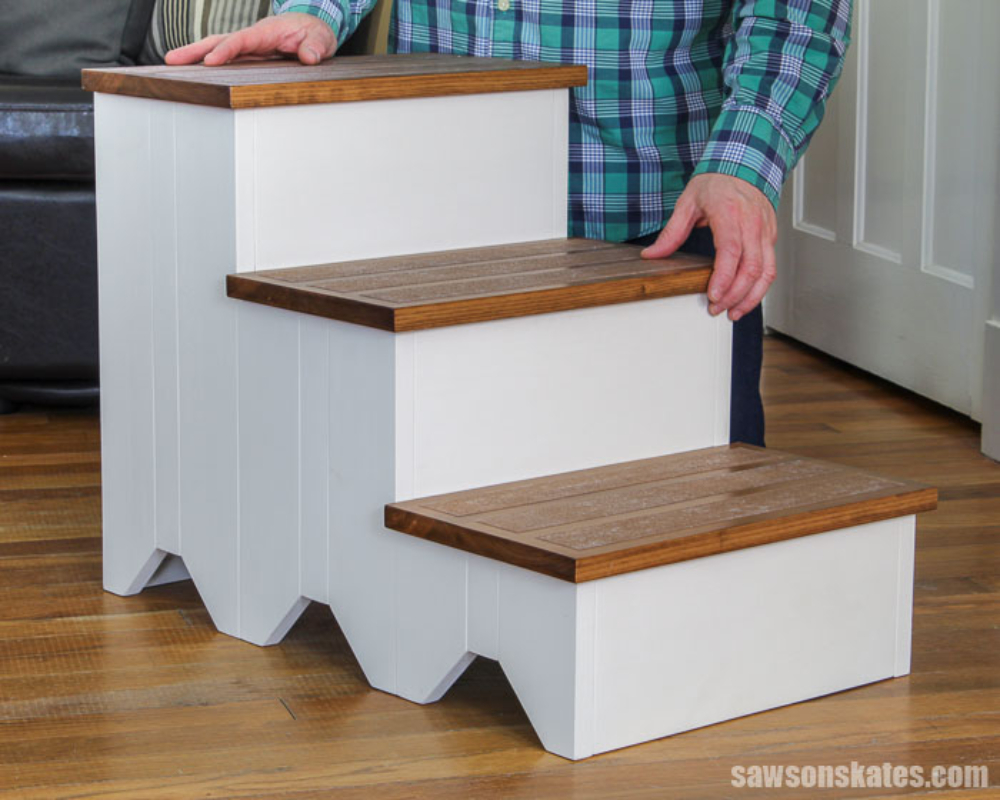
| Difficulty: | Intermediate |
| Tools: | Miter saw, Kreg Jig, chisel, Forstner bit set, right angle driver attachment |
| Materials: | Wood to spec, screws, wood glue, shellac, table-top fasteners, paint, polycrylic finish, anti-slip tape (optional) |
For dog stairs with a farmhouse flair, this plan helps aging or impaired dogs up to their favorite resting spot with ease and comfort. It’s a little trickier than the bare-bones plans in this list but creates a beautiful and safe set of stairs with subtly scalloped ridges along the bottom and a striking paint scheme. For added safety, it is recommended to add anti-slip tape along the treads to make them grippier for your dog’s paws.
4. Scrap Wood Dog Stairs
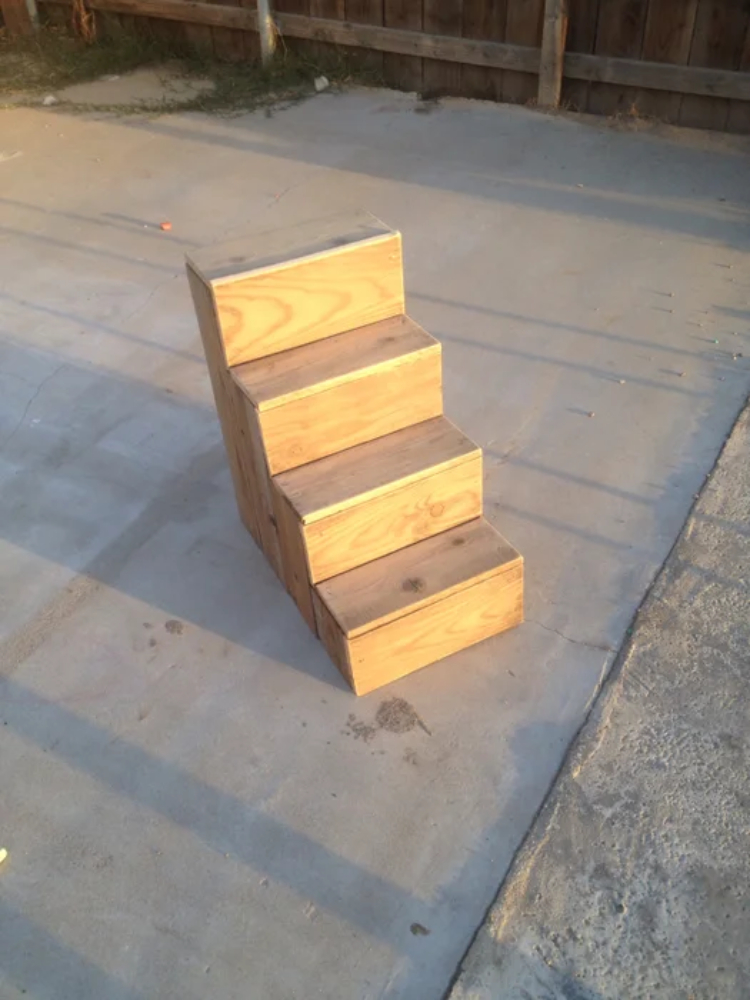
| Difficulty: | Easy |
| Tools: | Scissors |
| Materials: | Cardboard box, mounting tape |
As this plan shows, there’s really no need to open your wallet for wood if you can find perfectly good scrap wood lying around. DIY woodworkers, in particular, are sure to have enough scrap for this plan. The author of the plan used 2” x 4” 8’ boards and some scrap pallet boards, but you can adapt whatever you have on hand. This plan walks you through crafting a set of stairs 2 feet tall, so you may need to change your figures depending on your bed’s height. The size of the steps should be comfortable to ascend, but measure your dog’s legs for a better idea.
Important note: When using scrap wood, be sure to remove any old nails or hardware and sand it thoroughly, as these could be dangerous for your pet.
5. Easy DIY Pet Stairs
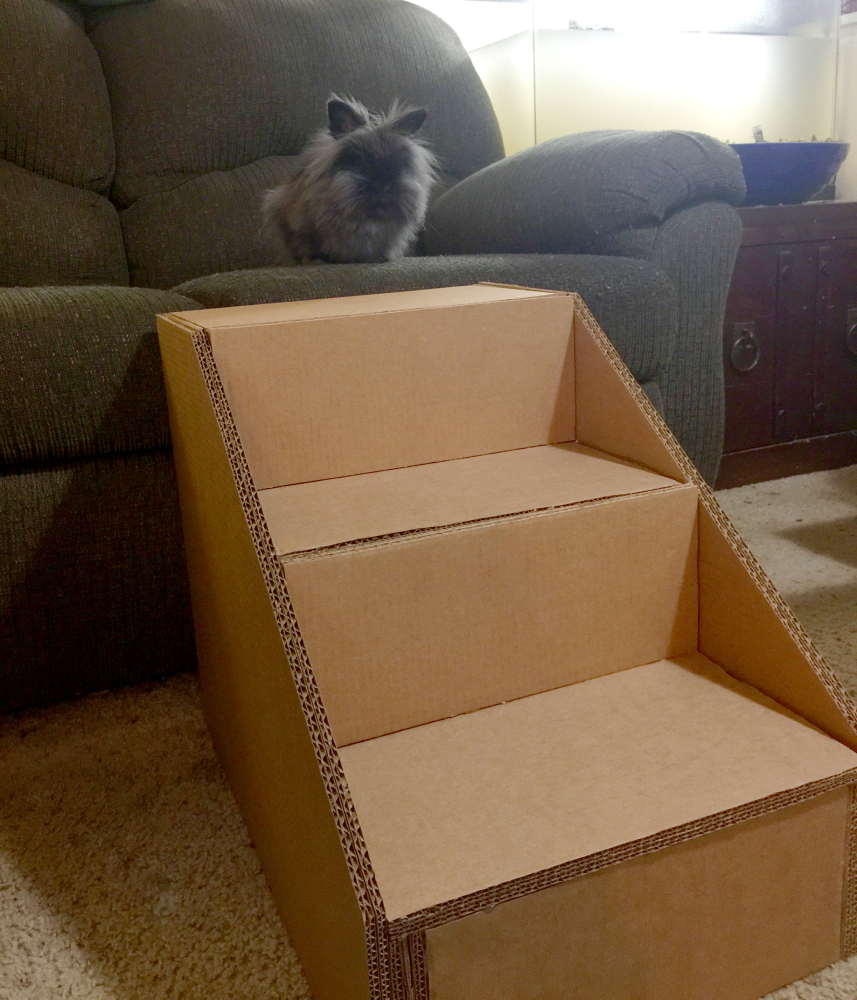
| Difficulty: | Easy |
| Tools: | Razor utility knife |
| Materials: | Double-walled cardboard box, mounting tape |
With just a 24” x 24” x 24” double-walled cardboard box, a razor knife, and heavy-duty mounting tape, you can make a set of fully functional dog stairs in an afternoon. This DIY stair plan recommends doubling up the cardboard on the side braces, support bars, and the steps themselves, and we agree, as it helps make them last longer and supports more weight. For small dogs, this set of dog stairs could be all they ever need if you take care of them afterward. You can paint them to fit any room’s decor as well. However, note that this is not ideal for large or even medium-sized dog breeds.
6. Basic DIY Dog Box Stairs
| Difficulty: | Easy |
| Tools: | Box cutter, tape measure |
| Materials: | Cardboard boxes, heavy-duty tape, ‘filler’ styrofoam/cardboard, fabric covering |
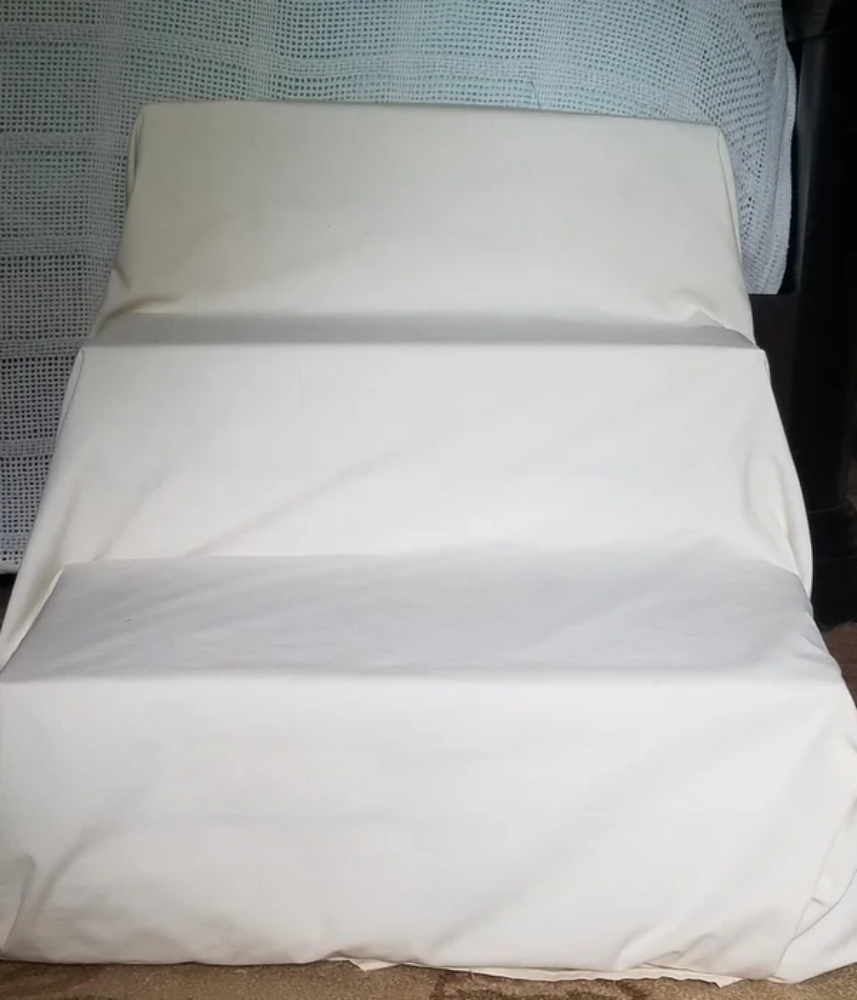
If you’re not the handy type but still like repurposing, this plan is perfect for you. The hardest part will be finding similar cardboard boxes to form similar steps, but the plan has numerous tips for that. This plan makes a set of stairs with three steps, so more boxes will be needed for larger stairs or bigger dogs. The fabric cover is a stroke of genius, in our opinion, and you can use any type of covering you can imagine. Old sheets are a good go-to for something basic, or you can get fancy with patterned covers if you wish. However, this isn’t the sturdiest plan, so it is really better for small breeders.

Conclusion
Not every dog needs dog stairs, but those that do need them don’t really need an expensive set from a big box store. If you’re already a crafty DIYer with woodworking tools, you are good to go with any plan here, and there are even a couple for folks without power tools. Get crafting one of these plans today so your dog can get to the bed or sofa easier ASAP!
Featured Image Credit: cynoclub, Shutterstock
