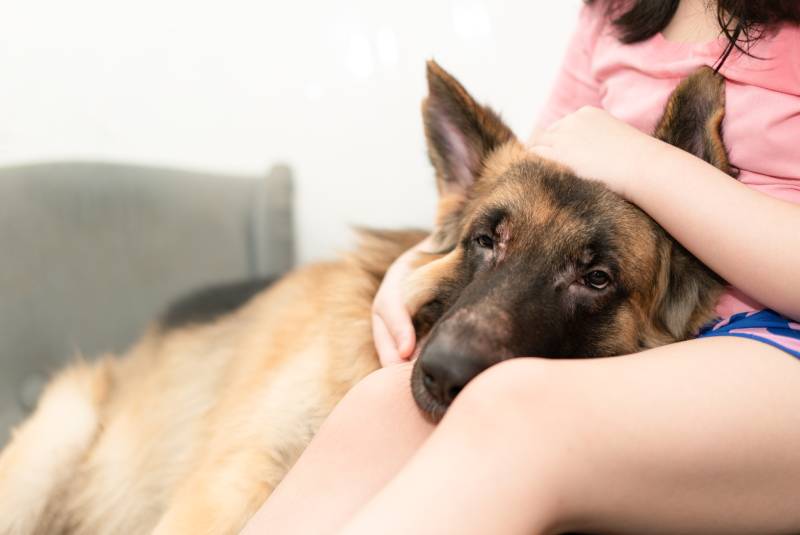


As dog owners, we want to ensure our pet is kept healthy and happy under our care. If you want to keep your dog healthy, you first need to ensure you know the signs to look for in a healthy versus unhealthy dog. Learning how to check your dog’s vital signs from home is going to help you discover if your dog is feeling unwell or if there is an underlying problem that requires a check-up at a veterinarian.
While dogs do show visible symptoms of being unwell, there can also be times when your dog hides their illness, and checking their vital signs can help you determine when something isn’t quite right. Tracking their vital signs on a graph or sheet of paper to compare them to previous checks makes it easy to see if something is out of the ordinary for your dog’s health.
This article will give you the ins and outs of checking your dog’s vital signs from the comfort of your own home.

Before You Get Started
A dog’s vital signs consist of three things, their temperature, pulse, and respiratory rate (breathing). Additional vital signs that you can check are your dog’s hydration status by doing a skin tent test and by checking their mucous membranes. The normal vital signs for a dog can vary depending on your dog’s age, size, and any underlying health conditions they might have.
A veterinarian will be able to give you your dog’s approximate normal vital signs so that you can compare any future vital signs to it. Checking your dog’s vital signs at home can be done daily or weekly, or as often as you like depending on how stressful it is for your dog. Each dog may react differently to getting their vital signs checked.
Some dogs may struggle to sit still or show discomfort with the thermometers or equipment you may need to perform the vital sign check. Ensuring your dog is kept comfortable and relaxed during the check not only makes your dog more willing to have their vital signs checked in the future by veterinarians but also makes it a whole lot easier for you.

The 5 Steps to Check Your Dog’s Vital Signs At Home
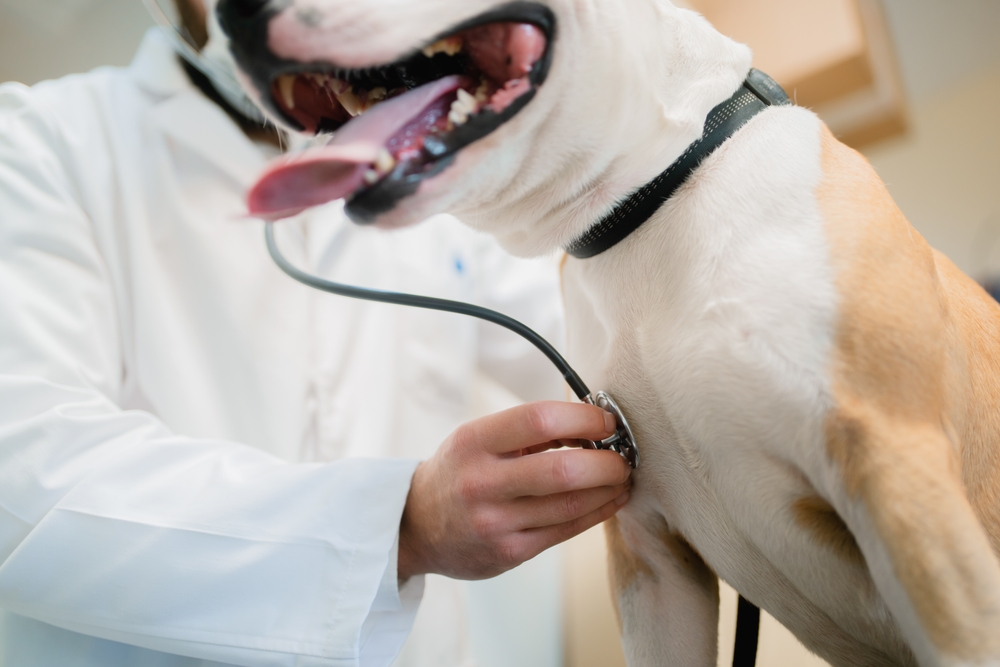
Keep in mind that an at-home vital sign check is not going to be a substitute for professional vital sign checks done by a veterinarian. However, these at-home vital checks can help you determine whether your dogs need to be checked by a veterinarian or not.
1. Temperature
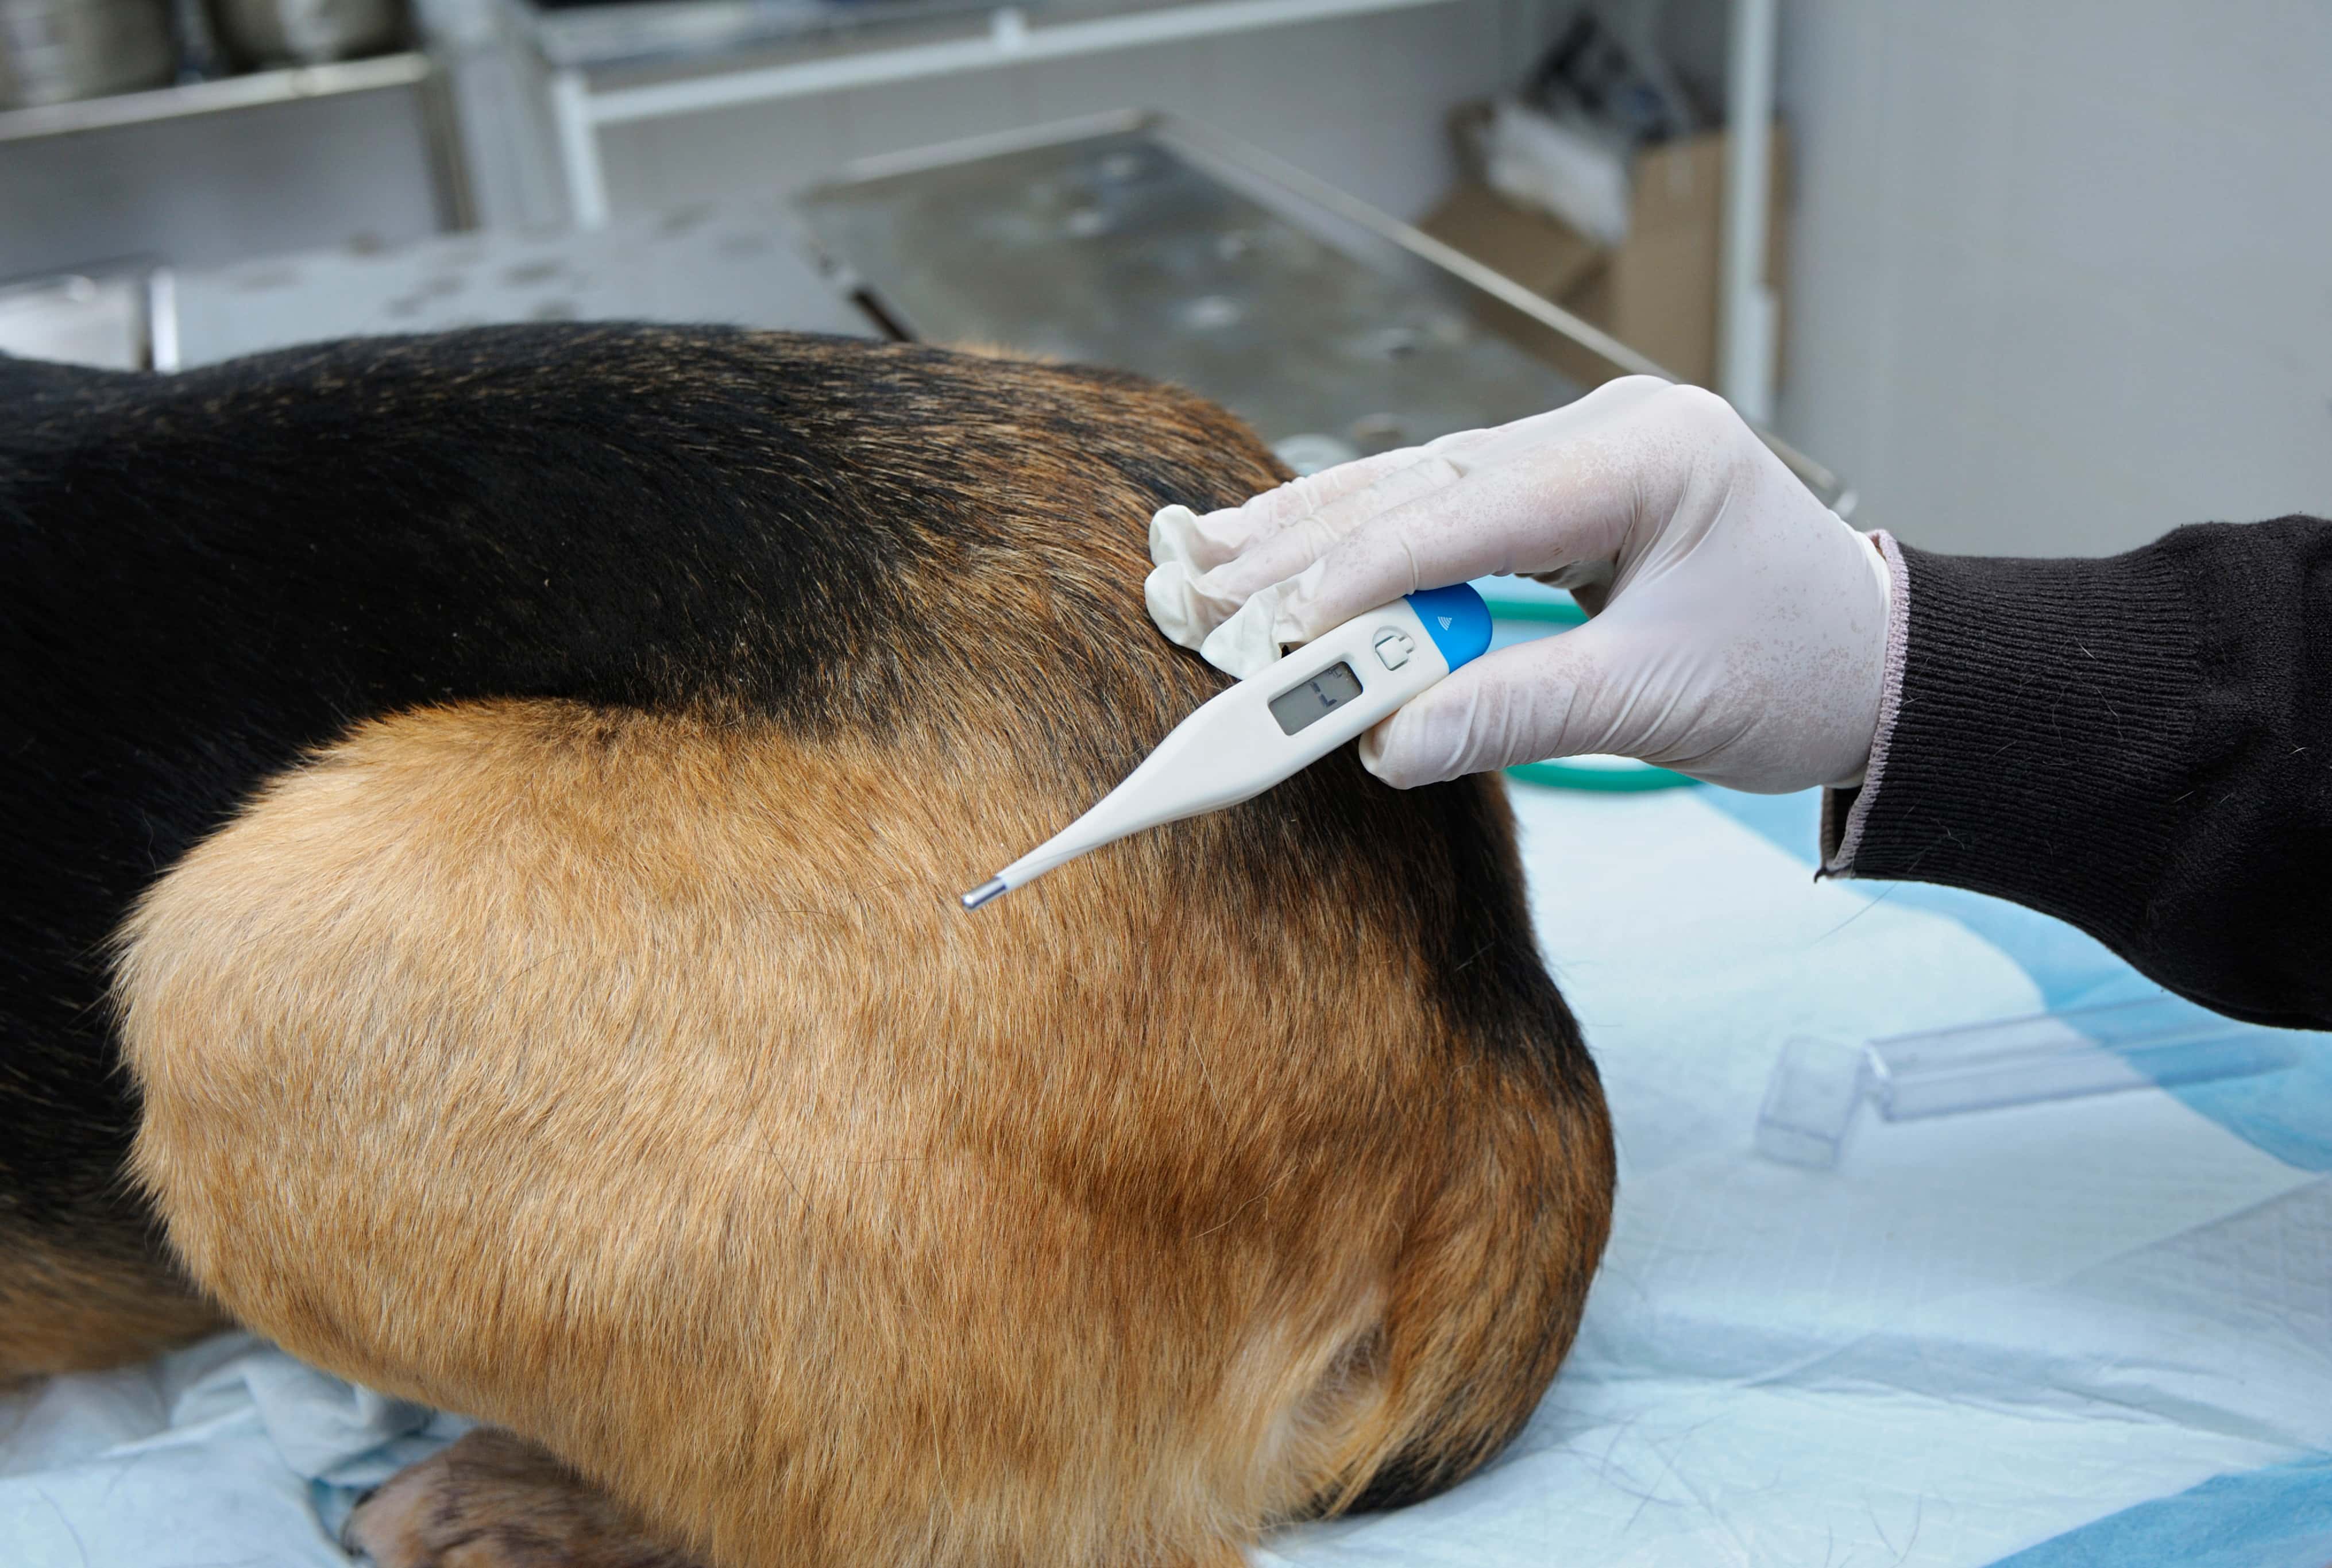
A dog’s normal temperature range is usually between 100 to 102.5 degrees Fahrenheit (37.5-39.1°C)2.
Anything lower or higher may indicate that something could be wrong with your dog’s health. However, in some cases, a higher or lower temperature might be considered normal. A higher temperature is sometimes normal, such as after your dog exercises or goes for a run with you. It may even happen if your dog is overly excited to see you. Higher-than-normal temperature as a normal bodily reaction to the environment or physical activity is referred to as hyperthermia. However, at other times, the high temperature may be abnormal and is termed as pyrexia (also known as a fever). For example, a fever resulting from a bacterial infection may lead to a higher-than-normal temperature.
A lower-than-normal temperature is referred to as hypothermia. In some cases, it may be normal as well (for example, if your dog is cold or asleep, their temperature may slightly drop). In other instances, it may be considered abnormal. For example, certain viral infections may initially show signs of hypothermia.
You can choose between using a rectal (mercury-based digital thermometer) or an infrared pet-safe thermometer depending on what works best for you. Though infrared thermometers and other thermometers that are not intended for rectal thermography may be quicker and easier to use, rectal thermography remains the gold standard for measuring your pet’s temperature (despite also having some limitations of its own).
Ideally, you should write down any final temperature readings to compare for future recordings. As with all vitals, it is best to measure them at around the same time every day, choosing a time when your dog is comfortable and relaxed. In addition, as the process of recording temperature measurements may be slightly uncomfortable for some dogs (and their owners too), it is best to take temperature after you’ve recorded your dog’s other vitals.
- Pet-safe thermometer (either mercury-based digital thermometer or an infrared thermometer).
How to do it:
There are two ways to measure your dog’s temperature.
Rectal Thermometer
To measure your dog’s rectal temperature, it is best to use both a lubricant and a thermometer sleeve. It is also best to wear gloves. To record temperature:
- One: Ensure that the thermometer works properly and has sufficient battery before beginning.
- Two: Wear gloves and place a disposable thermometer sleeve onto the thermometer
- Three: Apply a lubricant (such as KY Jelly or Coconut Oil) on the thermometer to minimize the discomfort associated with the procedure
- Four: Turn on the thermometer
- Five: Gently lift your pup’s tail and insert the thermometer into their rectum. Go at least an inch inside, and gently place the thermometer along the wall of their rectum. Do not poke your pet’s inside! A gentle angle adjustment is often sufficient to achieve this.
- Six: Keep the thermometer inside until it is done recording (most thermometers will beep to indicate completion of task).
- Seven: Record the date, time, and reading. Make any additional notes as needed (for example: if you observed some diarrhea on the thermometer sleeve, you should bring this up with your vet).
- Eight: Discard the thermometer sleeve and your gloves.
- Nine: Reward your pup with praise and treats so they get accustomed to the process.
- Ten: Disinfect your thermometer before using it again on your pup or another pup. Follow manufacturer advice for this process. Never share the same thermometer sleeve between dogs (or other pets).
Infrared Thermometers
Infrared thermometers offer owners the comfort of having to not deal with the mess and stress associated with rectal thermography. That being said, while infrared thermometers are undoubtedly less messy and somewhat easier to use, they are not always as reliable. Nonetheless, they may give you useful clues about your pet’s temperature. These products are often calibrated by default to a specific site on your pet’s body based on manufacturer advice. These include the eye, ear, gums, inner thigh, or around the anus. Follow manufacturer recommendations for such devices to record your pup’s temperature. For most products, temperature measurement involves the following:
- One: Calibrate the thermometer to the room or area where your dog’s temperature will be recorded
- Two: Gently restrain your dog while aiming the thermometer at the desired location
- Three: Most infrared thermometers come with a visual guide that indicates whether you are too far or too close for an accurate reading. These are often in the form of two semi-circular lines. The correct distance is when these lines form a complete circle. If they overlap or don’t meet, you are too close or too far, respectively.
- Four: Once you are at the correct distance for recording temperature, quickly take a reading and record it for your reference.
- Five: As these devices often don’t touch your pet, they don’t need to be disinfected prior to re-use. However, they should be stored according to recommendations made by the manufacturer of the product.
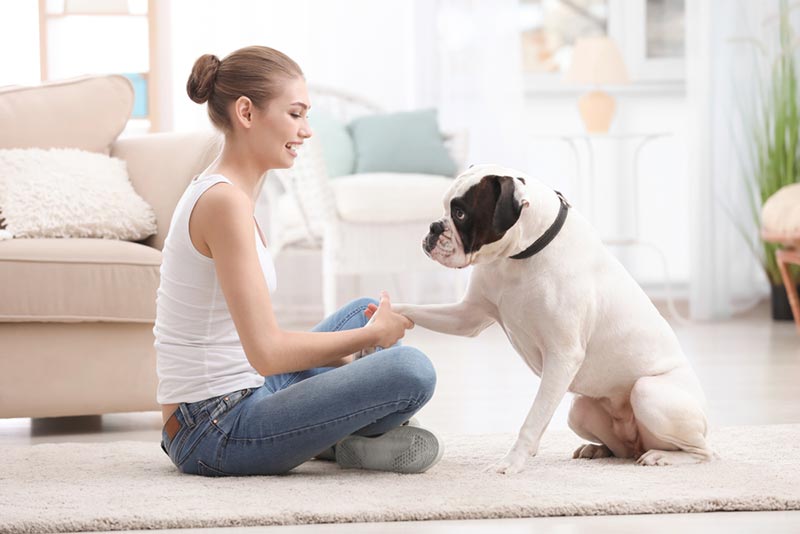
2. Pulse or Heart Rate
The normal heart rate for a dog is 60 to 180 beats per minute (bpm), with larger dogs having a slower resting heart rate than smaller dogs. By checking your dog’s pulse, you can monitor the number of times that their heart beats per minute.
- Stopwatch or smartphone to set a 60-second timer
How to do it:
You can check your dog’s pulse by placing two fingers (not your thumb) on the inside of your dog’s inner upper hindleg and locating the femoral artery. The femoral artery can be located by feeling for the femoral (thigh) bone moving your two fingers slightly behind it and pressing gently. You should begin to feel the pulse.
Once you have located it and your dog is calm and resting, start the 60-second timer on your stopwatch or smartphone. Count the beats under the balls of your two fingers until the timer stops. If your dog won’t sit still for this, you can count up to 15 seconds and multiply the number by four. Alternatively, using a 30-second timer and multiplying the beats by two will work as well.
You can also feel for your dog’s pulse in other areas:
- On the left side of their chest, around the area where the elbow of their left foreleg meets their body
- On the base of their neck
Record the time, date, location where you measured the pulse from, and the measurement itself.
3. Respiratory Rate
The normal respiratory rate for a resting dog is between 10 and 30 breaths per minute, with smaller dogs having a faster respiratory rate than large dogs. Dogs who seem to have effort breathing with either a high or low respiratory rate may be in respiratory distress and require veterinary treatment.
- Smartphone or stopwatch to set a 60-second timer
How to do it:
To figure out your dog’s resting respiratory rate, you will need to count the number of complete breaths your dog takes breathing in and out in 60 seconds. You should measure the respiratory rate while your dog is resting. Measurements can be done while your dog is sleeping, however, just like us, our dogs’ respiratory rates naturally drop when they sleep. Once you have your dog relaxed, observe their chest for a slow rise and fall with each breath. This is most easily observed where their ribcage meets their abdomen. Count each rise and fall of their chest as one breath or only count up to 30 seconds and multiply the number by two to determine how many breaths your dog took per minute.
Because respiratory rate can be measured from a distance, it’s best to start recording vitals by assessing your dog’s respiratory rate. Once you begin touching them for pulse and temperature measurements, your dog may become fidgety (and may also have an increased respiratory rate).
4. Hydration Levels
You can use your dog’s skin to test whether they are dehydrated or hydrated. This is an additional vital sign that you can check your dog, and dehydrated dogs will need to be taken to a veterinarian immediately. Dogs can become dehydrated for several reasons, such as heatstroke, diarrhea, vomiting, or poor water intake. You can test your dog’s hydration levels by checking the elasticity of your dog’s skin.
You won’t need any tools or equipment for this vital sign check.
How to do it:
Have your dog sit still or lay down and gently pinch their skin between your thumb and index finger. Ideally, you should pinch the skin on their head or between their shoulder blades. If your dog is hydrated the skin will immediately spring back into place. However, if your dog is dehydrated, the skin will move down slowly and stay pinched for a few seconds after you release it. Additionally, you can check your dog’s hydration levels by looking at their gums.
A hydrated dog will have pink and moist gums, while dehydrated dogs will have dry and sticky gums.
Conclusion
Checking your dog’s vital signs at home can become part of a regular health check. Most vital sign checks won’t take much longer than 10 minutes to complete, and once your dog gets used to their vitals being checked by you, it can be quick and easy to do at home. Speak to your dog’s veterinarian about any unusual signs you have recorded during the vital sign check.
If something is abnormal, bring your dog in for a veterinary checkup. If the vital signs are out of the normal range and your dog is showing signs of being unwell, it is best to immediately take them to a veterinarian.
Featured Image Credit: Vach cameraman, Shutterstock


