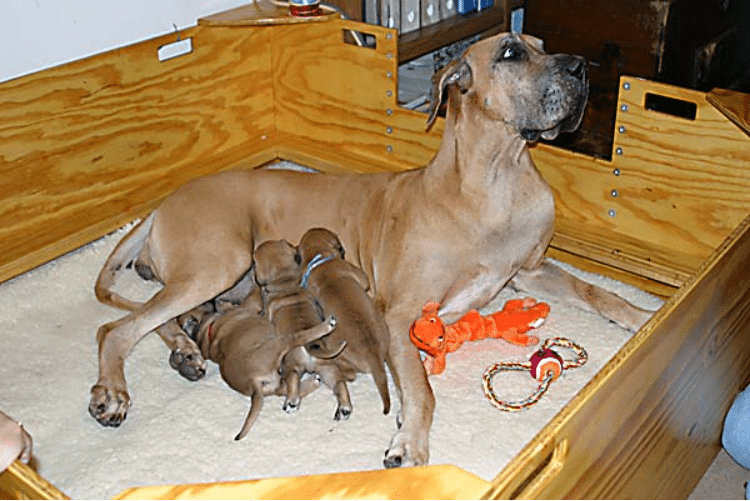
Are you getting ready to have a litter of puppies in your home? If so, you can’t have them wandering all over the place with the risk of them hurting themselves, but that doesn’t mean you need to go out and spend a bunch of money on a pre-made whelping box. Let’s put those DIY skills to use and make your dog and her future puppies an awesome whelping box that meets all their needs and then some!

The 7 DIY Whelping Box Plans
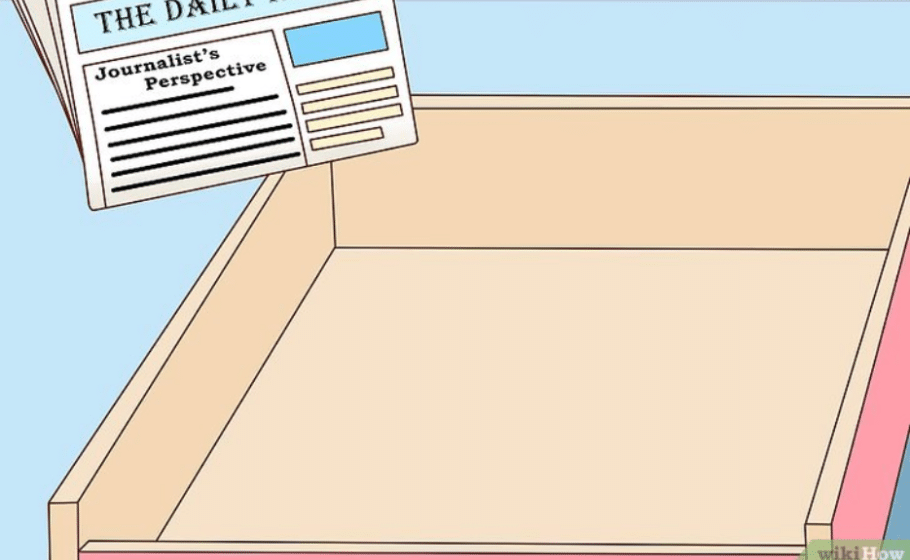
When purchasing materials for your DIY whelping box, please make sure that you buy only safe and non-toxic materials. Keep in mind that plywood or MDF panels can be constructed using different kinds of glues and some are considered toxic, as they release fumes that could damage your pups. Depending on the product used and the environment, off-gassing of toxic volatile compounds might take time. Look for formaldehyde-free products to reduce this risk. Keep in mind that plywood is also very porous and difficult to clean, which increases the risks of bacterial infections in susceptible newborn puppies.
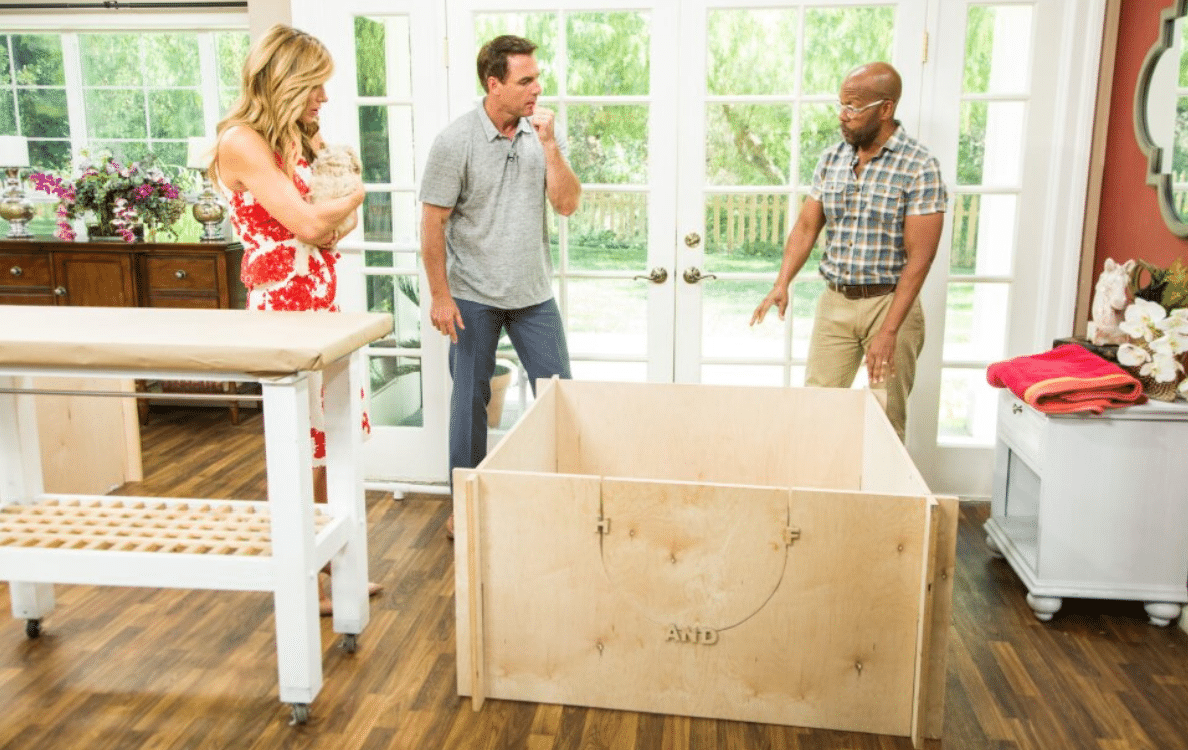
1. Sturdy Collapsible Whelping Box
| Materials: | (4) 48” x 24” prefinished bullnose shelving boards, (4) 4” x ¾” corner braces, (8) 4” x 7/8” corner braces, 4’ x ½” plywood, (3) 2’ x 4’ x 8’ stud boards, (4) 2” 9OD DWV Sanitary Elbow, (4) 2” PVC Sanitary Tee, (2) 2” x 10’ DWV/40 PVC pipe, screws, and blankets |
| Tools: | Tape measure, jig saw, and a drill |
| Difficulty Level: | Easy |
You won’t need a whelping box at all times, but if you think you might need one for your pet’s first litter as well as for the future, having one that folds down is a huge space saver. That’s exactly what you get with this sturdy collapsible whelping box. It turns it into a one-time project for all your future litters, and the best part is that it’s fairly easy to make!
You will need something to cut the plywood, which can usually be done by workers at the store, but everything else requires pretty standard household tools, so even if you don’t have a lot of DIY experience, this is a project you can tackle. Even better, the guide walks you through everything step by step, so all you need to do is follow the directions.
2. Simple Plywood Whelping Box
| Materials: | 4’ x 8’ x 0.75” plywood, 4’ x 1’ x 1” plywood, 1.5” screws, and self-adhesive contact paper |
| Tools: | Hand saw or power saw, pencil, ruler, staple gun, screwdriver, and a drill |
| Difficulty Level: | Easy |
Don’t have anything other than hand tools? With this simple plywood whelping box, you don’t need anything else. All you need to do is gather the supplies and ensure you have a few basic household tools, and you can quickly make it yourself.
You can turn into something a bit more comfortable with some blankets, and the best part is that it doesn’t take much to change the dimensions. Just keep in mind that it doesn’t fold down afterward, so if you plan on storing it, it will take up quite a bit of space.
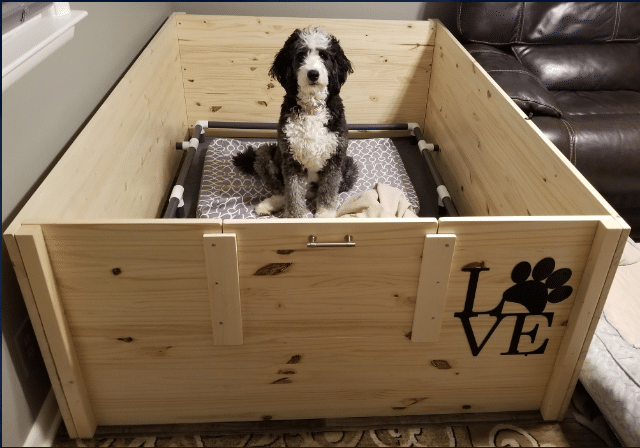
3. Plywood and PVC Whelping Box
| Materials: | Plywood, PVC pipe, wood glue, wood letters, wood discs, newspaper, and towels |
| Tools: | Jigsaw, ruler, pipe cutter, Sharpie, and clamps |
| Difficulty Level: | Moderate |
While this plywood whelping box isn’t as easy to make as some of the other options on our list, it’s far from the most challenging plan. And with custom design and door options, this whelping box opens up a whole new avenue of creativity.
Know your limitations and ensure you have a good-quality jigsaw before you start, but if you do, then this could be a whelping box that goes great with the rest of the décor in your home.
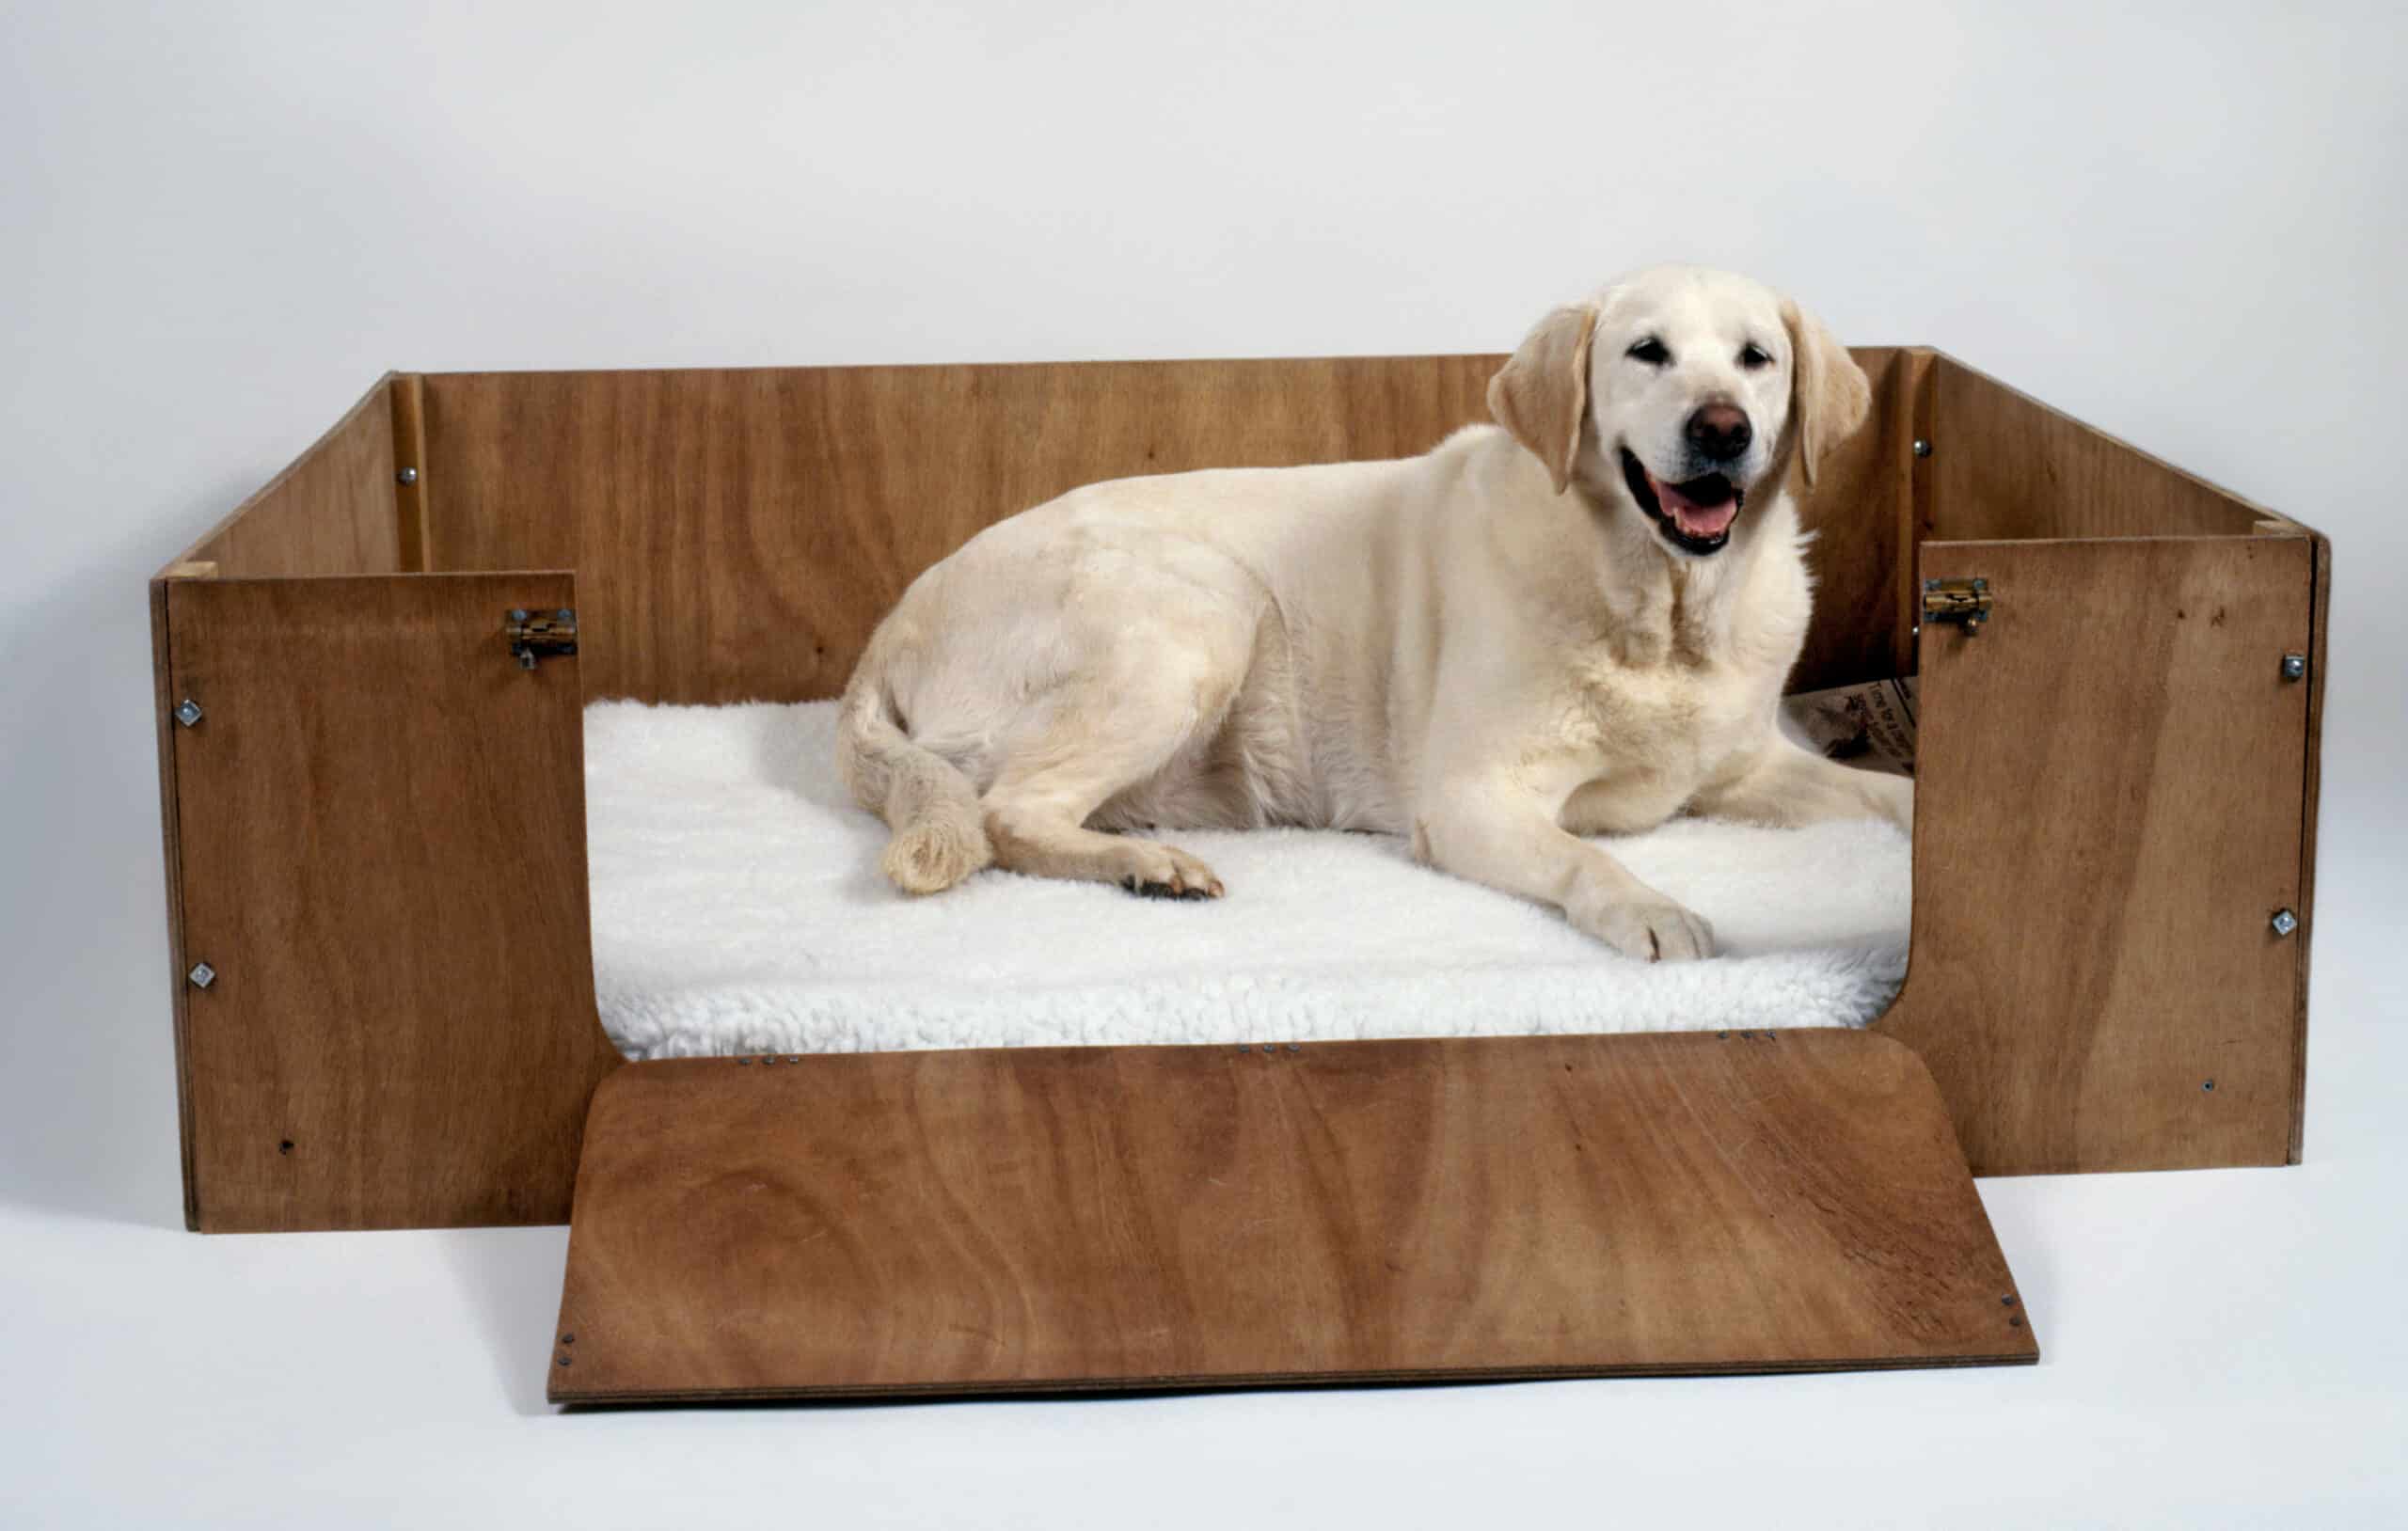
4. Tall Whelping Box
| Materials: | ½” x 3” x 4’ Aspen, (2) 1” x 2’ x 4’ edge glued pine, (2) 1” x 2’ x 6’ edge glued pine, 2’ x 2” x 8’ pine, (24) #12 flathead wood screws, (8) #10 flathead wood screws, handle and bolts for the door, 150 grit sandpaper, 220 grit sandpaper, water base sealer, 6” foam roller, 5’ x 7’ rug, 6’ x 9’ linoleum, (2) 1” x 10’ gray PVC pipe, (4) 3-way corner connectors, and (8) t-shape PVC connectors |
| Tools: | #10 countersink drill bit, #12 countersink drill bit, miter saw, jigsaw, drill, screwdriver, measuring tape, pencil, PVC pipe cutter, and a hammer |
| Difficulty Level: | Challenging |
If you want a larger whelping box with a functioning door so the mom can’t get in and out, this tall whelping box is just what you need. It’s most definitely a larger option, and keep in mind that you will need to let momma out from time to time if she can’t on her own.
If you are not the most handy, then this might not be the plan for you. Not only does it require a few more advanced tools, but it requires precision and the technical know-how to put it all together.
5. Kiddie Pool Whelping Box
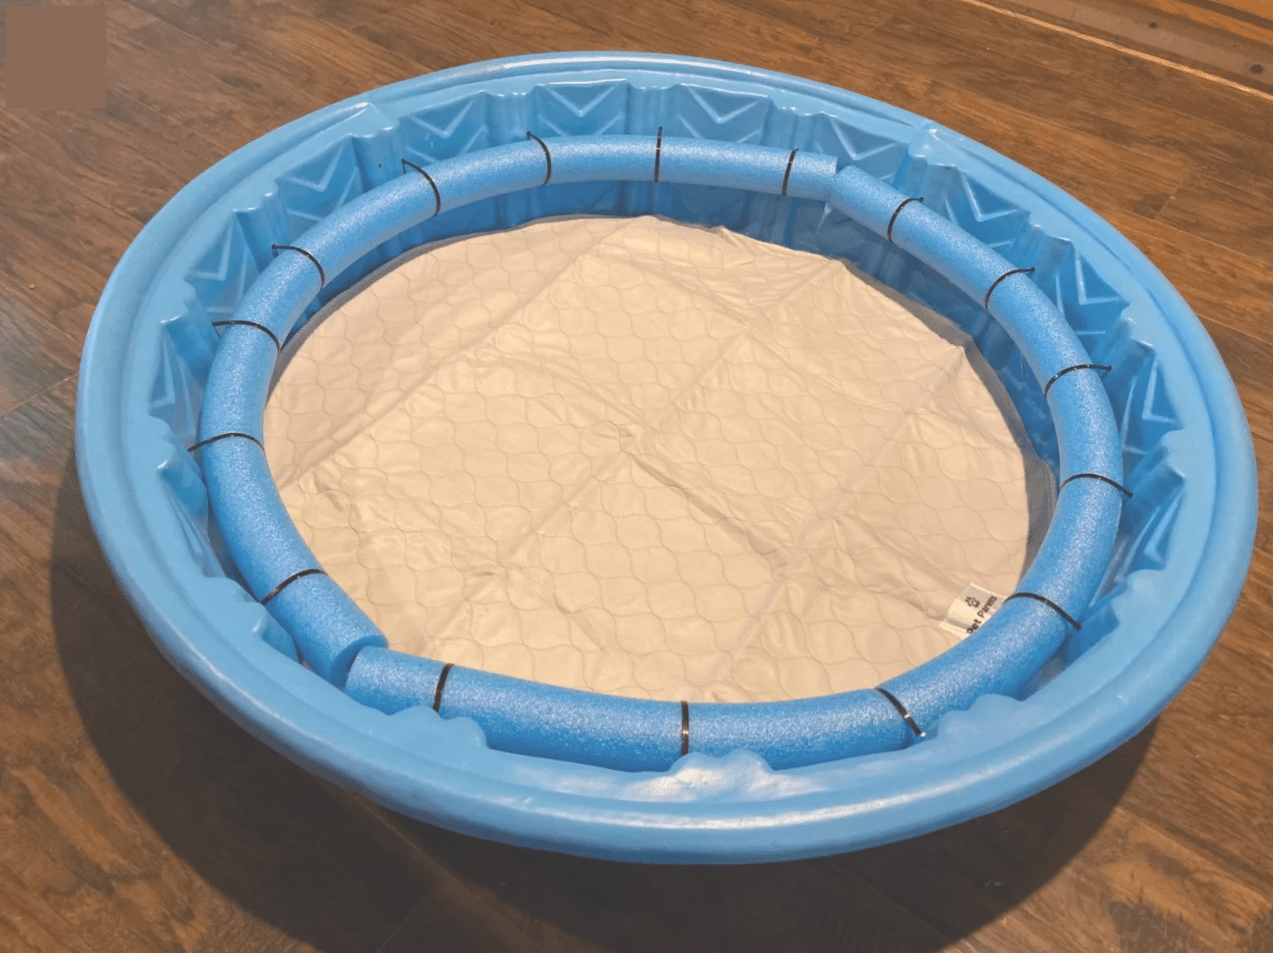
| Materials: | Plastic kiddie pool, zip ties, and (2) foam pool noodles |
| Tools: | Drill |
| Difficulty Level: | Easy |
There are simple DIY projects, then there’s this kiddie pool whelping box. It won’t win any prizes for aesthetics or durability, but it will get the job done for smaller puppies.
It will also save you some money and can be built in a jiffy, letting you move on to other things. If you just want the job done or you’re not the classic DIYer, this is the DIY whelping box for you!
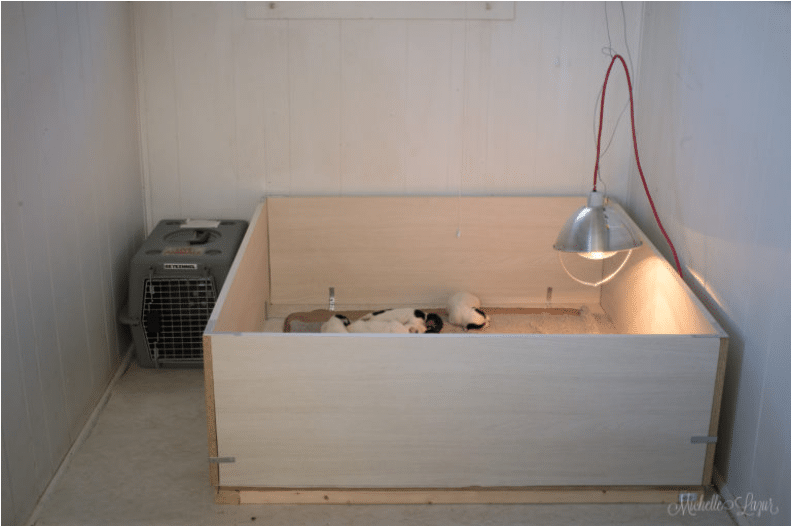
6. MDF Panel Whelping Box
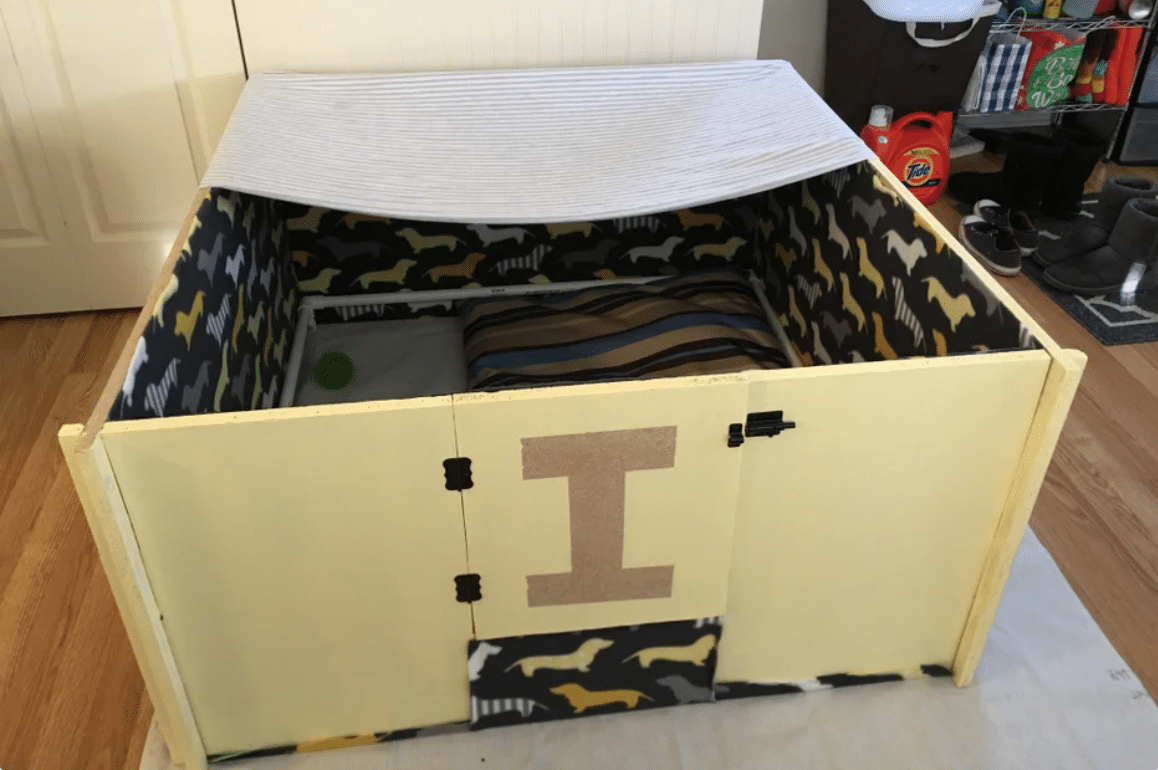
| Materials: | 4’ x 8’ x ¾” MDF panel, paint, fabric, screws, and a latch |
| Tools: | Circular saw, right angle, Dremel, pencil, measuring tape, paintbrush, and a jigsaw |
| Difficulty Level: | Moderate |
Who says you need to pick between extremely challenging and ugly DIY projects? With this MDF panel whelping box, you can get the best of both worlds. It’s significantly easier than many other DIY whelping boxes, and you can still pick out different fabrics to really make it your own.
You also get a collapsible door so that mom can get in and out of it without jumping over the sides. Just please make sure you only use MDF panels that have been bonded without using glue containing formaldehyde, as those would be toxic for your dog and the puppies.
7. High-End DIY Whelping Box
| Materials: | (2) 4’ x 8’ x 5/8” plywood, (4) 2’ x 4’ x 60” lumber, 1 quart of polyurethane varnish, (8) three-sided corner brace, steel tee nut, and stainless-steel head socket cap screws |
| Tools: | Screwdriver, hex drive bit, table saw, drill press, ¼” wood bit, ½” wood bit, 45/64” spade or Forstner bit, router, ½” straight router bit, and a 3/16” round-over bit |
| Difficulty Level: | Challenging |
If you’re like us, when you do something, you want to do it right the first time. It’s that kind of attitude that this plan caters to. It’s not a simple DIY whelping box to make, but when you finish making this high-end DIY whelping box, it will look like the best of the best.
Just keep in mind the materials are going to cost more, and you’re going to need some more advanced tools. You’ll also need some technical knowledge and experience, so if this is your first DIY project, we don’t recommend it.
Final Thoughts
There’s something great about putting something together with your own two hands, and we’re confident that no matter which option you go with, you will feel proud knowing you did it yourself and saved yourself some money while providing mom a comfortable place to nest, give birth, and raise her litter. So, what are you waiting for? Pick the right plan for you and get to work!
See Also:
Featured Image Credit: Dorling Kindersley Ltd, Alamy Stock Photo