
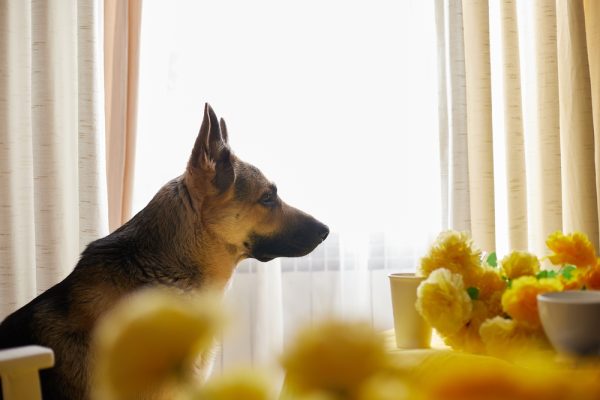

Many dogs absolutely love the kitchen. It is where their people spend a lot of time, and it is filled with so much delicious food. But dogs can be a nuisance in the kitchen. They get in the way, and sometimes, they even manage to eat things that they shouldn’t. This can be frustrating, leading to some poor interactions between you and your dog. The good news is that there is a way to keep your dogs out of the kitchen by using boundary training methods. Here is how to keep your dogs out of the kitchen in eight easy steps.

Preparation
Before you start, you will need to gather a few things. You need a leash and low-calorie training treats to get started. You also need to be aware that this method could take some time and will require hands-on investment on your part to ensure that the training is successful. Before you start, know what you are getting into. The process itself is basic, but it does take some concentration and investment on your part to make it work.
- A leash
- Training treats
- Patience
| Time: | Variable (A few days to a few weeks) |
| Complexity: | Basic |

The 8 Tips on How to Keep Dogs Out of the Kitchen
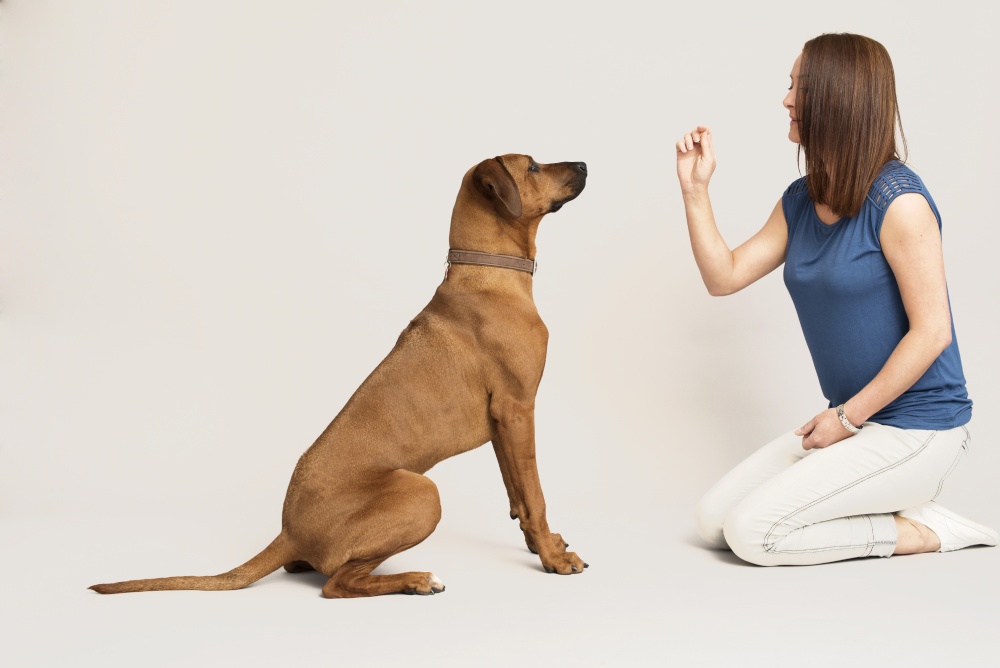
1. Establish a Command for Stop
The first thing you should do is decide on a command for ‘stop’ for your dog. This way, you can remain consistent throughout your training. Consistency is key to any dog training. So, when you want your dog to stop, you should use the same word every single time. You can use stop, or you can use other words like heel, halt, stay, or cease. When you decide on what word to use, make sure you use it consistently so that your dog will begin to understand its meaning.
2. Put Your Dog on a Leash
Next, you want to put your dog on a leash. Let your dog walk around the house with the leash. Do not pull on the leash or yank at all. Let your dog explore the house, and do not touch the leash when they go into spaces that they are allowed to enter.
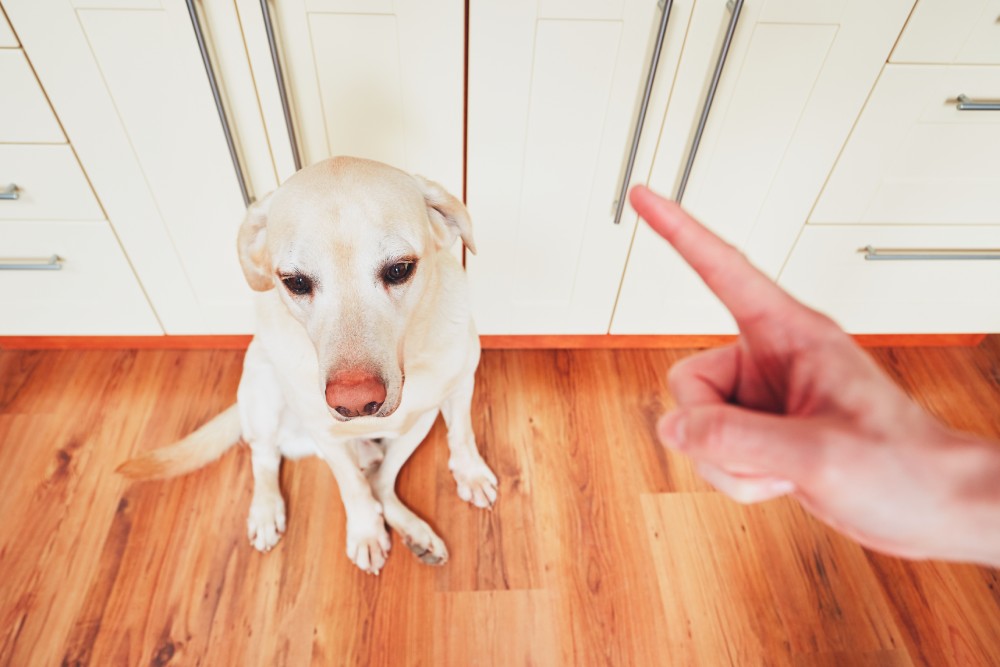
3. Walk Them Toward the Kitchen and Say Stop
After you’ve let your dog walk around a bit on the leash while inside the house, lead them to the kitchen. When they try to enter the kitchen, say “stop” and gently pull on the leash to stop your dog from entering. Do this a couple of times so that your dog knows what you are doing.
4. Reward the Dog for Stopping
Every time your dog stops and does not enter the kitchen, you should give them a treat as a reward. This is going to build a positive connection when your dog stops before going into the kitchen. This positive reinforcement is what is going to underpin your whole training strategy.
When doing these steps, you should follow the same pattern.
- Lead your dog to the kitchen.
- Say “stop.”
- Wait for your dog to stop or slightly tug the leash if they don’t.
- Reward your dog.
- Repeat.
5. Repeat Steps 2, 3, and 4 Until the Dog Stops on Their Own
Now, it is time to practice. You should continue this pattern until your dog stops on their own. Eventually, your dog should stop when you go toward the kitchen because they will anticipate a treat, and they will want to get positive reinforcement. This step can take a few hours, or it can take a few days. You can repeat this process once per day for a few days or you can do it over and over again in a more intensive training session. Do whatever works for you and your dog.

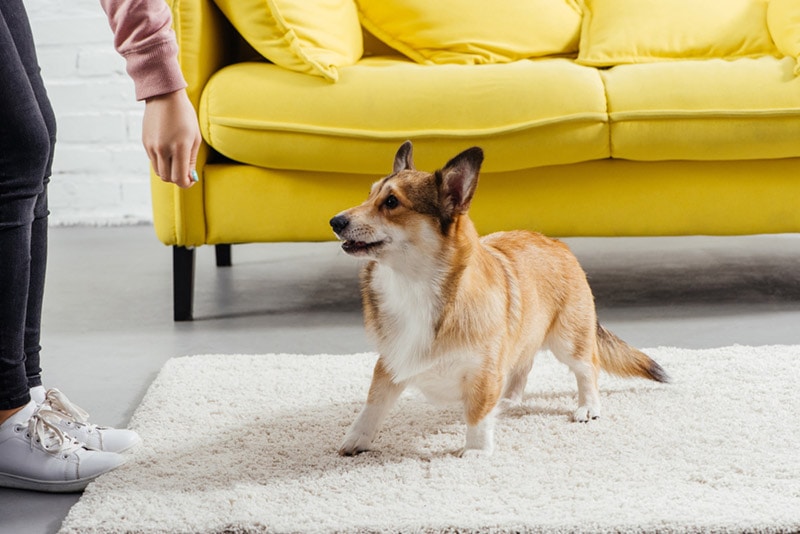
6. Walk into the Kitchen and Reward Your Dog If They Stay Out
After your dog starts to stop on their own before entering the kitchen, you should start going into the kitchen while your dog is still on the leash. Make your dog stop by the entrance to the kitchen while you walk in. Reward your dog and then walk around the kitchen. The dog should stay out. If they do, reward them. You should start going further and further into the kitchen, and your dog should be able to remain stopped at the boundary you have set, even if you are not right next to them.
7. Practice Without the Leash
Once you feel comfortable with all of the previous steps, it is time to take the leash off. The process now should go the same way. You should be able to go into your kitchen, and your dog should stop and wait for a reward. If your dog tries to enter the kitchen without the leash, gently remove them, say “stop,” make them sit outside of the kitchen, and give them a reward. This will help to reinforce your expectations even if your dog is not on a leash.
8. Be Patient and Consistent
Once your dog understands your expectations and starts staying out of the kitchen without the leash, it is time to be patient and consistent. Some dogs will slip up and forget the rules; that is okay. Continue to reinforce your boundaries and reward your dog when they remain out of the kitchen. Eventually, they will stay out of the kitchen on their own, and they will realize that it is an area of the house that they cannot go to.
Do not get frustrated, and do not change your expectations over time. If they are not allowed in the kitchen, they should never be allowed in the kitchen. Dogs do not understand subtlety or conditional rules. Some people only want their dogs to stay away when they are cooking, but this is a complex rule for a dog to understand. If you want your dog out of the kitchen, the whole kitchen always has to be a no-go zone.

Boundary Training Success
If you are skeptical about your ability to keep your dog out of the kitchen, you should know that boundary (or barrier) training can be very successful. Some people have trained their dogs to stay within the boundaries of an unfenced yard using this training method. Large open kitchens without any hard boundaries, like a door, may be more difficult to train with than an enclosed kitchen with a door. But it can still be done. Boundary training is a tried-and-true way to ensure that dogs stay in certain spaces. It just takes time and consistency to pull off. You can also reach out to a professional dog trainer for assistance if needed.
Why You Might Want to Keep Your Dog Out of the Kitchen
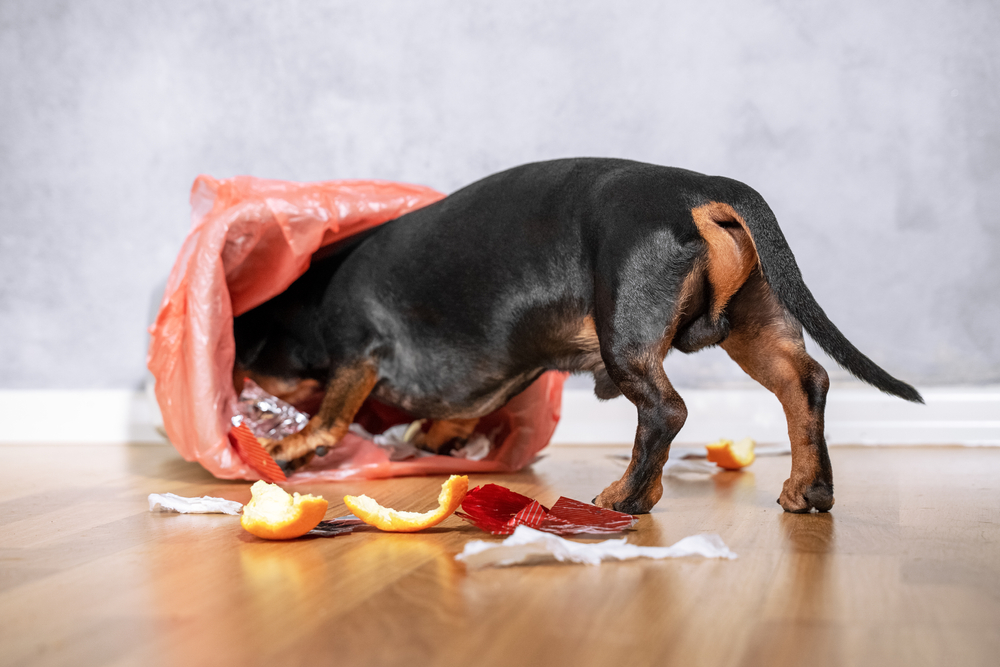
There are a number of reasons why you might want to learn how to keep your dog out of the kitchen. Some dogs are notorious counter surfers that will sneak in and try to eat things off of the counters, which can be frustrating for you and dangerous for the dog. Dogs are also not the cleanest animals around, and some people don’t want their dogs around the food that they are preparing. Lastly, sometimes dogs just get in the way. It can be hard to move around while cooking or doing dishes if your dog is always underfoot. Having them stay in the doorway and watch from afar can be much better and safer for you and your dog.
Conclusion
Learning how to keep your dog out of the kitchen is a form of boundary training. Boundary training has a high rate of success as long as you practice and stay consistent. Rewarding your dog for good behavior is key. Don’t be afraid to use the leash inside. This method can take a few days or even a few weeks for stubborn dogs, but eventually, the training will pay off, and you will be rewarded with a dog-free kitchen.
Featured Image Credit: KELENY, Shutterstock
Contents
- Preparation
- The 8 Tips on How to Keep Dogs Out of the Kitchen
- 1. Establish a Command for Stop
- 2. Put Your Dog on a Leash
- 3. Walk Them Toward the Kitchen and Say Stop
- 4. Reward the Dog for Stopping
- 5. Repeat Steps 2, 3, and 4 Until the Dog Stops on Their Own
- 6. Walk into the Kitchen and Reward Your Dog If They Stay Out
- 7. Practice Without the Leash
- 8. Be Patient and Consistent
- Boundary Training Success
- Why You Might Want to Keep Your Dog Out of the Kitchen
- Conclusion


