Regularly trimming your dog’s nails is a necessary yet intimidating task. Trimming a dog’s nails can be nerve-wracking, especially if their nails are black. Dogs with black nails can be more prone to painful nail trimming because it’s difficult to locate the quick of the nail. However, if you take careful measures, you can learn to trim your dog’s nails with some practice.
Your best teacher will be a veterinarian or professional groomer. They can coach you on how to trim your dog’s black nails properly and safely. Here are some common tips and tricks that’ll help you feel more prepared to trim your dog’s black nails.
Before You Start
It’s important to first help your dog get used to their paws being touched. Dogs can have sensitive paws and may also have a fear of being restrained, so they don’t typically like when people grab their paw and hold it. It takes training to get your dog used to the feeling and trust that you won’t hurt them.
Dogs can also be wary of nail clippers, so it’s likely you’ll have to get your dog used to seeing nail clippers and allowing them near their paws. Getting your dogs used to nail clippers and their paws being touched can take several weeks. So, make sure to get as early of a start as possible.

The 4 Steps to Cut Black Dog Nails
1. Understand the Parts of a Dog’s Nails
You need to understand the two parts of your dog’s nails before trimming them: the nail, or shell, and quick. The nail is the outermost, hard layer. Can be black or clearish white. Then you have the quick, which is pink and contains the blood and nerve supply. This is the part you’ll want to avoid cutting. The quick is the inner part of the nail and it doesn’t extend the whole length. The part of the nail without the quick is the part you’ll want to cut off.
2. Hold Your Dog’s Paws Correctly
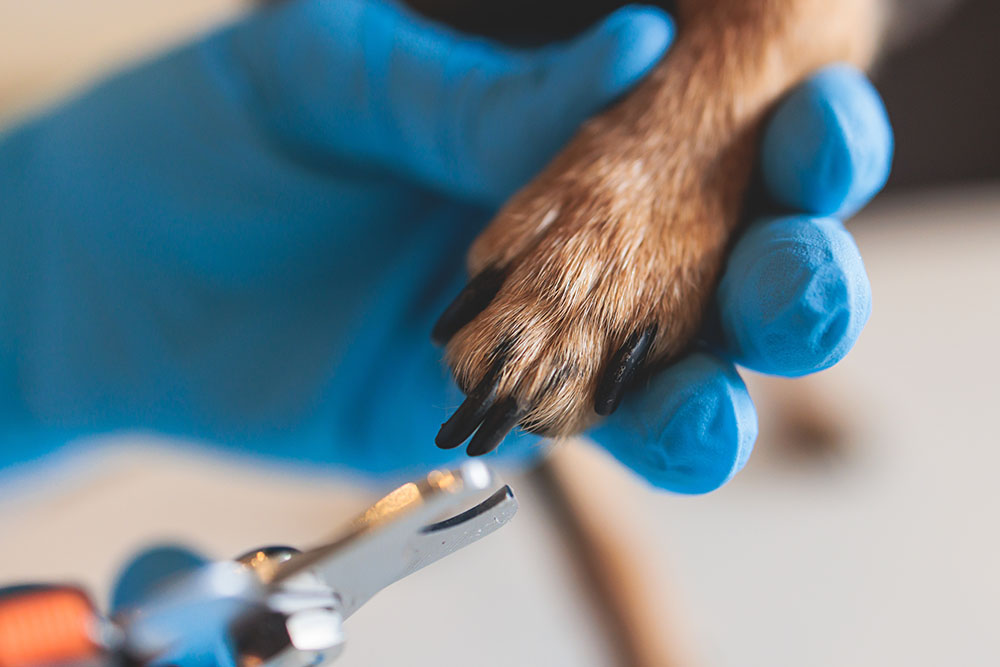
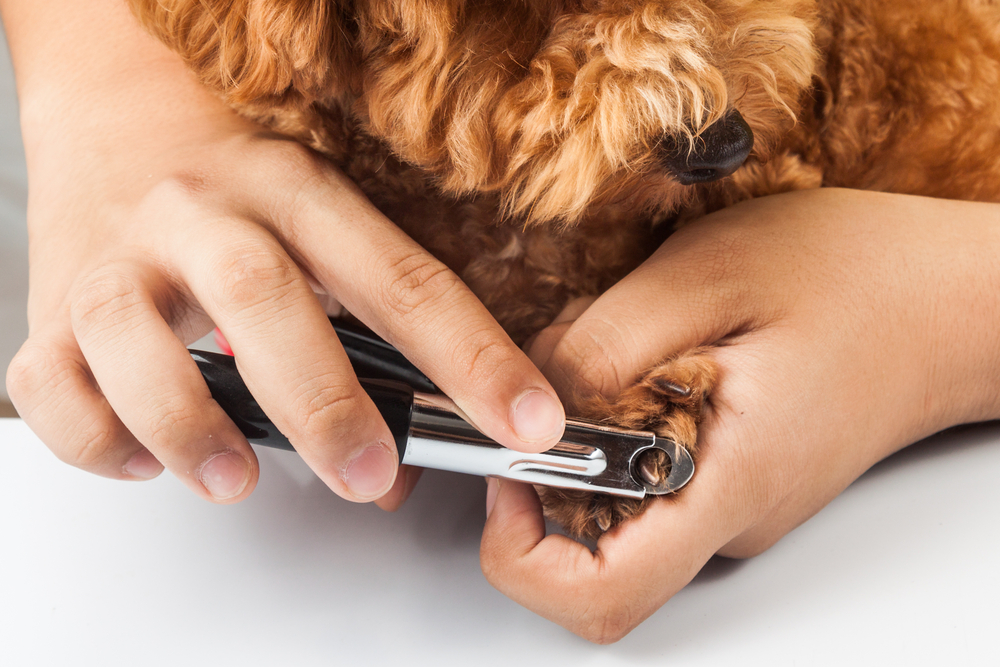
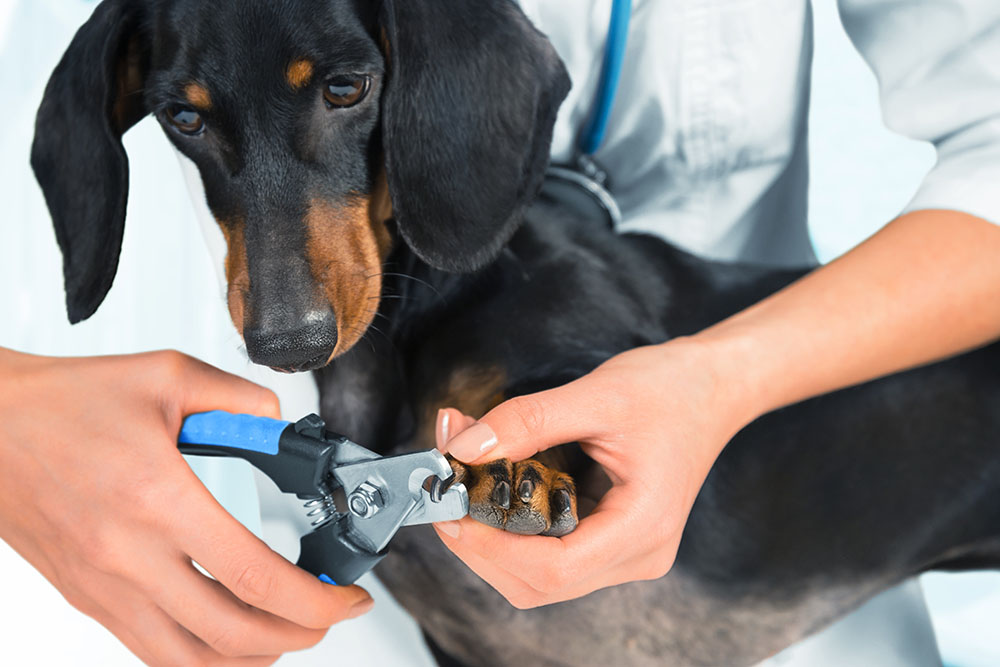
Make sure to trim your dog’s nails when they’re feeling calm and relaxed. Most people prefer having their dog lie down so that they can reach their paws easily. It can help to have another person petting or gently holding your dog’s body. Use your non-dominant hand to hold your dog’s paw with a secure, yet gentle grip.
3. Trim a Little at a Time
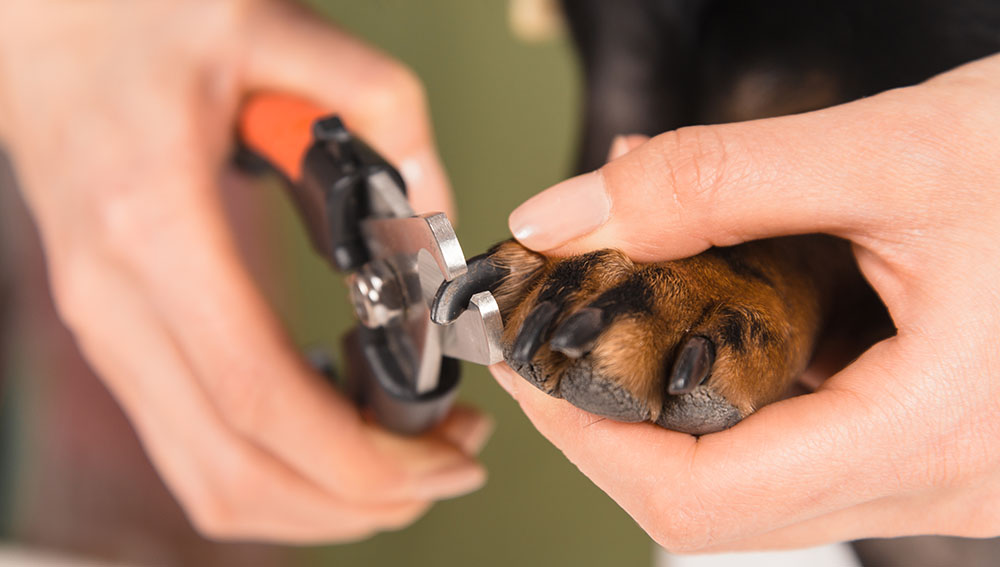
There are a variety of dog nail trimmers, including scissor-style trimmers, guillotine trimmers, and nail grinders. The type of nail trimmer doesn’t really matter, so you can choose whichever one feels most comfortable for you to use and whichever one your dog is most comfortable with you using, as some dogs may be scared of nail grinders. Whatever you choose, just be sure it’s sharp to avoid crushing the nail.
When it comes to trimming black nails, it’s important to trim a little at a time. You’re going to have to rely on what you observe from the trimmed nails since you can’t see the quick.
4. Stop When You See a Black Dot
Check your dog’s nail after each time you trim. You want to look for white to appear in the center. This white precedes the quick and is usually a good place to stop. If you continue to slowly trim, you’ll eventually see a black dot in the center of the white. This means you’re about to reach the quick and should stop trimming. Accidents can still happen to the best of us, so make sure to have styptic powder or cornstarch on hand to help stop the bleeding in case you accidentally cut the quick.

Conclusion
When trimming black nails on a dog, it’s important to do it in increments. Trimming a little at a time will help you know when you’re about to reach the quick.
In general, you’ve trimmed your dog’s nails to an appropriate length when you start to see white in the middle of the nail. Accidents do happen, so be prepared to stop any bleeding by applying styptic powder or cornstarch. With some patience and practice, trimming your dog’s nails will become an easier and more comfortable experience for both you and your dog.
Featured Image Credit: Tsuguliev, Shutterstock

